Salta al contenuto principale
Unisciti alla Community delle riparazioni - Crea un account
Canon PowerShot A200 LCD Display Replacement

Canon PowerShot A200 LCD Display Replacement

Jeff Barich

Jeff Barich e 12 altri collaboratori

Ultimo aggiornamento il 25 giu 2025

10 minuti
Difficile
Passi mancanti

Introduzione

Vai al passo 1

Use this guide to replace the LCD Display if it is cracked or not functioning properly on your Canon PowerShot A200.

A functioning LCD Display uses its liquid substances to properly create images on the screen of your camera.

A broken LCD screen could be hazardous to the skin. If broken, take appropriate precautions.

Once the case has been disassembled, a new LCD Display can be installed.

Make sure there is some experience with working with difficulty as soldering will be needed to reassemble the camera together.

Cosa ti serve

Strumenti

Mostra di più…

  1. Canon PowerShot A200 LCD Display Replacement, Canon PowerShot A200: passo 1, immagine 1 di 1
    • Use a Phillips #00 screwdriver to remove the two screws located at the bottom of the camera.

  2. Canon PowerShot A200 LCD Display Replacement: passo 2, immagine 1 di 2 Canon PowerShot A200 LCD Display Replacement: passo 2, immagine 2 di 2
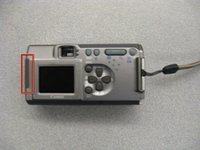
    • Locate the screw and the rubber covering on the left side of the camera. Slide the rubber covering to expose a second screw.

    • Remove the two screws with the Phillips #00 screwdriver.

  3. Canon PowerShot A200 LCD Display Replacement: passo 3, immagine 1 di 2 Canon PowerShot A200 LCD Display Replacement: passo 3, immagine 2 di 2
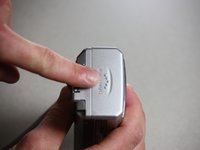
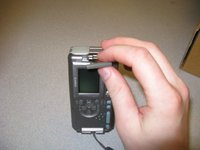
    • Open the battery compartment on the right side of the camera by pushing slightly in the direction of the arrow.

    • Be sure to remove the memory card.

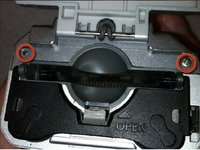
    • Remove the two screws by the memory card slot using the Phillips #00 screwdriver.

  4. Canon PowerShot A200 LCD Display Replacement: passo 4, immagine 1 di 2 Canon PowerShot A200 LCD Display Replacement: passo 4, immagine 2 di 2
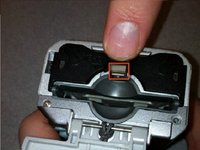
    • Pull the grey tab towards the back of the camera. Lift the black cover to expose the battery slots.

    • Remove the two visible screws with the Phillips #00 screwdriver.

    • During reassembly, the holes for these screws must align properly with the interior of the camera body. Then the black battery cover must lie flat and be held in place by the grey tab.

  5. Canon PowerShot A200 LCD Display Replacement: passo 5, immagine 1 di 2 Canon PowerShot A200 LCD Display Replacement: passo 5, immagine 2 di 2
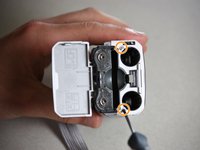
    • Remove the screen battery located to the left of the screen.

    • Set the screen battery aside for reassembly

  6. Canon PowerShot A200 LCD Display Replacement: passo 6, immagine 1 di 2 Canon PowerShot A200 LCD Display Replacement: passo 6, immagine 2 di 2
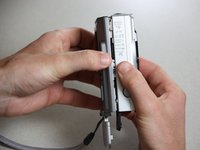
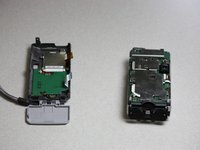
    • Gently pull the camera apart from the top.

    • Be careful. The two halves are still attached by two short ribbons at the bottom of the camera.

  7. Canon PowerShot A200 LCD Display Replacement: passo 7, immagine 1 di 2 Canon PowerShot A200 LCD Display Replacement: passo 7, immagine 2 di 2
    Attrezzo utilizzato in questo passaggio:
    Tweezers
    $4.99
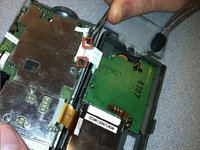
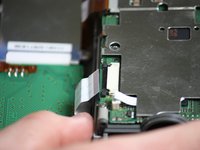
    • Locate the black tabs on either side of the white ribbon.

    • Use the metal tweezers to gently move these tabs to the outside edges of the ribbon.

    • Gently pull the white ribbon out from its connection.

  8. Canon PowerShot A200 LCD Display Replacement: passo 8, immagine 1 di 3 Canon PowerShot A200 LCD Display Replacement: passo 8, immagine 2 di 3 Canon PowerShot A200 LCD Display Replacement: passo 8, immagine 3 di 3
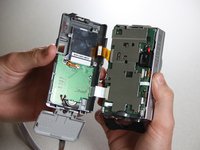
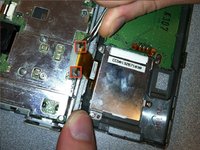
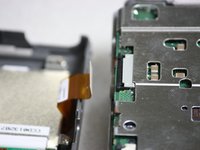
    • Locate the black tabs on either side of the orange ribbon.

    • Use the metal tweezers to gently move these tabs to the outside edges of the ribbon.

    • Gently pull the orange ribbon out of its connection.

    • Your camera will now be in two separate pieces.

  9. Canon PowerShot A200 LCD Display Replacement, LCD Display: passo 9, immagine 1 di 1
    • Use a Phillips head screwdriver to remove the four screws from the corners of the LCD.

  10. Canon PowerShot A200 LCD Display Replacement: passo 10, immagine 1 di 1
    • Use the iFixit plastic opening tool to lift the LCD away from the back case.

    • The LCD will still be attached to the back of the camera case by an orange strip.

  11. Canon PowerShot A200 LCD Display Replacement: passo 11, immagine 1 di 1
    • Use a soldering iron to remove the LCD from the orange cable connected to the back of the camera.

    • Use the soldering iron to attach your new LCD in place.

    • Caution: When soldering, allow enough slack in the orange cable, so the LCD will lie flat. The white bar will lie parallel with the electronic components embedded in the motherboard.

Conclusione

Follow the instructions in the prerequisite guide Disassembling the Canon PowerShot A200 Case.

Once completed, proceed with installing a new LCD Display.

Jeff Barich

Membro da: 01/28/11

101 Reputazione

1 Guida realizzata

Team

Cal Poly, Team 7-37, Regan Winter 2011 Membro di Cal Poly, Team 7-37, Regan Winter 2011

CPSU-REGAN-W11S7G37

4 Membri

10 Guide realizzate

0Commenti sulla guida

Aggiungi Commento

Visualizza Statistiche:

Ultime 24 Ore: 6

Ultimi 7 Giorni: 6

Ultimi 30 Giorni: 7

Tutti i Tempi: 1,037