Questa versione può contenere modifiche errate. Passa all'ultima istantanea verificata.
Cosa ti serve
-
Questo passaggio è privo di traduzione. Aiuta a tradurlo
-
Orient the camera with the hand strap facing you.
-
Remove the two 4mm #00 Philips screws.
-
-
Questo passaggio è privo di traduzione. Aiuta a tradurlo
-
Orient the camera so that the back button panel and viewfinder are facing you.
-
Push the "Battery Release" button to the side and hold.
-
-
Questo passaggio è privo di traduzione. Aiuta a tradurlo
-
While holding the battery release button to the side, slide the battery towards you, past the release button.
-
-
Questo passaggio è privo di traduzione. Aiuta a tradurlo
-
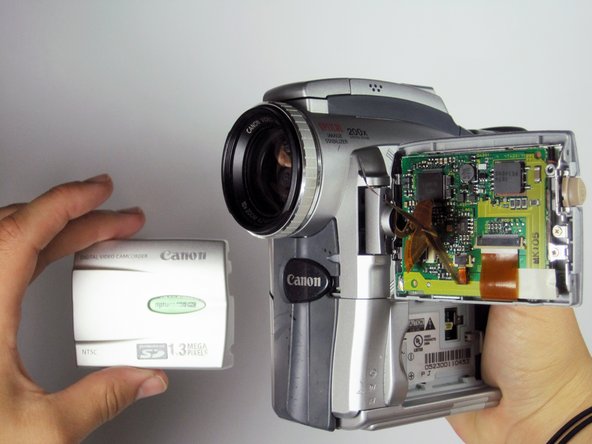
Reorient camera so that the playback button panel and empty battery slot are facing you. The edge of the LCD screen should be facing you.
-
To open the screen, hold the open button shown down and flip the screen open.
-
Remove the two #00 Philips 4mm screws on the outer edge of the LCD casing.
-
-
-
Questo passaggio è privo di traduzione. Aiuta a tradurlo
-
Flip the screen counter-clockwise and reorient the camera with the bottom edge of the LCD screen facing you.
-
Remove the 4mm #00 Phillips screw from the bottom of the LCD casing
-
-
Questo passaggio è privo di traduzione. Aiuta a tradurlo
-
Remove the two 4mm #00 Phillips screws on the inside edge of the LCD casing. After removing the first screw you will have to rotate the screen 180 degrees to remove the second screw.
-
-
Questo passaggio è privo di traduzione. Aiuta a tradurlo
-
Reorient the camera with the LCD screen edge and playback button panel facing you.
-
Remove front panel of LCD screen by pulling it directly to the side.
-
-
Questo passaggio è privo di traduzione. Aiuta a tradurlo
-
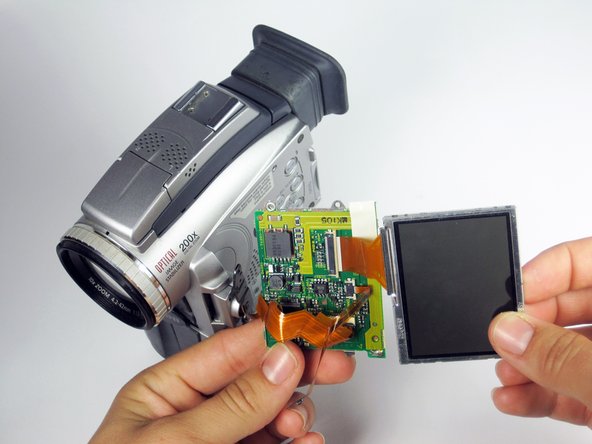
Disconnect the screen components from the main body of the camcorder by applying downward pressure near the circled hinge.
-
-
Questo passaggio è privo di traduzione. Aiuta a tradurlo
-
Remove the 4mm #00 Phillips screw connecting the LCD to the glass screen and lower casing.
-
-
Questo passaggio è privo di traduzione. Aiuta a tradurlo
-
Remove the lower casing by pushing up on the glass screen with your thumb.
-
-
Questo passaggio è privo di traduzione. Aiuta a tradurlo
-
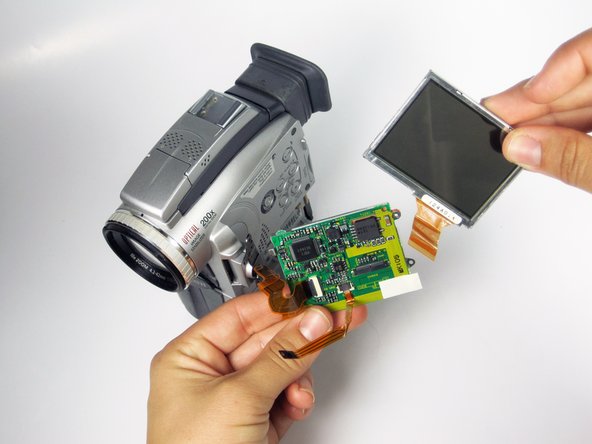
Remove the glass screen from the LCD by lifting up on the cream colored hinge to disconnect the ribbon wire. Pull the glass screen away.
-
Replace the glass screen if it is cracked or damaged.
-
-
Questo passaggio è privo di traduzione. Aiuta a tradurlo
-
Remove the LCD by disconnecting the remaining two ribbon wires by lifting up the cream-colored gate and sliding the ribbon out of the black gate.
-


Team

Cal Poly, Team 1-12, Amido Winter 2011 Membro di Cal Poly, Team 1-12, Amido Winter 2011
CPSU-AMIDO-W11S1G12
4 Membri
11 Guide realizzate