Introduzione
If you find that your camera needs a new image sensor, this guide will show you how to replace it.
Warning: The screws holding the sensor in place are holding the sensor at a very specific height. If after reinstalling the sensor each screw is not returned to the exact same height, your camera will no longer be in focus without recalibration (which requires specific tools and procedures).
Cosa ti serve
-
-
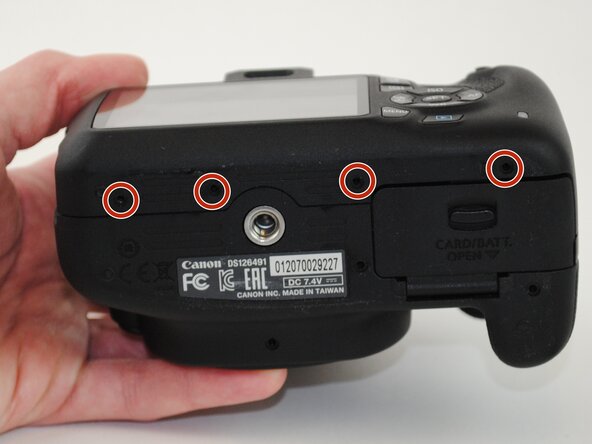
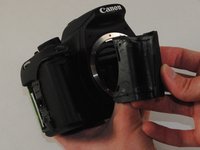
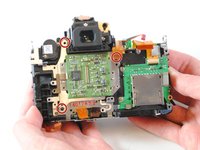
Lay the camera on its back so that the card/battery door is facing you.
-
Using your fingernail, slide the tab on the battery door up to release the battery door latch.
-
-
-
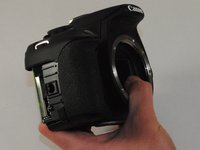
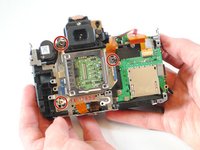
Turn the camera so that the back is facing to your right.
-
Remove the 5mm JIS #000 screw above the rubber USB port cover.
-
-
-
-
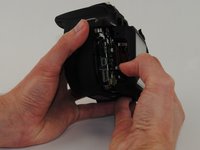
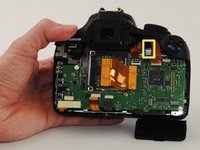
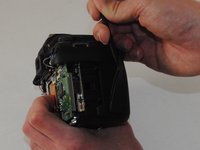
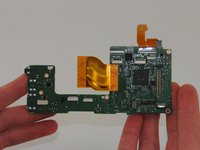
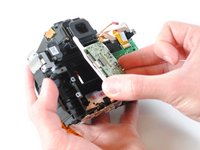
Remove all ribbon cables with the plastic spudger.
-
Gently pry up the black plastic tabs to slide out the ribbon cables
-
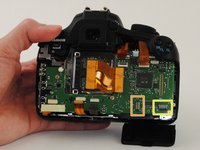
Take note of this black cable and where it connects to the motherboard. This is a fiber optic cable which is used for the camera flash. It will need to be reconnected after replacing the motherboard.
-
-
-
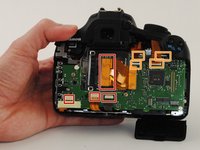
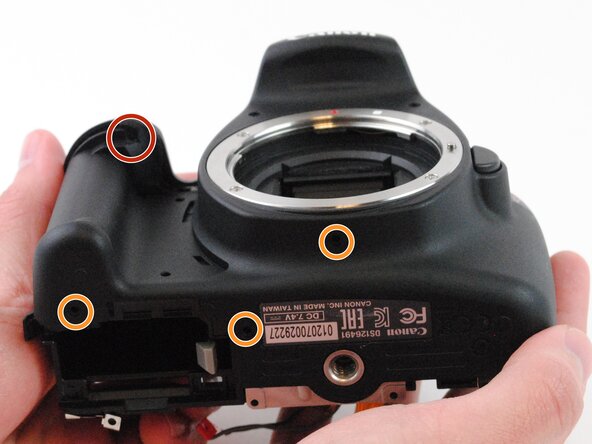
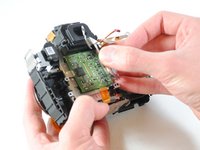
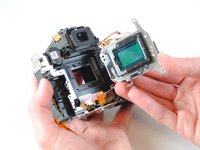
Remove the three silver 3mm JIS #000 screws from the image sensor holder.
-
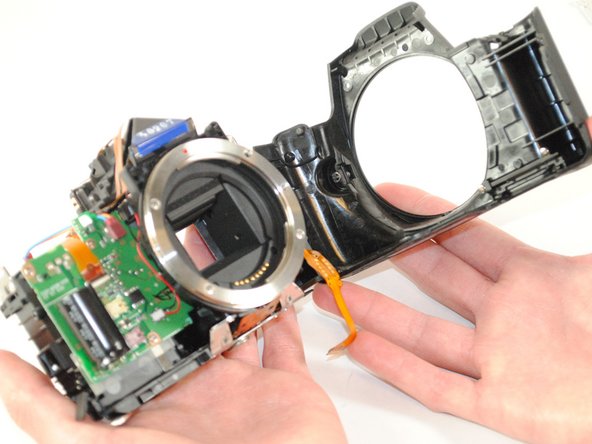
Remove the image sensor holder.
-


To reassemble your device, follow these instructions in reverse order.
Annulla: non ho completato questa guida.
Altre 13 persone hanno completato questa guida.
Team

USF Tampa, Team 16-4, Wollert Fall 2015 Membro di USF Tampa, Team 16-4, Wollert Fall 2015
USFT-WOLLERT-F15S16G4
4 Membri
18 Guide realizzate
3Commenti sulla guida
I reassembled on the camera no longer powers on, i checked disassembled again, checked for loose wires, ribbons, everything looks perfect and still it’s completely dead.