Salta al contenuto principale
Canon EOS 60D Rear LCD Screen Replacement

Canon EOS 60D Rear LCD Screen Replacement

Alejandro Cabrera

Alejandro Cabrera e 2 altri collaboratori

Ultimo aggiornamento il February 1, 2020

Nessuna stima
Moderato

Introduzione

Vai al passo 1

If you drop the camera and break the LCD screen, or if the screen just stops functioning, this guide will help you replace it.

Be sure to use a magnetic mat or small container for your screws, as they are very small and easy to misplace.

Cosa ti serve

Strumenti

Mostra di più…

  1. Canon EOS 60D Rear LCD Screen Replacement, Rear LCD Screen Dissasembly: passo 1, immagine 1 di 1
    • Take the LCD out of its place to expose the Phillips #PH00 screws.

    • Remove the two 2.5 mm Phillips #PH00 black screws on both sides of the LCD screen.

    • Next remove the two 3 mm Phillips #PH00 black screws near both sides of the base where the screen swivels.

  2. Canon EOS 60D Rear LCD Screen Replacement: passo 2, immagine 1 di 1
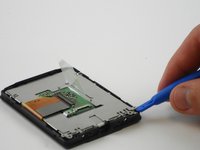
    • Using a plastic opening tool, carefully pry off the back cover of the LCD.

  3. Canon EOS 60D Rear LCD Screen Replacement: passo 3, immagine 1 di 2 Canon EOS 60D Rear LCD Screen Replacement: passo 3, immagine 2 di 2
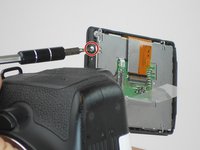
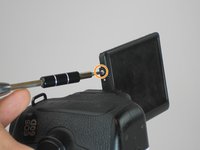
    • Remove the 3 mm Phillips #PH00 silver screw on the side of the screen.

    • Turn the screen to remove the second 3 mm Phillips #PH00 silver screw.

  4. Canon EOS 60D Rear LCD Screen Replacement: passo 4, immagine 1 di 1
    Attrezzo utilizzato in questo passaggio:
    Tweezers
    $4.99
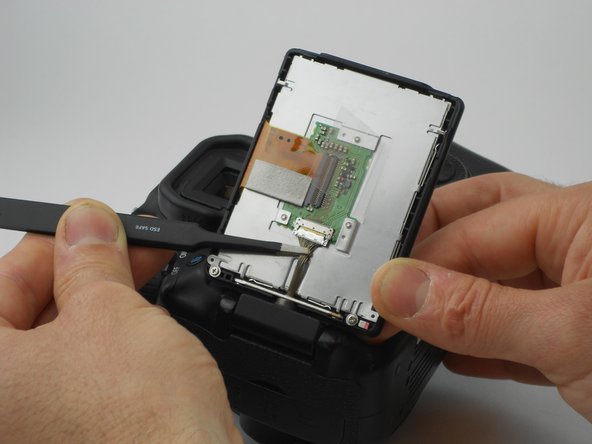
    • Using the tweezers, carefully disconnect the rear connector by pulling it away from the screen.

  5. Canon EOS 60D Rear LCD Screen Replacement, Rear LCD Screen: passo 5, immagine 1 di 2 Canon EOS 60D Rear LCD Screen Replacement, Rear LCD Screen: passo 5, immagine 2 di 2
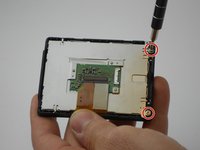
    • Remove the two 2.5 mm Phillips #PH00 silver screws using the PH00 screwdriver.

    • Using the plastic Spudger opening tool, carefully lift up on the medal tabs next to where the screws were located.

  6. Canon EOS 60D Rear LCD Screen Replacement: passo 6, immagine 1 di 1
    • Finally, remove the LCD screen by grabbing the clear plastic tab and lifting it carefully.

Conclusione

To reassemble your device, follow these instructions in reverse order.

Altre 3 persone hanno completato questa guida.

Team

USF Tampa, Team 16-6, Wollert Fall 2015 Membro di USF Tampa, Team 16-6, Wollert Fall 2015

USFT-WOLLERT-F15S16G6

3 Membri

14 Guide realizzate

0Commenti sulla guida

Aggiungi Commento

Visualizza Statistiche:

Ultime 24 Ore: 1

Ultimi 7 Giorni: 11

Ultimi 30 Giorni: 57

Tutti i Tempi: 8,231