Introduzione
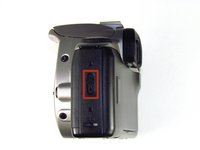
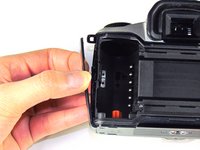
This guide removes the side panel of the camera, allowing for repairs on the side lever.
Cosa ti serve


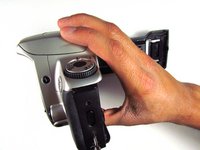


Quasi finito!
To reassemble your device, follow these instructions in reverse order.
Conclusione
To reassemble your device, follow these instructions in reverse order.
Team

Cal Poly, Team 6-20, Maness Winter 2014 Membro di Cal Poly, Team 6-20, Maness Winter 2014
CPSU-MANESS-W14S6G20
4 Membri
32 Guide realizzate