Questa guida ha delle modifiche più recenti. Passa all'ultima versione non verificata.
Introduzione
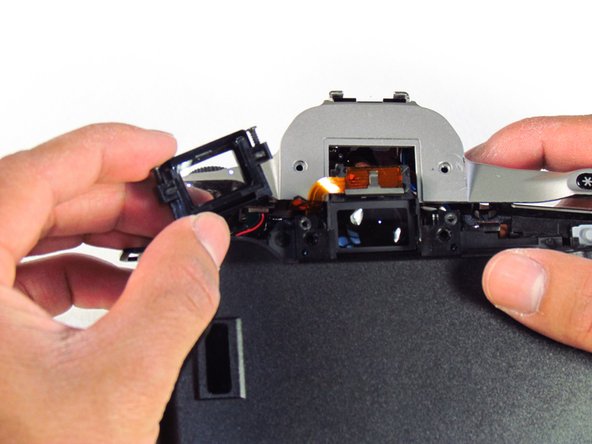
The eye piece will be easily accessible to replace after removing the top panel of the camera.
Cosa ti serve
-
-
-
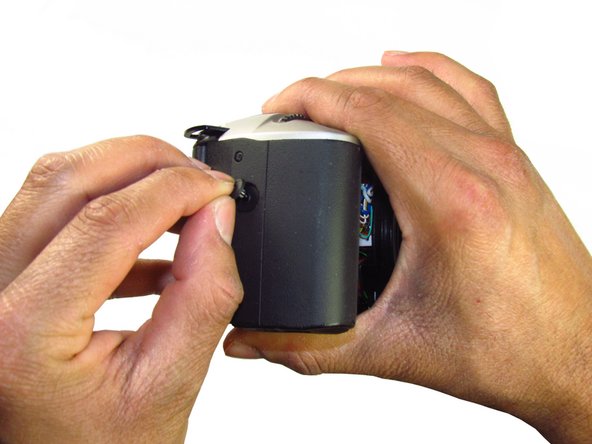
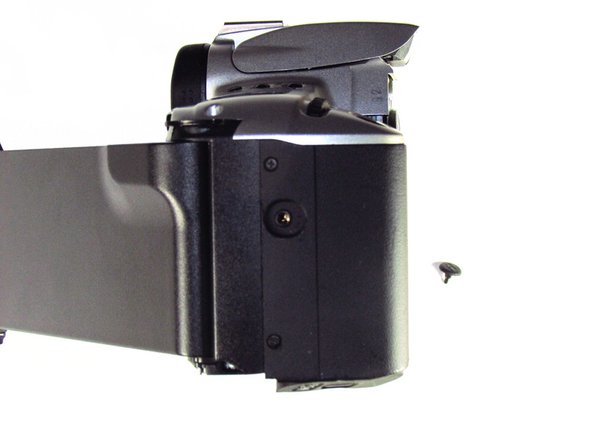
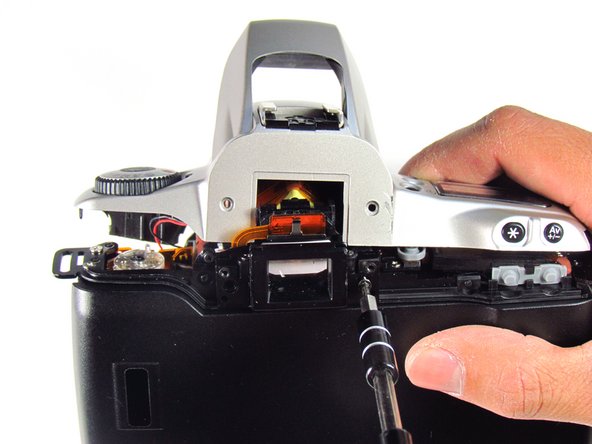
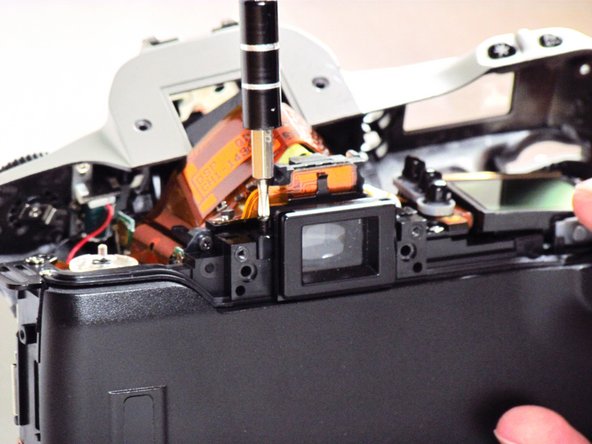
Remove three black 7.3mm Phillips #1 screws located on the corners of the camera.
-
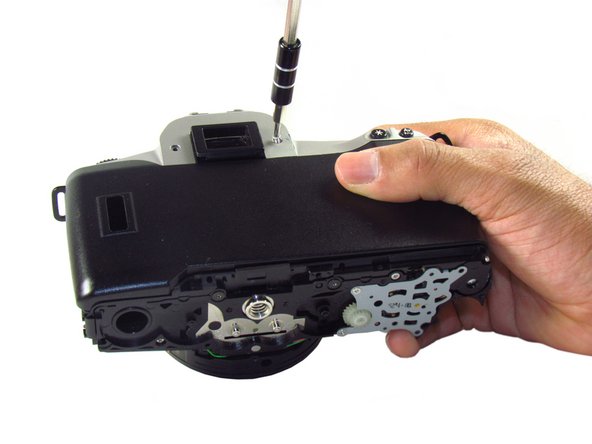
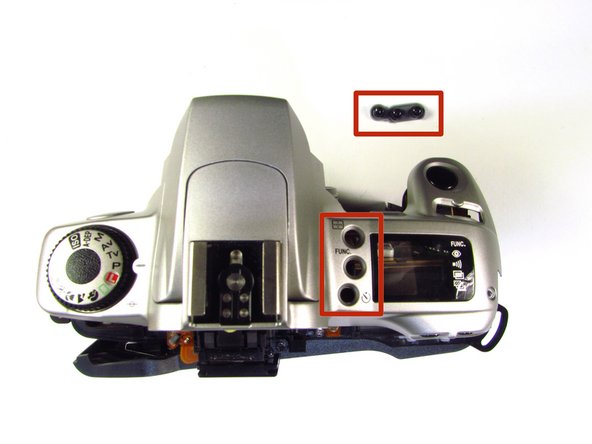
Remove five black 4.8mm Phillips #1 screws.
-


Quasi finito!
To reassemble your device, follow these instructions in reverse order.
Conclusione
To reassemble your device, follow these instructions in reverse order.
Team

Cal Poly, Team 6-20, Maness Winter 2014 Membro di Cal Poly, Team 6-20, Maness Winter 2014
CPSU-MANESS-W14S6G20
4 Membri
32 Guide realizzate