Questa guida ha delle modifiche più recenti. Passa all'ultima versione non verificata.
Introduzione
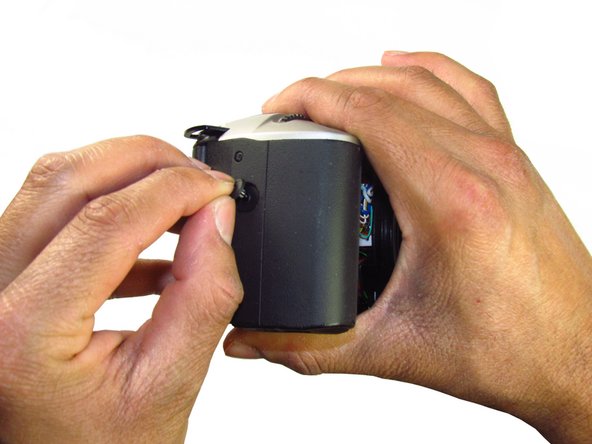
If the camera is not turning on, the batteries may need to be replaced.
Cosa ti serve
-
-
-
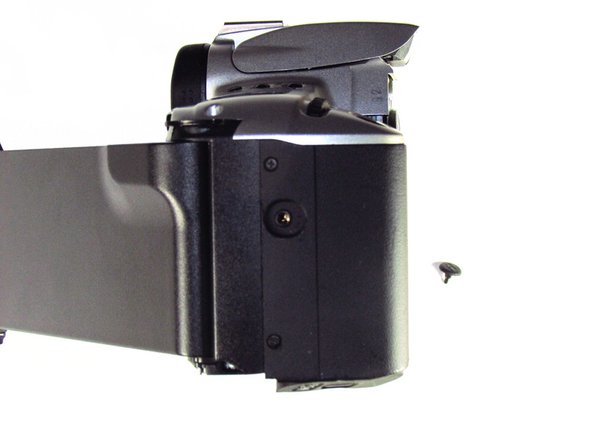
Remove three black 7.3mm Phillips #1 screws located on the corners of the camera.
-
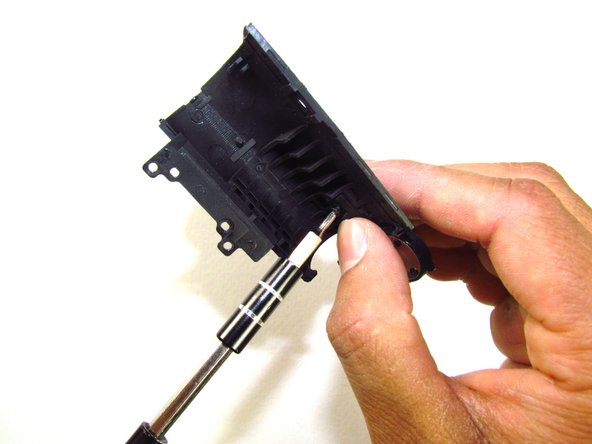
Remove five black 4.8mm Phillips #1 screws.
-


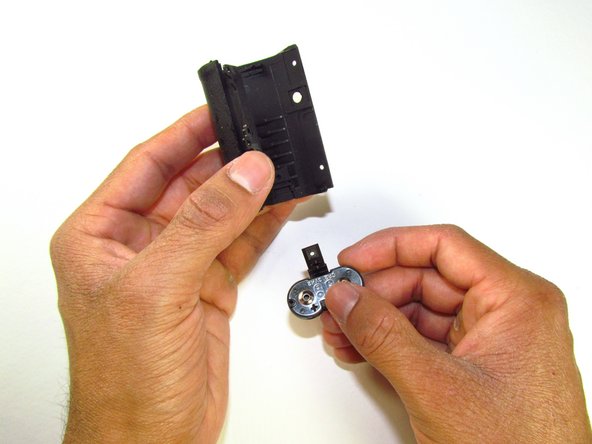
To reassemble your device, follow these instructions in reverse order.
To reassemble your device, follow these instructions in reverse order.
Annulla: non ho completato questa guida.
Altre 3 persone hanno completato questa guida.
Team

Cal Poly, Team 6-20, Maness Winter 2014 Membro di Cal Poly, Team 6-20, Maness Winter 2014
CPSU-MANESS-W14S6G20
4 Membri
32 Guide realizzate