Salta al contenuto principale
Unisciti alla Community delle riparazioni - Crea un account
Canon ELPH Z3 Camera Image Sensor Replacement

Canon ELPH Z3 Camera Image Sensor Replacement

Katy Skillings

Katy Skillings e 2 altri collaboratori

Ultimo aggiornamento il 19 feb 2020

15 - 20 minuti
Difficile

Introduzione

Vai al passo 1

An image sensor is a key component in a camera's function. The imaging sensor senses and converys information that creates an image. It converts the variable flux of light waves into the signals that carry this information. The main issue that can occur with an imaging sensor is dust build up. This guide provides step by step instructions to replace your imaging sensor in your Canon ELPH Z3.

Cosa ti serve

Strumenti

Mostra di più…

  1. Canon ELPH Z3 Camera Image Sensor Replacement, Shutter Button: passo 1, immagine 1 di 3 Canon ELPH Z3 Camera Image Sensor Replacement, Shutter Button: passo 1, immagine 2 di 3 Canon ELPH Z3 Camera Image Sensor Replacement, Shutter Button: passo 1, immagine 3 di 3
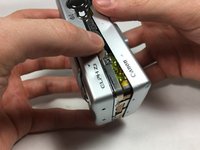
    • Unscrew the 7 4.1mm screws around the camera using a PH000 screwdriver.

  2. Canon ELPH Z3 Camera Image Sensor Replacement: passo 2, immagine 1 di 3 Canon ELPH Z3 Camera Image Sensor Replacement: passo 2, immagine 2 di 3 Canon ELPH Z3 Camera Image Sensor Replacement: passo 2, immagine 3 di 3
    • Split the front and back coverings of the camera.

    • Remove the back covering completely.

    • This allows for easier access to the shutter button carrier.

  3. Canon ELPH Z3 Camera Image Sensor Replacement: passo 3, immagine 1 di 2 Canon ELPH Z3 Camera Image Sensor Replacement: passo 3, immagine 2 di 2
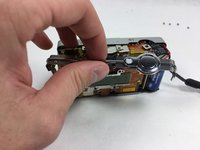
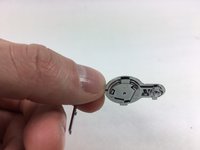
    • Slide the shutter button carrier off of the camera.

    • Notice shutter button is on the right hand side of the carrier.

  4. Canon ELPH Z3 Camera Image Sensor Replacement: passo 4, immagine 1 di 3 Canon ELPH Z3 Camera Image Sensor Replacement: passo 4, immagine 2 di 3 Canon ELPH Z3 Camera Image Sensor Replacement: passo 4, immagine 3 di 3
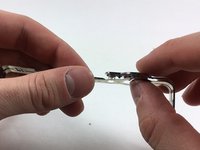
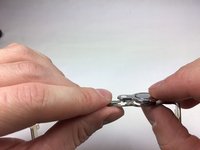
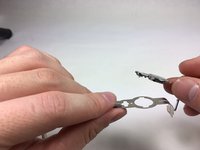
    • Press upward on the shutter button from the underside of the carrier by using your thumb.

    • Separate the shutter button from the carrier.

  5. Canon ELPH Z3 Camera Image Sensor Replacement, Rear Screen: passo 5, immagine 1 di 2 Canon ELPH Z3 Camera Image Sensor Replacement, Rear Screen: passo 5, immagine 2 di 2
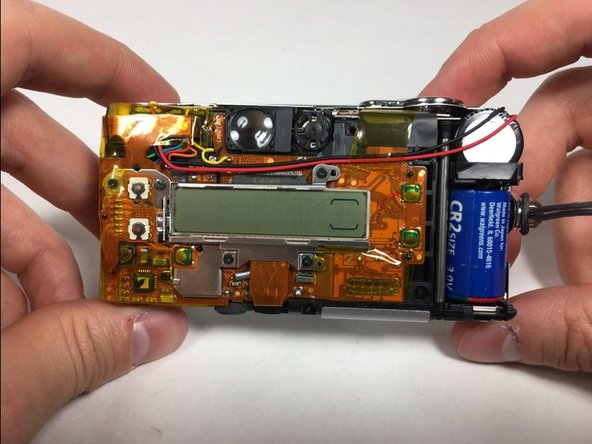
    • Pull apart the front and back coverings of the camera.

    • Remove the back covering completely to gain access of the rear screen.

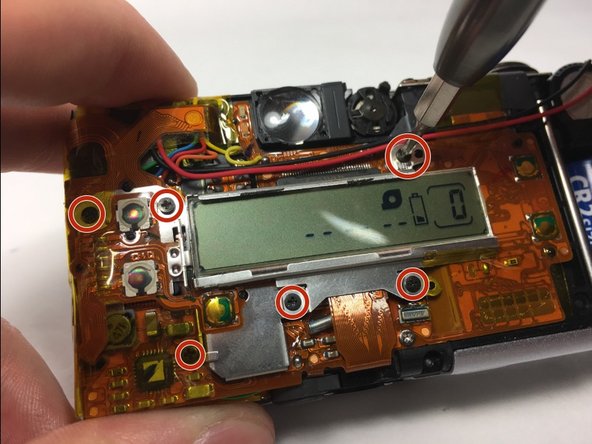
  6. Canon ELPH Z3 Camera Image Sensor Replacement: passo 6, immagine 1 di 3 Canon ELPH Z3 Camera Image Sensor Replacement: passo 6, immagine 2 di 3 Canon ELPH Z3 Camera Image Sensor Replacement: passo 6, immagine 3 di 3
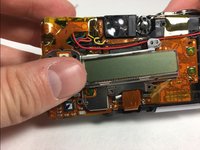
    • Unscrew the 6 4.1mm screws that are holding the back screen in place by using the PH000 screwdriver.

    • This step may require for you to pull back tape to gain access to some screws.

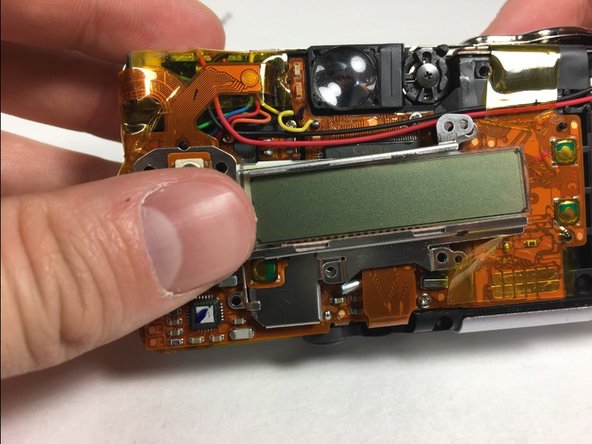
  7. Canon ELPH Z3 Camera Image Sensor Replacement: passo 7, immagine 1 di 2 Canon ELPH Z3 Camera Image Sensor Replacement: passo 7, immagine 2 di 2
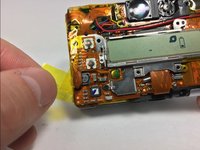
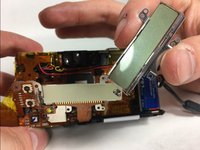
    • Pull the yellow tape away from the side that is attached to the back screen.

    • Remove the back screen.

  8. Canon ELPH Z3 Camera Image Sensor Replacement, Image Sensor: passo 8, immagine 1 di 3 Canon ELPH Z3 Camera Image Sensor Replacement, Image Sensor: passo 8, immagine 2 di 3 Canon ELPH Z3 Camera Image Sensor Replacement, Image Sensor: passo 8, immagine 3 di 3
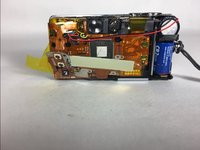
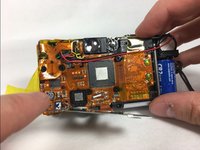
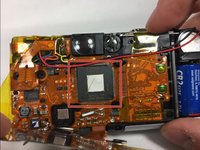
    • Pull away back screen base to reveal the image sensor.

    • Remove image sensor using a set of pliers.

Conclusione

To reassemble your device, follow these instructions in reverse order.

Katy Skillings

Membro da: 10/21/16

1 Reputazione

2 Guide realizzate

Team

UMass Dartmouth, Team 1-7, Catania Fall 2016 Membro di UMass Dartmouth, Team 1-7, Catania Fall 2016

UMASSD-CATANIA-F16S1G7

3 Membri

10 Guide realizzate

0Commenti sulla guida

Aggiungi Commento

Visualizza Statistiche:

Ultime 24 Ore: 1

Ultimi 7 Giorni: 3

Ultimi 30 Giorni: 10

Tutti i Tempi: 335