Introduzione
In this guide, we will teach you how to replace the button panel on the CASIO CDP-230R. To replace the button panel, there are two circuit boards that will be removed. One circuit board is green and the other is yellow.
Cosa ti serve
-
-
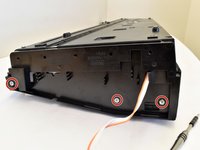
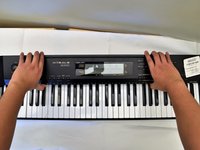
Flip the keyboard upside down, with the keys on a flat surface.
-
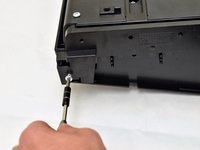
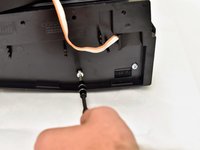
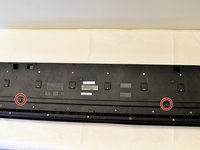
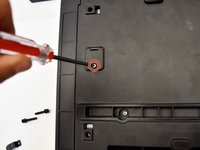
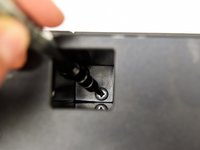
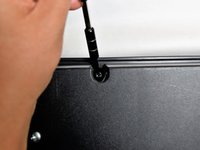
Remove the three black 14mm Japanese Industrial Standard (J) head screws using a J1 screwdriver on the top half of the outermost side panel.
-
-
-
-
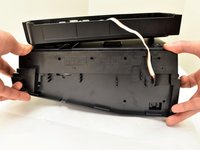
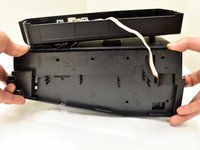
Place a hand on the front panel and speakers and carefully flip the keyboard over with the keys facing up.
-
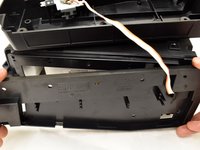
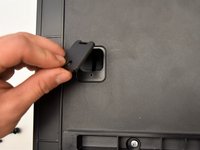
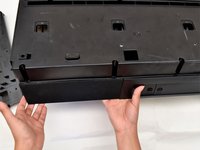
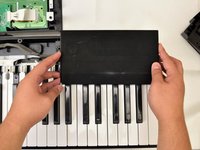
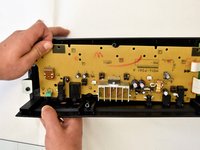
Grab the center of the front panel with two hands and lift to remove panel.
-
Grab the speakers from the sides and lift to remove. Once you have done this for the first speaker, repeat with the second speaker.
-
-
-
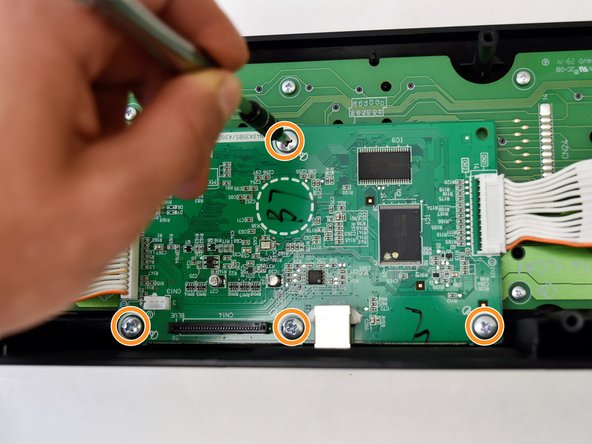
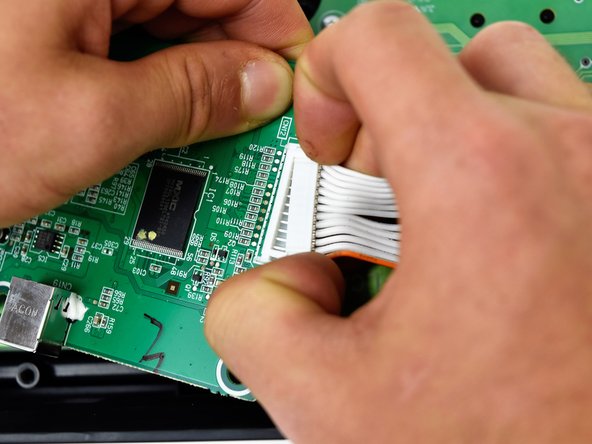
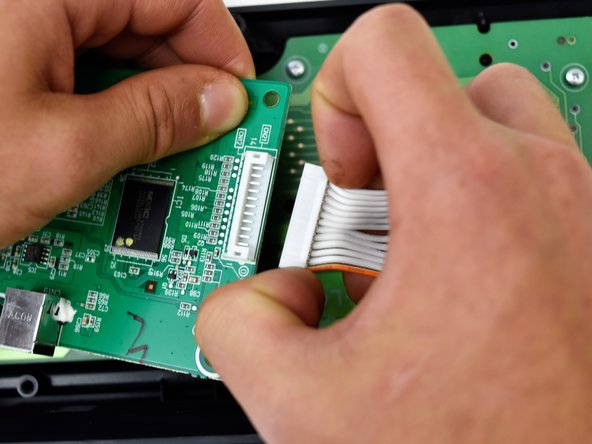
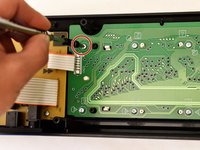
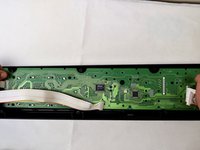
The main circuit board is located on the green side of the button panel. The main circuit board is the smaller green board.
-
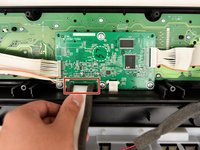
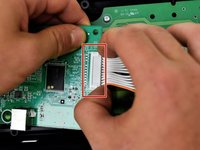
Grasp the white ribbon lined with foam and pull up to remove from the main circuit board.
-
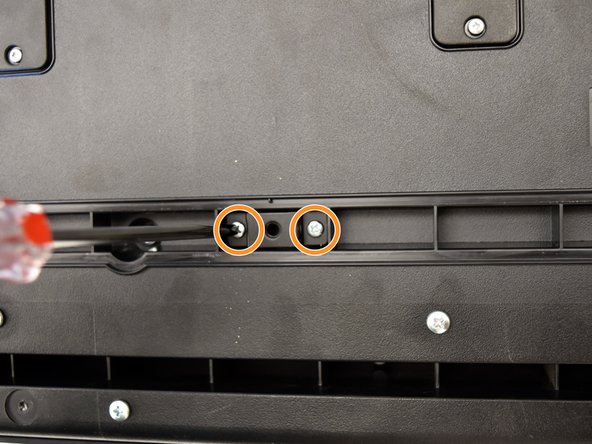
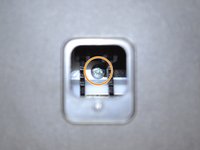
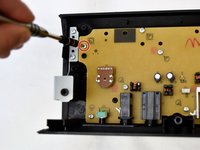
Remove the four silver 8mm x 2mm J head screws with a J1 screwdriver.
-
-
-
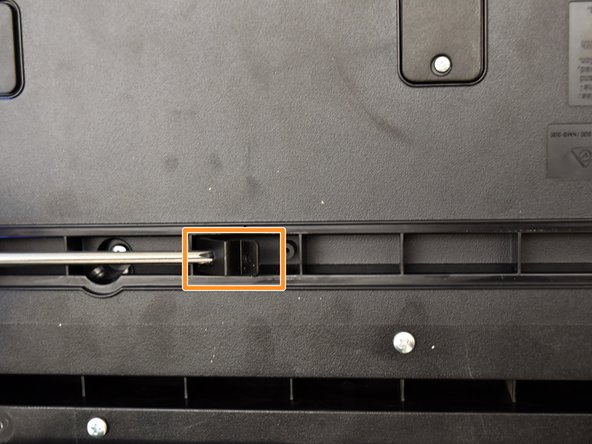
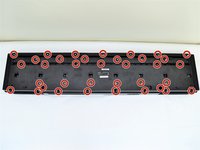
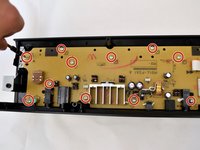
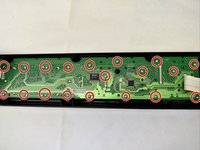
Remove the 11 7.5mm J head screws from the yellow button panel by using a J1 screwdriver.
-


To reassemble your device, follow these instructions in reverse order.
Annulla: non ho completato questa guida.
Un'altra persona ha completato questa guida.
Team

Cal Poly, Team S4-G2, Livingston Fall 2017 Membro di Cal Poly, Team S4-G2, Livingston Fall 2017
CPSU-LIVINGSTON-F17S4G2
4 Membri
6 Guide realizzate