Introduzione
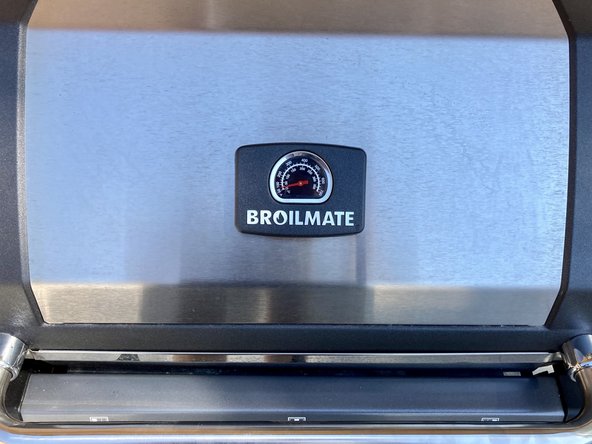
Extreme weather expedites the normal wear-and-tear of the Broil-King 3 burner BBQ lid heat indicator. Since it is an outdoor grill, it is susceptible to damage from being exposed to harsh elements including rain, snow, wind, cold, and excessive heat. Prolonged exposure can cause the gauge to fail, reducing the usability of the BBQ. Replacing the heat indicator creates a few ounces of recyclable trash rather than the 3 foot by 4 foot BBQ itself. This quick fix is well worth the cost savings in many ways.
Cosa ti serve
-
-
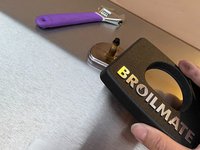
Gather the tools and parts needed for the repair:
-
Crescent Wrench
-
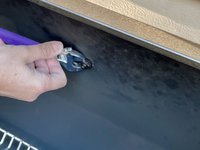
Scraper
-
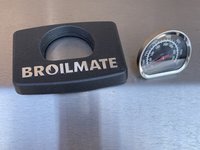
Replacement Heat Indicator
-
-


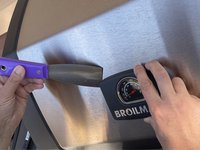


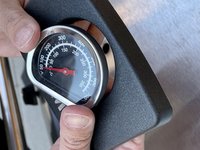


This simple repair doesn’t take much time, yet is well worth the effort. A working heat indicator provides the necessary information about the temperature to ensure safe food practices, and produce a tasty outcome.
Annulla: non ho completato questa guida.
Altre 2 persone hanno completato questa guida.
Team

Idaho State University, Team S1-G10, Watkins Summer 2021 Membro di Idaho State University, Team S1-G10, Watkins Summer 2021
ISU-WATKINS-SU21S1G10
2 Membri
2 Guide realizzate