Questa versione può contenere modifiche errate. Passa all'ultima istantanea verificata.
Cosa ti serve
-
Questo passaggio è privo di traduzione. Aiuta a tradurlo
-
Remove three 8mm screws from the left side of the device.
-
Remove four 8mm screws from the right side of the device.
-
-
Questo passaggio è privo di traduzione. Aiuta a tradurlo
-
Apply pressure on the SD card to pop it out of the port.
-
Remove the card by pulling it out.
-
-
Questo passaggio è privo di traduzione. Aiuta a tradurlo
-
Press down on the top cover of the device and slid it towards you until you see a slight gap created.
-
Lift the top cover off.
-
-
-
Questo passaggio è privo di traduzione. Aiuta a tradurlo
-
Slide the body case back away from the bottom.
-
Pull up the body case to remove it from the bottom.
-
-
Questo passaggio è privo di traduzione. Aiuta a tradurlo
-
Remove the four 8mm screws at each corner of the motherboard with a JIS #0 screwdriver.
-
-
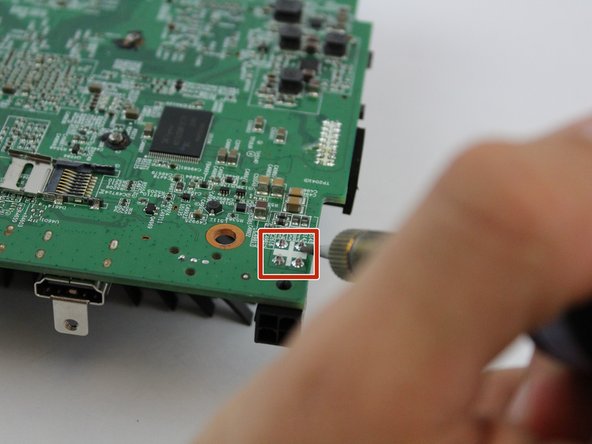
Questo passaggio è privo di traduzione. Aiuta a tradurlo
-
Flip the motherboard over so the heatsink is facing down.
-
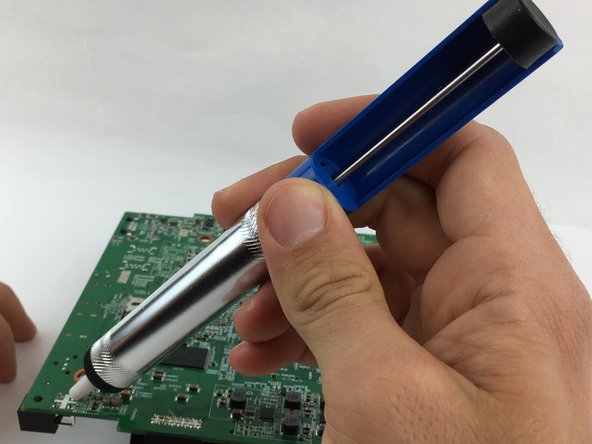
Desolder the four solder joints and remove the melted solder with the pump.
-
-
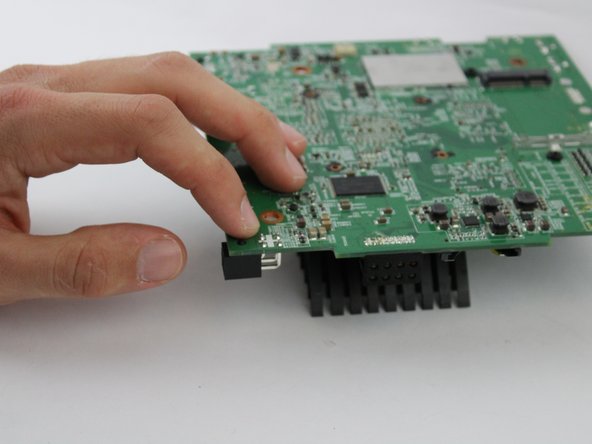
Questo passaggio è privo di traduzione. Aiuta a tradurlo
-
Apply the desoldering pump to remove the melted part from the motherboard (press the button to release it).
-
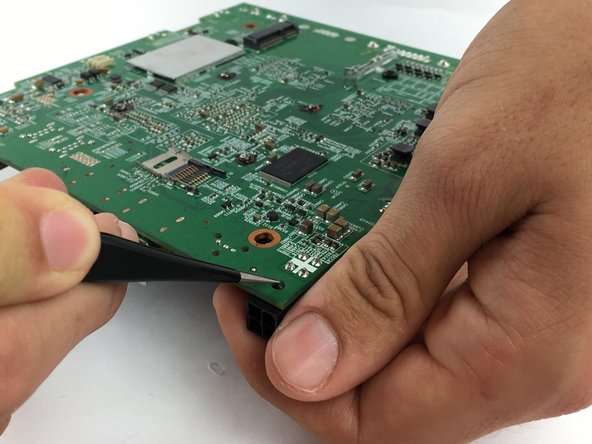
Using the tweezers apply pressure to the spade head clip shown.
-
Remove the charging port by pulling the piece off.
-


Team

USF Tampa, Team S17-G6, Boczar Spring 2018 Membro di USF Tampa, Team S17-G6, Boczar Spring 2018
USFT-BOCZAR-S18S17G6
4 Membri
6 Guide realizzate