Questa guida ha delle modifiche più recenti. Passa all'ultima versione non verificata.
Introduzione
If the BrightSign player isn't working, it could be a power issue. This replacement guide will walk you through the process needed to replace the 12V 5A battery charging port on the device.
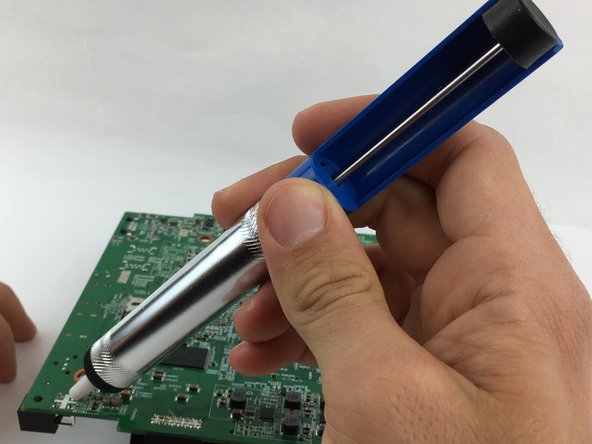
Tech Tip: this Replacement guide will require the use of a soldering iron to remove solders, so check out the soldering guide if you're unfamiliar with the process.
Cosa ti serve
-
-
Remove three 8mm screws from the left side of the device.
-
Remove four 8mm screws from the right side of the device.
-
-
-
-
Remove the four 8mm screws at each corner of the motherboard with a JIS #0 screwdriver.
-
-
-
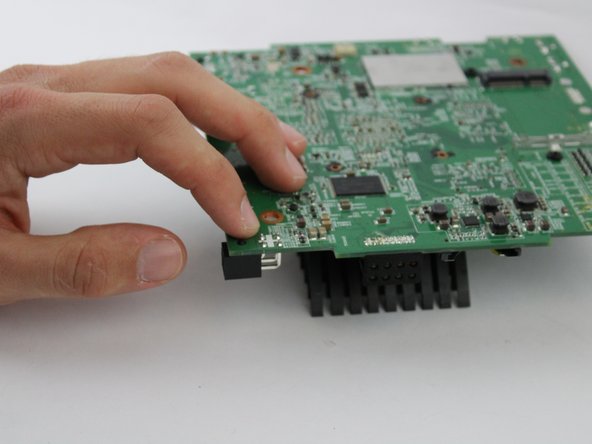
Flip the motherboard over so the heatsink is facing down.
-
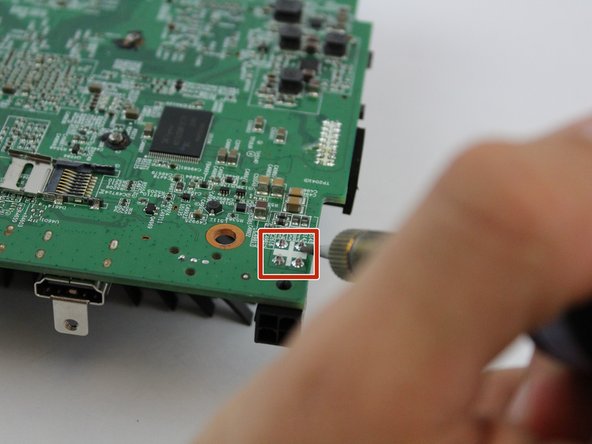
Desolder the four solder joints and remove the melted solder with the pump.
-


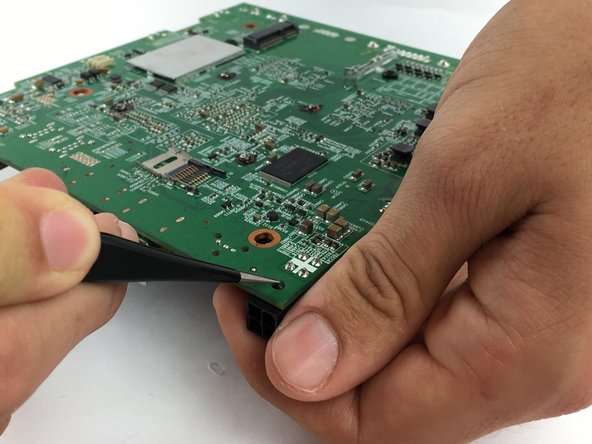
To reassemble your device, follow these instructions in reverse order.
To reassemble your device, follow these instructions in reverse order.
Team

USF Tampa, Team S17-G6, Boczar Spring 2018 Membro di USF Tampa, Team S17-G6, Boczar Spring 2018
USFT-BOCZAR-S18S17G6
4 Membri
6 Guide realizzate