Salta al contenuto principale

Blu Studio 5.5 Speakers Replacement

Cosa ti serve

  1. Blu Studio 5.5 Speakers Replacement, Battery: passo 1, immagine 1 di 3 Blu Studio 5.5 Speakers Replacement, Battery: passo 1, immagine 2 di 3 Blu Studio 5.5 Speakers Replacement, Battery: passo 1, immagine 3 di 3
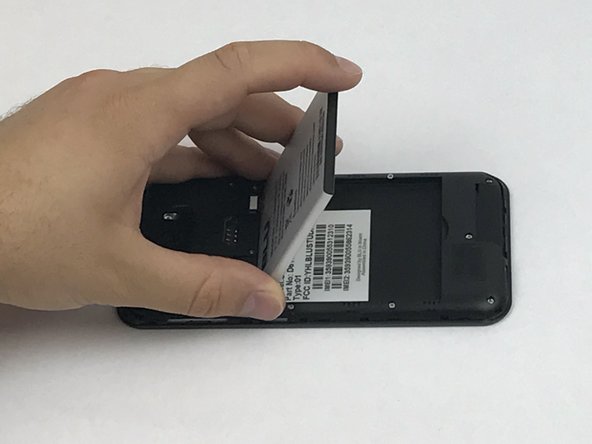
    • Locate the notch to remove the back panel at the lower left corner of the panel.

    • Insert the plastic opening tool or a fingernail into the notch.

    • Apply force upwards until back panel becomes loosened.

  2. Blu Studio 5.5 Speakers Replacement: passo 2, immagine 1 di 2 Blu Studio 5.5 Speakers Replacement: passo 2, immagine 2 di 2
    • Remove the loosened back panel and set aside.

    • Locate the notch to remove the battery.

  3. Blu Studio 5.5 Speakers Replacement: passo 3, immagine 1 di 3 Blu Studio 5.5 Speakers Replacement: passo 3, immagine 2 di 3 Blu Studio 5.5 Speakers Replacement: passo 3, immagine 3 di 3
    • Insert a plastic opening tool or your fingernail into the notch and apply force upwards until the battery is loosened.

    • Remove the battery and set aside.

  4. Blu Studio 5.5 Speakers Replacement, Back Panel Assembly: passo 4, immagine 1 di 2 Blu Studio 5.5 Speakers Replacement, Back Panel Assembly: passo 4, immagine 2 di 2
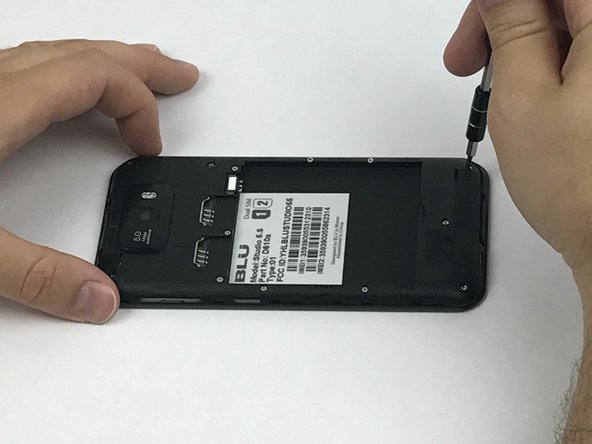
    • Locate all twelve screws along the back panel:

    • Seven 5mm screws.

    • Five 3.5mm screws.

    • Using a Phillips #000 screwdriver, remove all twelve screws.

  5. Blu Studio 5.5 Speakers Replacement: passo 5, immagine 1 di 3 Blu Studio 5.5 Speakers Replacement: passo 5, immagine 2 di 3 Blu Studio 5.5 Speakers Replacement: passo 5, immagine 3 di 3
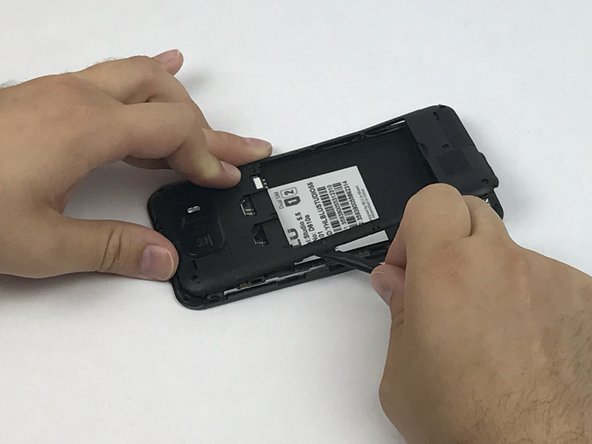
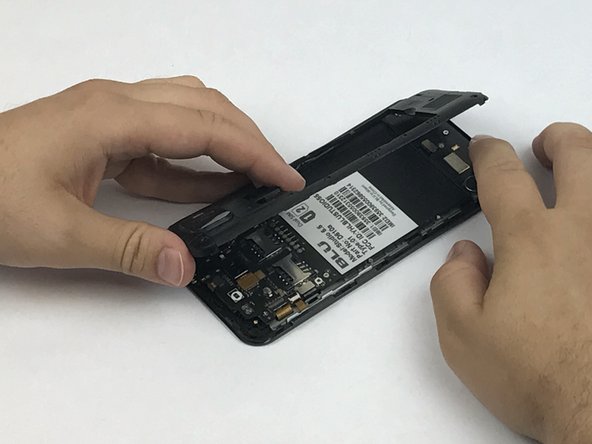
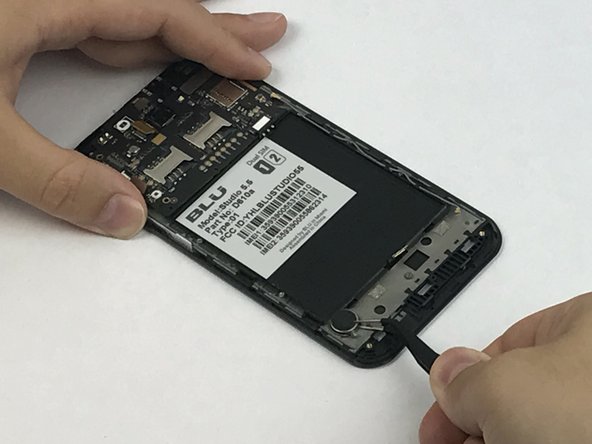
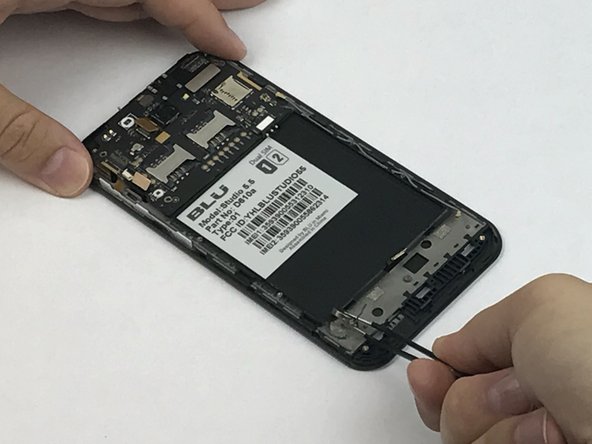
    • Now that all the screws have been removed, use a plastic opening tool to carefully pry at each of the corners until loosened.

    • Be extra careful when prying open as it may damage or snap the thin sides of the panel.

    • Place the plastic opening tool inside the loosened panel and gently push upwards and move along the phone to remove the back panel.

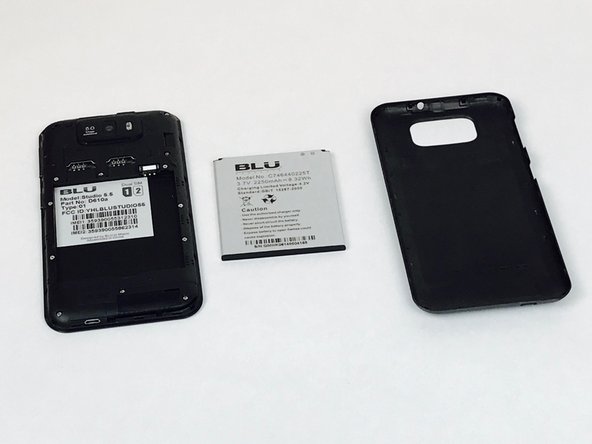
    • Remove the panel as if you were turning the page of a book.

  6. Blu Studio 5.5 Speakers Replacement, Speakers: passo 6, immagine 1 di 3 Blu Studio 5.5 Speakers Replacement, Speakers: passo 6, immagine 2 di 3 Blu Studio 5.5 Speakers Replacement, Speakers: passo 6, immagine 3 di 3
    • Using a pair of tweezers grasp the speakers that are located below the battery and pry it off as it is glued onto the phone assembly.

    • The speakers are connected by a pair of red and blue wires that are soldered onto the SUB PCBA component and will need to be soldered back on.

    • You can now remove the speakers and replace them.

    • It might be better to consider replacing the entire SUB-PCBA board instead of just the speakers individually to avoid dealing with the re-connection of the two wires.

Conclusione

To reassemble your device, follow these instructions in reverse order.

Team

USF Tampa, Team S1-G6, Nance Spring 2017 Membro di USF Tampa, Team S1-G6, Nance Spring 2017

USFT-NANCE-S17S1G6

3 Membri

8 Guide realizzate

0 Commenti

Aggiungi Commento

Visualizza Statistiche:

Ultime 24 Ore: 0

Ultimi 7 Giorni: 3

Ultimi 30 Giorni: 3

Tutti i Tempi: 185