Questa versione può contenere modifiche errate. Passa all'ultima istantanea verificata.
Cosa ti serve
-
Questo passaggio è privo di traduzione. Aiuta a tradurlo
-
Have a cracked screen? Need to replace your speaker? Etc? Well just follow these steps.
-
-
Questo passaggio è privo di traduzione. Aiuta a tradurlo
-
Turn your Storm where the battery door is facing up.
-
Remove the battery door.
-
Remove the battery.
-
-
Questo passaggio è privo di traduzione. Aiuta a tradurlo
-
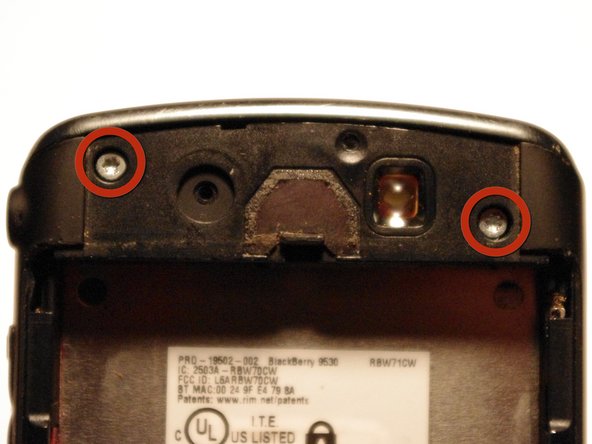
Remove the two hex screws as shown by the SIM card slot.
-
-
-
Questo passaggio è privo di traduzione. Aiuta a tradurlo
-
Remove the plastic piece that covers the camera & flash on the back . This is held in with some tape so use a safe pry tool.
-
Remove the two hex screws underneath it.
-
-
Questo passaggio è privo di traduzione. Aiuta a tradurlo
-
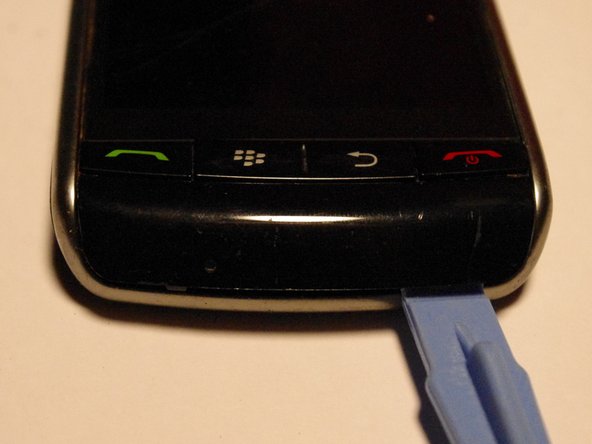
Turn the phone over and remove the plastic cover under the buttons as shown.
-
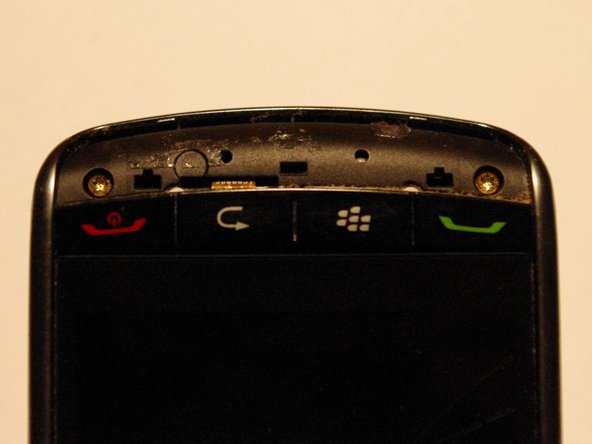
Remove the 2 screws underneath.
-
-
Questo passaggio è privo di traduzione. Aiuta a tradurlo
-
Go around your device with the plastic pry tool, there a 3 clips on each side of the housing.
-
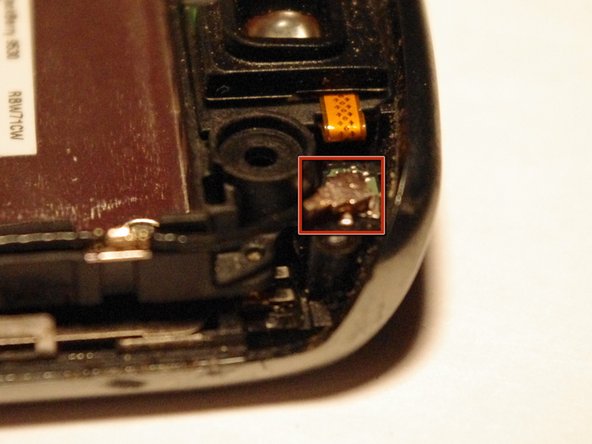
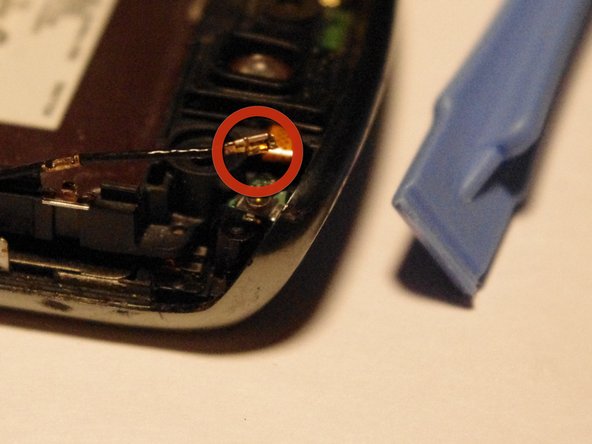
There is a connection for the antenna from the front to mid housing. Remove it with a pry tool if it does not come off by itself.
-
-
Questo passaggio è privo di traduzione. Aiuta a tradurlo
-
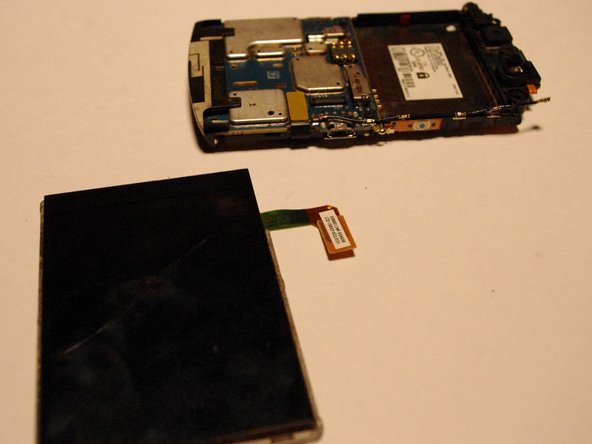
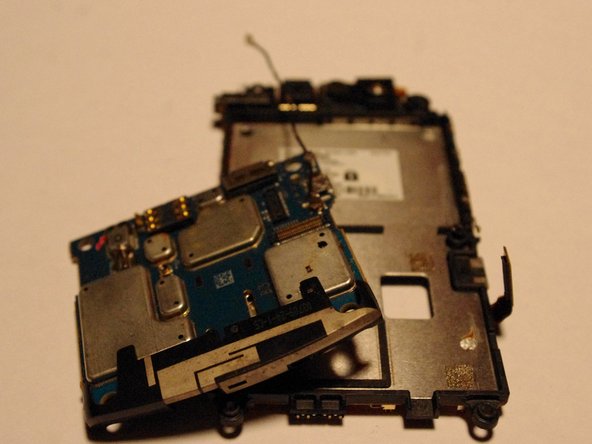
You now have 3 pieces. The rear, mid , & front housing.
-
-
Questo passaggio è privo di traduzione. Aiuta a tradurlo
-
To remove the screen gently pry up this ribbon cable with a pry tool.
-
-
Questo passaggio è privo di traduzione. Aiuta a tradurlo
-
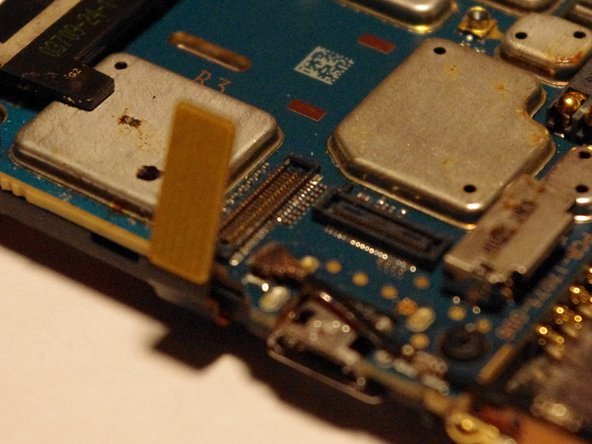
To remove the main board from the mid housing disconnect the ribbon cable as pictured.
-
Now follow in reverse order for reassembly!
-


Annulla: non ho completato questa guida.
Altre 6 persone hanno completato questa guida.
