Questa guida ha delle modifiche più recenti. Passa all'ultima versione non verificata.
Introduzione
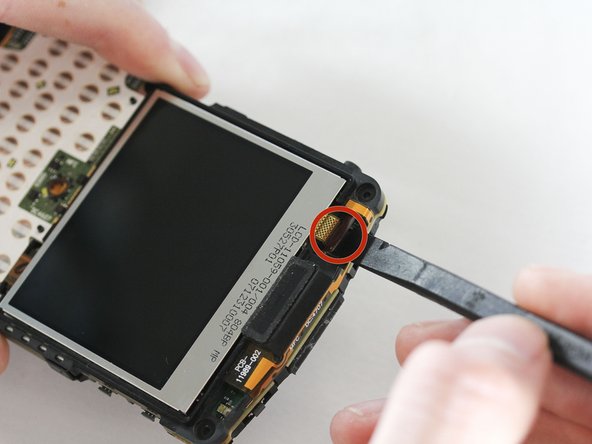
Replace your cracked LCD screen with a new one.
Cosa ti serve
-
-
Remove the battery cover by applying pressure and sliding down the silver square on the back of the phone.
-
-
-
-
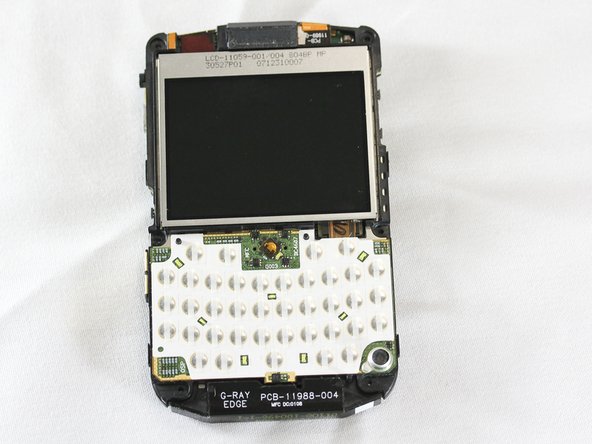
After disassembling the outer casing, the phone should be stripped as shown.
-


Quasi finito!
To reassemble your device, follow these instructions in reverse order.
Conclusione
To reassemble your device, follow these instructions in reverse order.
Team

Cal Poly, Team 13-64, Johann Spring 2013 Membro di Cal Poly, Team 13-64, Johann Spring 2013
CPSU-JOHANN-S13S13G64
4 Membri
7 Guide realizzate