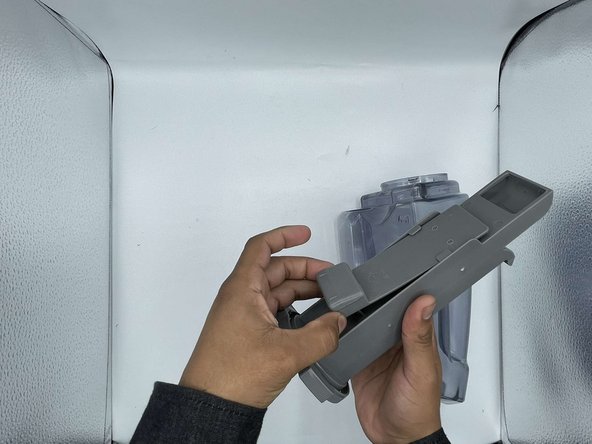
Salta al contenuto principale

Bissell SpotClean ProHeat 5207U Float Stack Replacement

  1. Bissell SpotClean ProHeat 5207U Float Stack Replacement, Float Stack: passo 1, immagine 1 di 1
    • Ensure Bissell SpotClean ProHeat is unplugged.

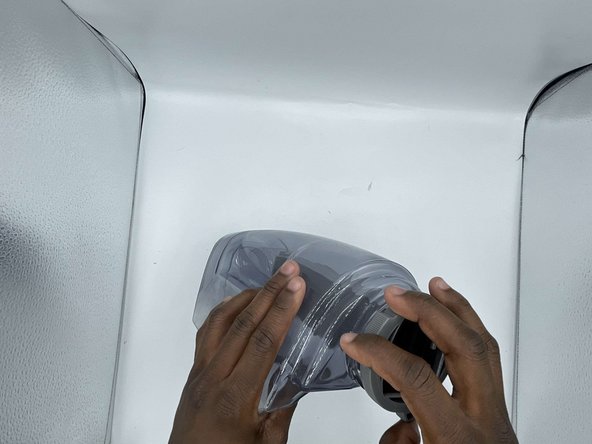
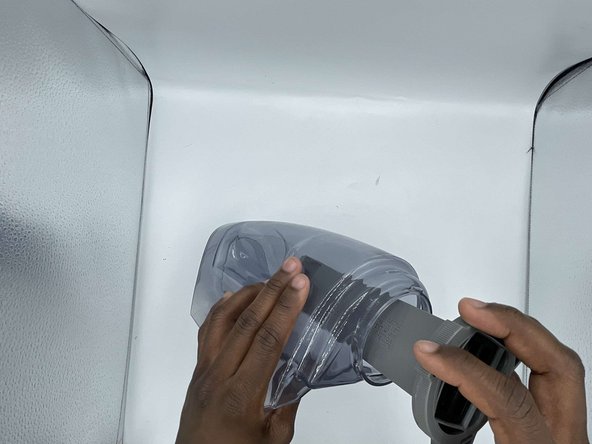
    • Position your hand vacuum so that you can see the text at the bottom saying "SpotClean ProHeat."

  2. Bissell SpotClean ProHeat 5207U Float Stack Replacement: passo 2, immagine 1 di 2 Bissell SpotClean ProHeat 5207U Float Stack Replacement: passo 2, immagine 2 di 2
    • Remove the dirty water tank. It is the tank on the right.

    • The tank reads "dirty" on the bottom on the inner edge.

  3. Bissell SpotClean ProHeat 5207U Float Stack Replacement: passo 3, immagine 1 di 3 Bissell SpotClean ProHeat 5207U Float Stack Replacement: passo 3, immagine 2 di 3 Bissell SpotClean ProHeat 5207U Float Stack Replacement: passo 3, immagine 3 di 3
    • Rotate the bottom of the float stack counterclockwise until the float stack comes lose.

    • Remove the float stack from the tank.

  4. Bissell SpotClean ProHeat 5207U Float Stack Replacement: passo 4, immagine 1 di 3 Bissell SpotClean ProHeat 5207U Float Stack Replacement: passo 4, immagine 2 di 3 Bissell SpotClean ProHeat 5207U Float Stack Replacement: passo 4, immagine 3 di 3
    • Grab the float on the float Stack assembly

    • Slide the float down towards the base.

    • Remove float and clean any debris found.

Conclusione

To reassemble your device, follow these instructions in reverse order.

Altre 2 persone hanno completato questa guida.

0 Commenti

Aggiungi Commento

Visualizza Statistiche:

Ultime 24 Ore: 1

Ultimi 7 Giorni: 4

Ultimi 30 Giorni: 15

Tutti i Tempi: 143