Introduzione
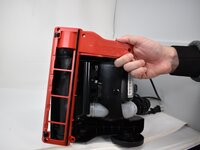
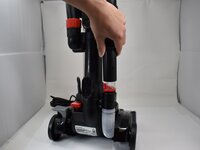
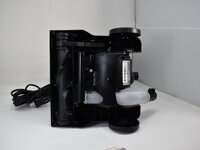
This guide for the Bissell CleanView Compact 3508 will give you step-by-step instructions to replace the lower hose at the bottom of your vacuum. This part connects the main hose of the vacuum to the bottom and is essential to it's function. You might be removing this part if the hose is clogged or if the hose is damaged.
Cosa ti serve
-
-
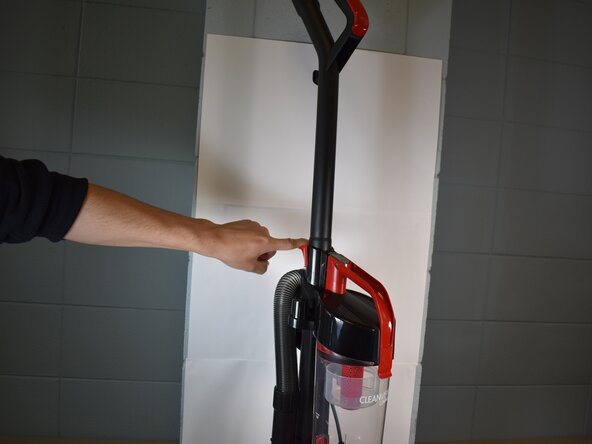
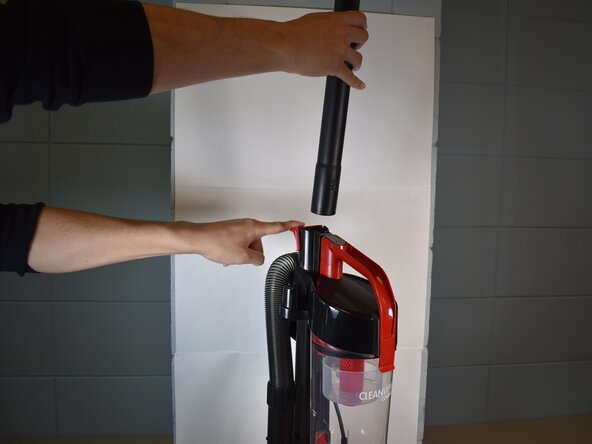
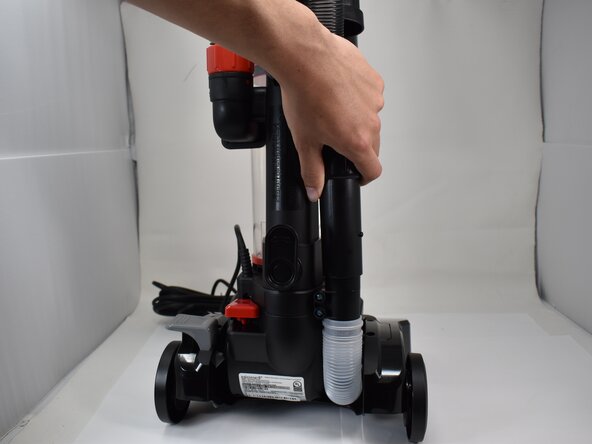
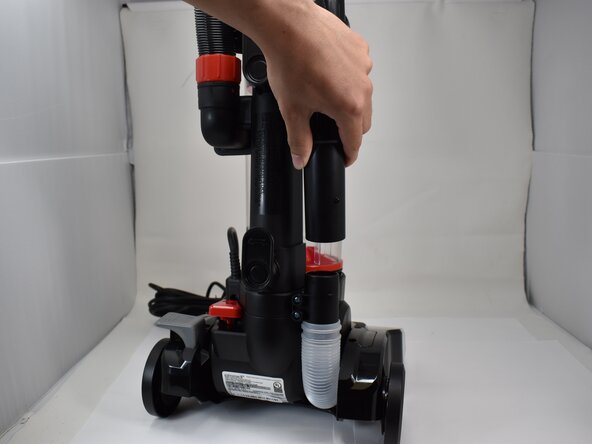
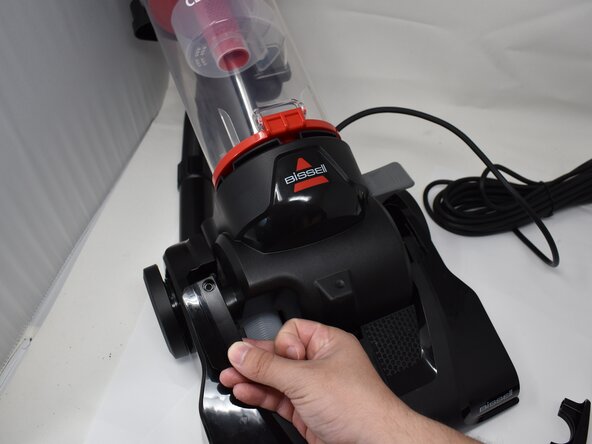
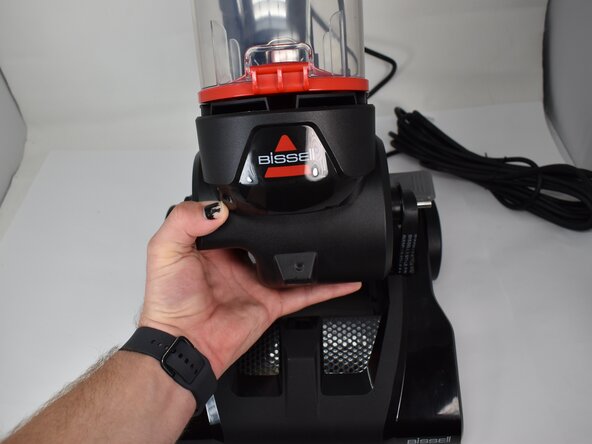
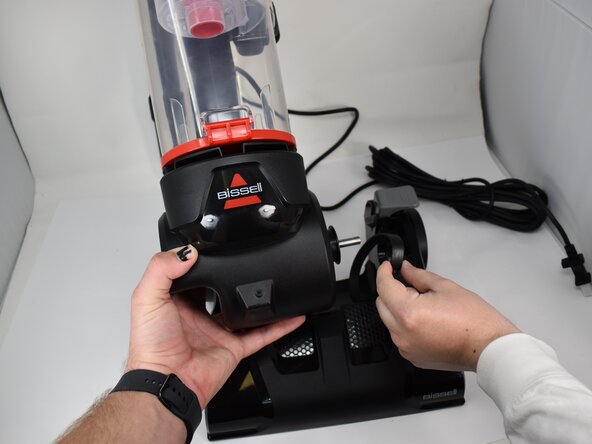
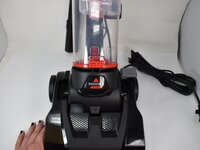
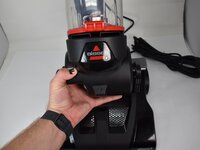
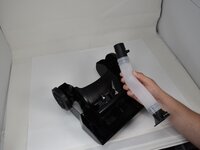
With the vacuum in an upright position, press the latch on the rear of the spine to remove the handle from the vacuum.
-
-
-
-
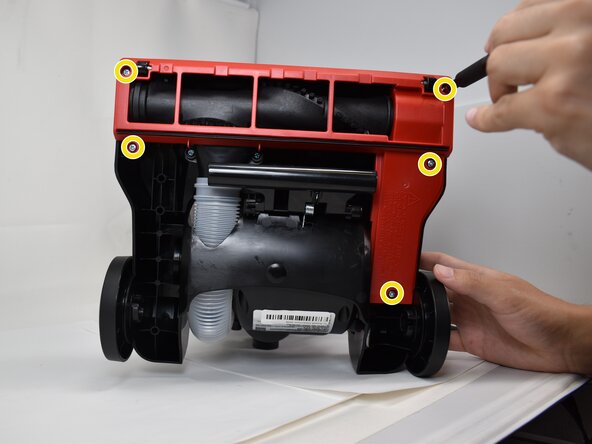
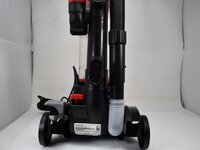
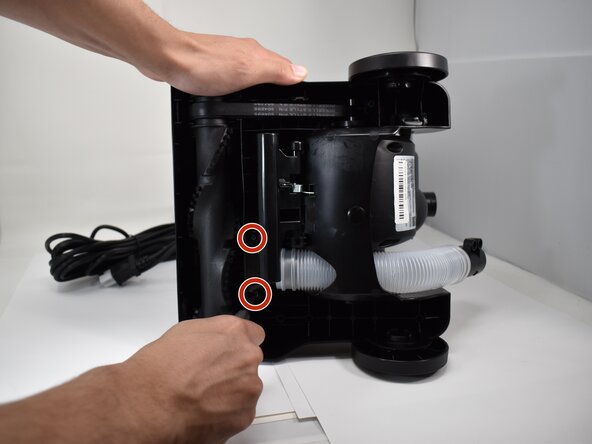
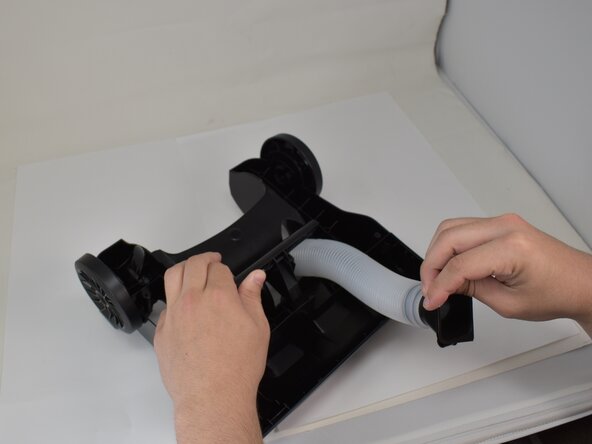
Flip the bottom upside to expose the bottom.
-
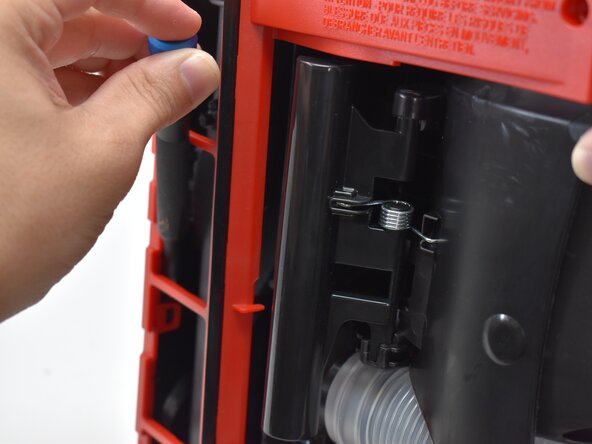
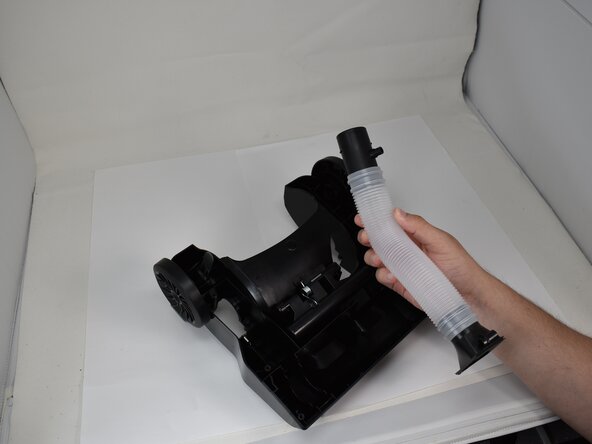
Pull back the lever back, and remove the two 20.7 mm screws from the hose.
-


To reassemble your device, follow these instructions in reverse order.
Team

University of Memphis, Team 1-4, Sneed Spring 2025 Membro di University of Memphis, Team 1-4, Sneed Spring 2025
UM-SNEED-S25S1G4
4 Membri
7 Guide realizzate