Salta al contenuto principale

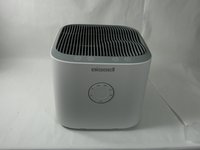
Bissell Air180 Control Buttons Replacement

Cosa ti serve

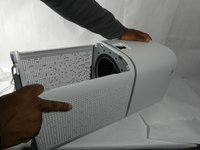
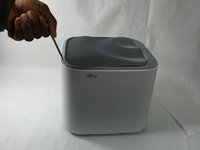
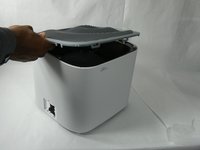
  1. Bissell Air180 Control Buttons Replacement, Air Filter: passo 1, immagine 1 di 2 Bissell Air180 Control Buttons Replacement, Air Filter: passo 1, immagine 2 di 2
    • Squeeze the clip on the back panel of the bottom housing and pull the panel away from the housing, exposing the air filter.

  2. Bissell Air180 Control Buttons Replacement: passo 2, immagine 1 di 1
    • Grab the sides of the filter and pull it up.

  3. Bissell Air180 Control Buttons Replacement: passo 3, immagine 1 di 1
    • Pull the filter away from the bottom housing, removing it from the rest of the device.

  4. Bissell Air180 Control Buttons Replacement, Power Supply: passo 4, immagine 1 di 1
    • Remove the four 18mm Phillips #1 screws connecting the bottom housing to the rest of the device.

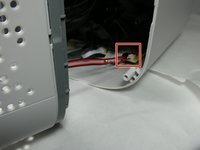
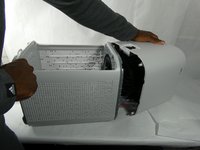
  5. Bissell Air180 Control Buttons Replacement: passo 5, immagine 1 di 3 Bissell Air180 Control Buttons Replacement: passo 5, immagine 2 di 3 Bissell Air180 Control Buttons Replacement: passo 5, immagine 3 di 3
    • Pull the bottom housing away from the rest of the device separating the power supply.

    • Unplug the red cord to fully disconnect the power supply from the fan and motherboard housing.

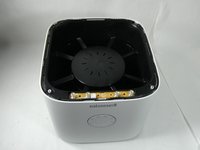
  6. Bissell Air180 Control Buttons Replacement, Control Buttons: passo 6, immagine 1 di 3 Bissell Air180 Control Buttons Replacement, Control Buttons: passo 6, immagine 2 di 3 Bissell Air180 Control Buttons Replacement, Control Buttons: passo 6, immagine 3 di 3
    • Pry off the top vent, separating it from the fan and motherboard housing.

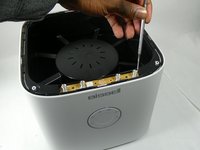
  7. Bissell Air180 Control Buttons Replacement: passo 7, immagine 1 di 2 Bissell Air180 Control Buttons Replacement: passo 7, immagine 2 di 2
    • Pry the button control panel up and away from the rest of the device using a spudger.

  8. Bissell Air180 Control Buttons Replacement: passo 8, immagine 1 di 2 Bissell Air180 Control Buttons Replacement: passo 8, immagine 2 di 2
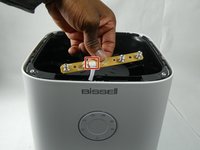
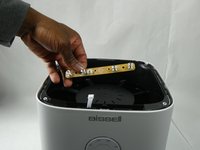
    • Pull the wire connecting the button controls to the fan housing to fully disconnect the button controls from the device.

Conclusione

To reassemble your device, follow these instructions in reverse order.

Aleah Ramos

Membro da: 10/26/22

533 Reputazione

5 Guide realizzate

Team

UMass Dartmouth, Team 3-4, Botvin Fall 2022 Membro di UMass Dartmouth, Team 3-4, Botvin Fall 2022

UMASSD-BOTVIN-F22S3G4

4 Membri

5 Guide realizzate

0 Commenti

Aggiungi Commento

Visualizza Statistiche:

Ultime 24 Ore: 0

Ultimi 7 Giorni: 1

Ultimi 30 Giorni: 2

Tutti i Tempi: 64