Salta al contenuto principale

Bicycle Cassette Replacement

Cosa ti serve

  1. Bicycle Cassette Replacement, Bicycle Cassette: passo 1, immagine 1 di 2 Bicycle Cassette Replacement, Bicycle Cassette: passo 1, immagine 2 di 2
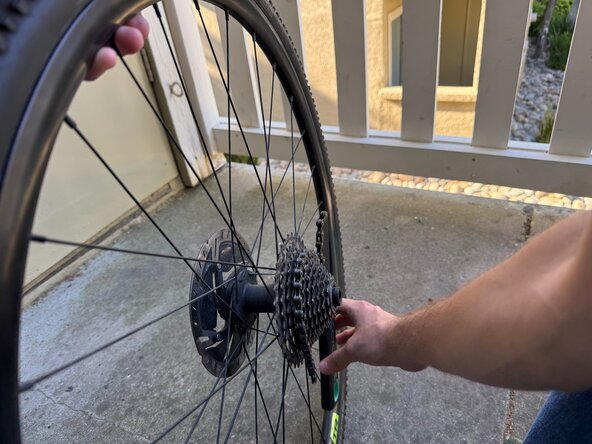
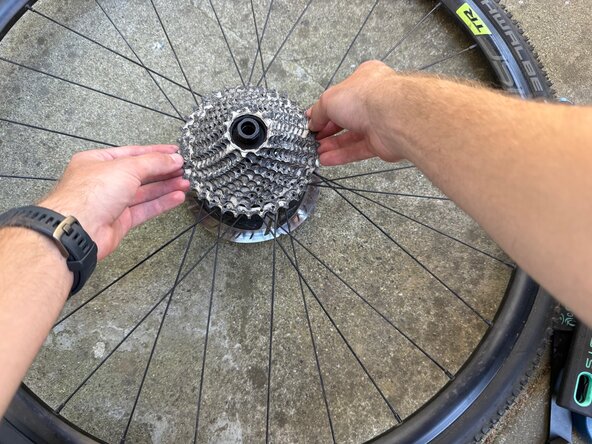
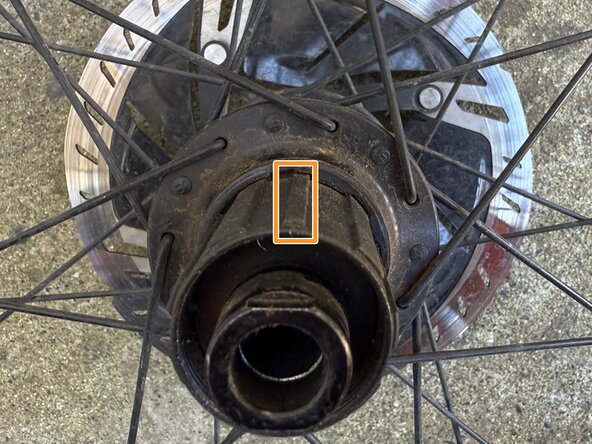
    • Place your wheel on a hard surface with the cassette on your right side.

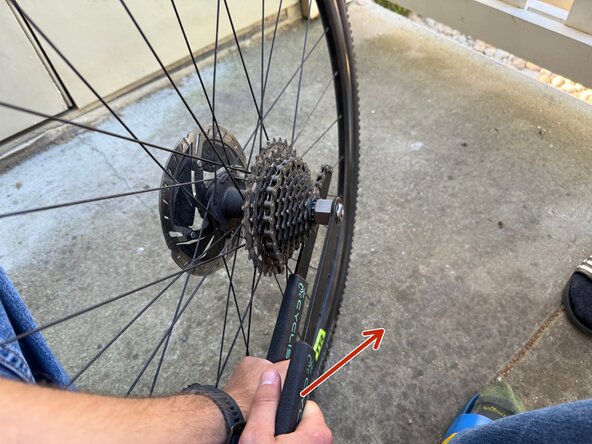
    • Wrap the chain whip clockwise around the cassette.

  2. Bicycle Cassette Replacement: passo 2, immagine 1 di 3 Bicycle Cassette Replacement: passo 2, immagine 2 di 3 Bicycle Cassette Replacement: passo 2, immagine 3 di 3
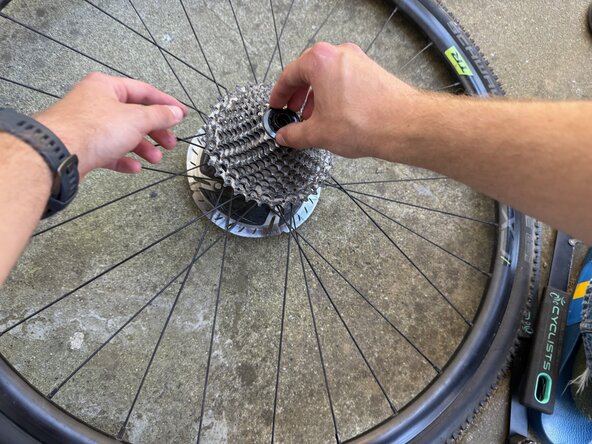
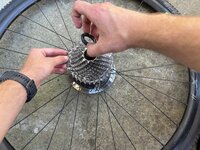
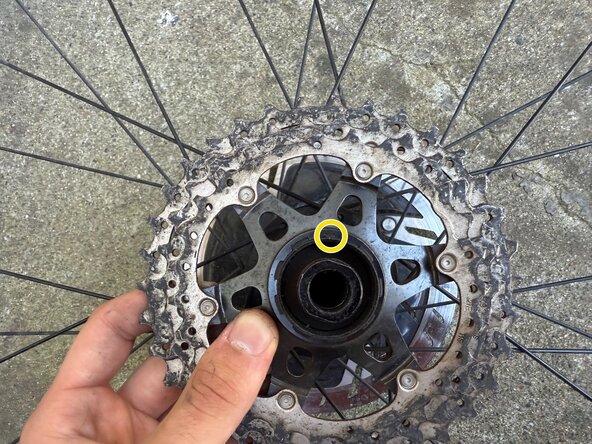
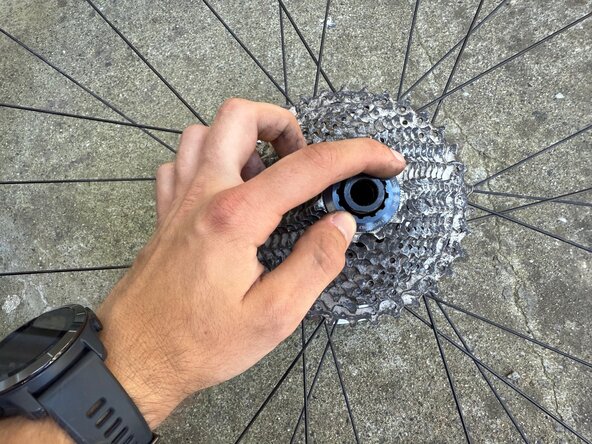
    • Insert the cassette lockring tool into the center of the cassette with the lever arm between 7 and 9 o'clock.

    • Holding the chain whip in place with your left hand, apply counterclockwise force on the cassette tool's lever arm.

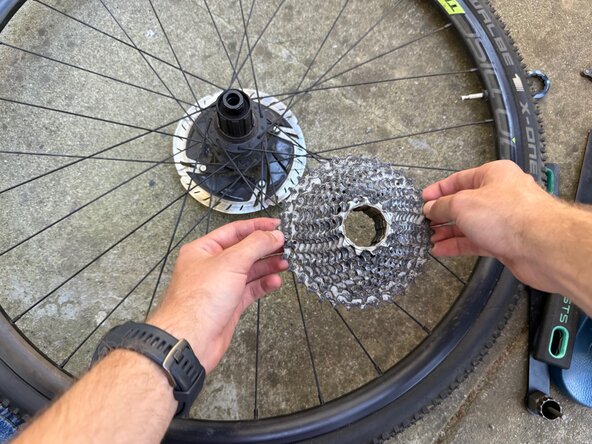
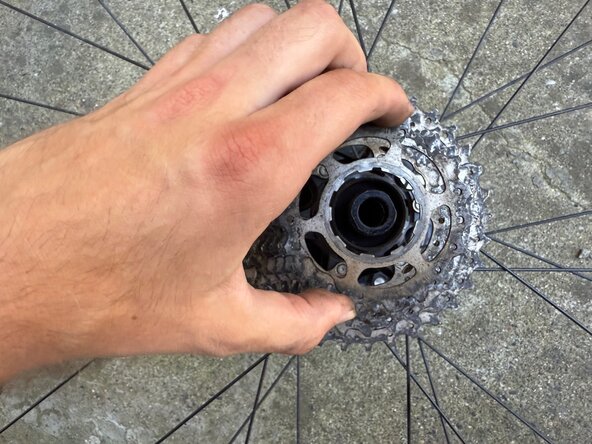
    • Continue turning the cassette tool until the tool spins freely.

  3. Bicycle Cassette Replacement: passo 3, immagine 1 di 3 Bicycle Cassette Replacement: passo 3, immagine 2 di 3 Bicycle Cassette Replacement: passo 3, immagine 3 di 3
    • Lay the wheel down on a flat surface with the cassette facing upwards.

    • Loosen the cassette lockring by turning it counterclockwise.

  4. Bicycle Cassette Replacement: passo 4, immagine 1 di 3 Bicycle Cassette Replacement: passo 4, immagine 2 di 3 Bicycle Cassette Replacement: passo 4, immagine 3 di 3
    • Remove the cassette lockring.

    • Using both hands, lift the cassette in one piece from the freehub body.

  5. Bicycle Cassette Replacement: passo 5, immagine 1 di 2 Bicycle Cassette Replacement: passo 5, immagine 2 di 2
    • Your cassette may require a spacer to work properly with your freehub. Consult your cassette user's manual to determine your spacer needs.

    • Remove the old freehub body spacer as needed.

  6. Bicycle Cassette Replacement: passo 6, immagine 1 di 3 Bicycle Cassette Replacement: passo 6, immagine 2 di 3 Bicycle Cassette Replacement: passo 6, immagine 3 di 3
    • Locate the small cutout on the bottom of the new cassette.

    • Locate the small ridge on the freehub body.

    • Slide the bottom piece of the new cassette on the freehub body by matching the small cutout with the small ridge.

  7. Bicycle Cassette Replacement: passo 7, immagine 1 di 3 Bicycle Cassette Replacement: passo 7, immagine 2 di 3 Bicycle Cassette Replacement: passo 7, immagine 3 di 3
    • Continue placing smaller cogs on the freehub body by matching the cutouts and ridges.

    • Insert spacers as specified by the cassette user's manual.

  8. Bicycle Cassette Replacement: passo 8, immagine 1 di 3 Bicycle Cassette Replacement: passo 8, immagine 2 di 3 Bicycle Cassette Replacement: passo 8, immagine 3 di 3
    • For the final two cogs, locate the small cutouts and place on top of the already placed cogs by aligning with the top of small ridge on the freehub body.

    • The top two cogs will not fully slide on to the freehub body and require more attention for aligned placement.

  9. Bicycle Cassette Replacement: passo 9, immagine 1 di 2 Bicycle Cassette Replacement: passo 9, immagine 2 di 2
    • Place the cassette lockring onto the top of the final cog.

    • Start threading the lockring clockwise into the freehub by hand.

  10. Bicycle Cassette Replacement: passo 10, immagine 1 di 3 Bicycle Cassette Replacement: passo 10, immagine 2 di 3 Bicycle Cassette Replacement: passo 10, immagine 3 di 3
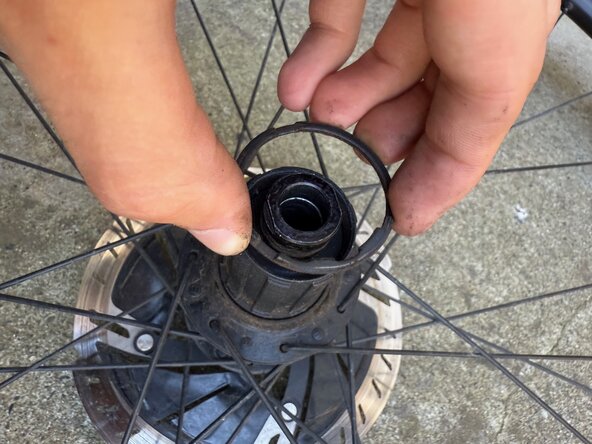
    • Once the lockring is partially threaded in, insert the cassette lockring tool.

    • Tighten the cassette on the freehub body by turning the lockring tool clockwise.

    • The exact torque to tighten to varies by cassette manufacturer and model. Consult the cassette user's manual.

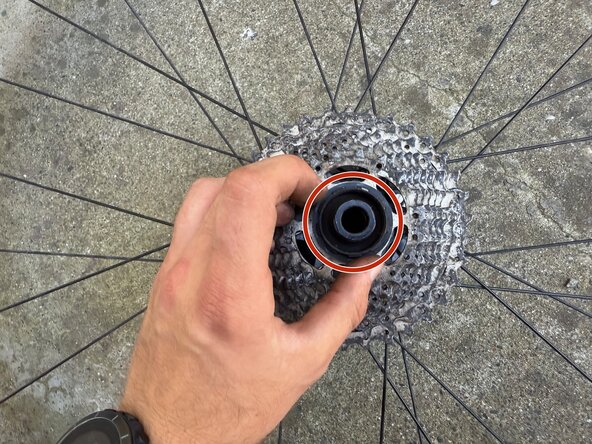
    • After finishing tightening, check the cassette for play by pulling up on the largest cog. If excess play is present and the cassette has been tightened to specifications, a spacer is likely missing.

Linea Traguardo

Un'altra persona ha completato questa guida.

Lars Lundqvist

Membro da: 04/14/25

208 Reputazione

1 Guida realizzata

Team

UC Davis, Team 1-5, Morris Spring 2025 Membro di UC Davis, Team 1-5, Morris Spring 2025

UCD-MORRIS-S25S1G5

3 Membri

1 Guida realizzata

0Commenti sulla guida

Aggiungi Commento

Visualizza Statistiche:

Ultime 24 Ore: 2

Ultimi 7 Giorni: 21

Ultimi 30 Giorni: 70

Tutti i Tempi: 473