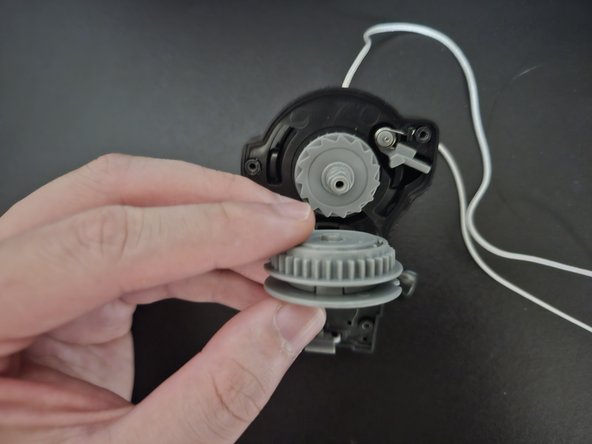
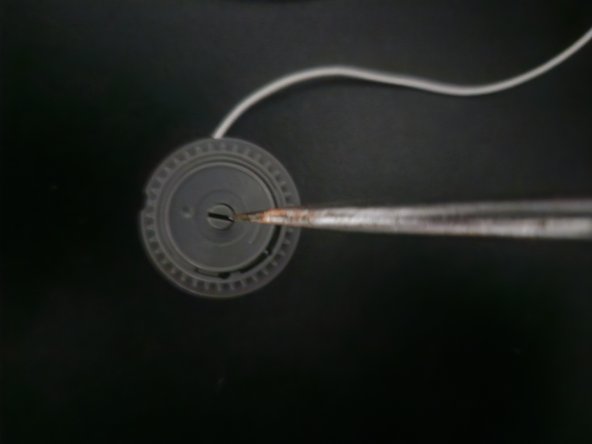
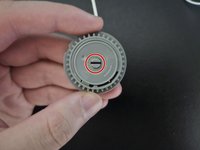
Salta al contenuto principale

Beyblade LR String Launcher Fix

Cosa ti serve

  1. Beyblade LR String Launcher Fix, Beyblade LR String Launcher Fix: passo 1, immagine 1 di 2 Beyblade LR String Launcher Fix, Beyblade LR String Launcher Fix: passo 1, immagine 2 di 2
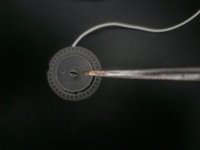
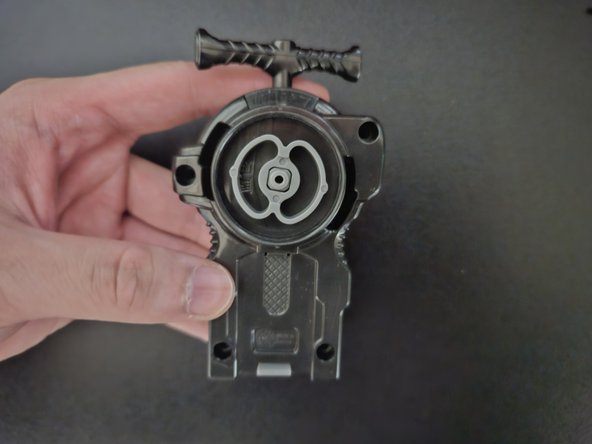
    • Use a Phillips #00 screwdriver to remove five screws from the bottom of the launcher.

  2. Beyblade LR String Launcher Fix: passo 2, immagine 1 di 1
    • Use a spudger to pry the cover off exposing the gear that houses the string.

  3. Beyblade LR String Launcher Fix: passo 3, immagine 1 di 2 Beyblade LR String Launcher Fix: passo 3, immagine 2 di 2
    • Unravel the string from the gear.

    • Remove the gear that was housing the string.

  4. Beyblade LR String Launcher Fix: passo 4, immagine 1 di 2 Beyblade LR String Launcher Fix: passo 4, immagine 2 di 2
    • Use a flathead screwdriver to rotate the slot on the front of the gear counterclockwise 9-10 times.

  5. Beyblade LR String Launcher Fix: passo 5, immagine 1 di 2 Beyblade LR String Launcher Fix: passo 5, immagine 2 di 2
    • Keep the flathead screwdriver in the slot.

    • Place the gear back in the socket with the slot perpendicular.

    • Carefully remove the flathead screwdriver.

    • Push on the slot to recall the string.

  6. Beyblade LR String Launcher Fix: passo 6, immagine 1 di 3 Beyblade LR String Launcher Fix: passo 6, immagine 2 di 3 Beyblade LR String Launcher Fix: passo 6, immagine 3 di 3
    • Put the cover back on the string launcher.

    • Use a Phillips #00 screwdriver to replace the five screws that secure the cover.

Conclusione

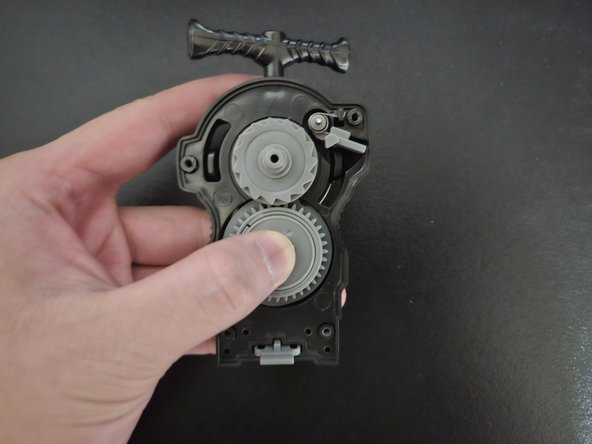
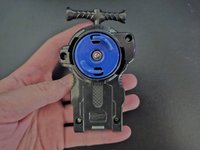
To reassemble, follow these instructions in reverse order.

Un'altra persona ha completato questa guida.

Thomas Wong

Membro da: 01/13/24

163 Reputazione

1 Guida realizzata

Team

0 Commenti

Aggiungi Commento

Visualizza Statistiche:

Ultime 24 Ore: 0

Ultimi 7 Giorni: 2

Ultimi 30 Giorni: 21

Tutti i Tempi: 75