Salta al contenuto principale

Best Budget- Hand-held blender - high/low button replacement

Guida Archiviata
Questa guida è mantenuta solo per scopi storici. Usa la versione aggiornata della guida per eseguire la riparazione.

Cosa ti serve

  1. Best Budget- Hand-held blender - high/low button replacement, switch: passo 1, immagine 1 di 2 Best Budget- Hand-held blender - high/low button replacement, switch: passo 1, immagine 2 di 2
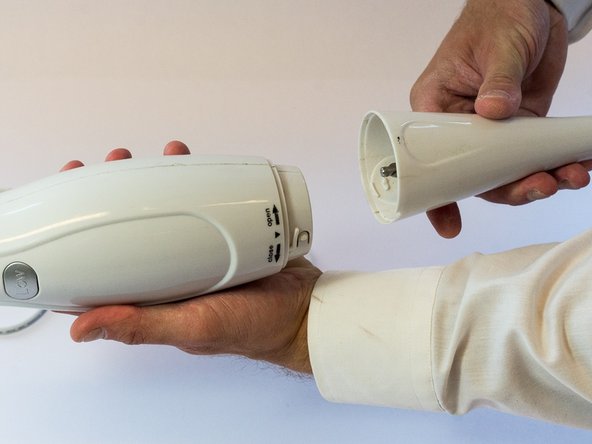
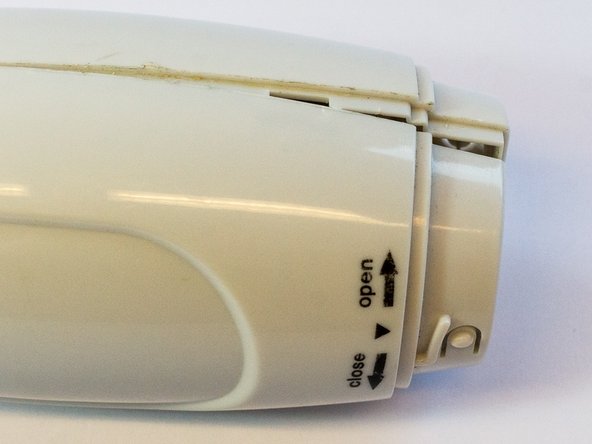
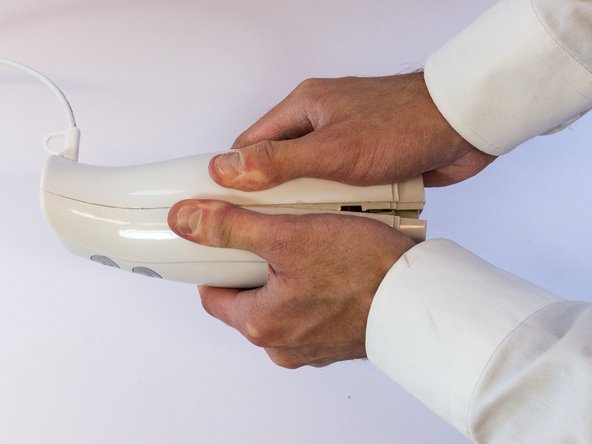
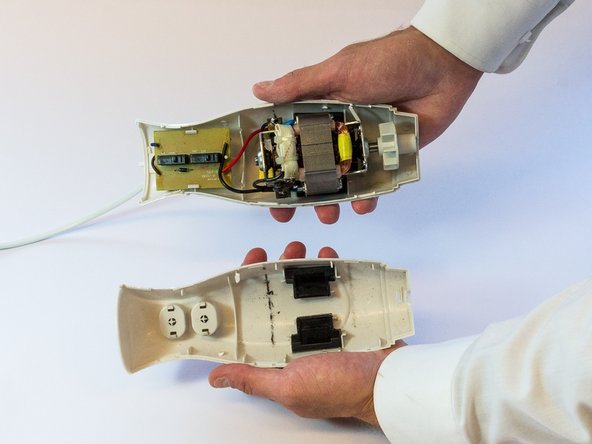
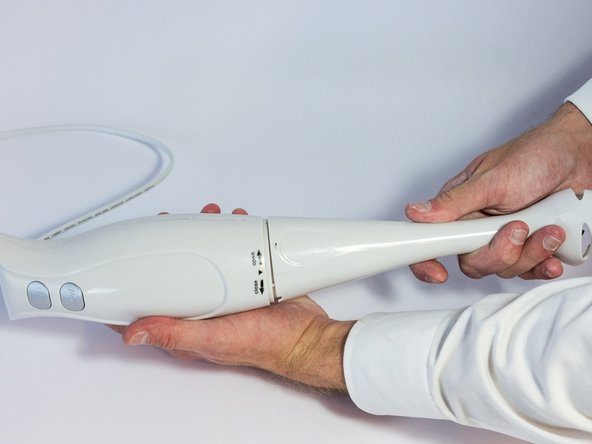
    • Take out the lower part of the blender, by rotating it clockwise, as stated on the upper part.

  2. Best Budget- Hand-held blender - high/low button replacement: passo 2, immagine 1 di 2 Best Budget- Hand-held blender - high/low button replacement: passo 2, immagine 2 di 2
    • Gently put the metal spudger (1) in the gap between the two shell parts and force a small gap, so that the parts loosen up.

  3. Best Budget- Hand-held blender - high/low button replacement: passo 3, immagine 1 di 2 Best Budget- Hand-held blender - high/low button replacement: passo 3, immagine 2 di 2
    • Open up the click connections inside the shells by gently pushing the two shells together with the hand palms, right next to the gap.

  4. Best Budget- Hand-held blender - high/low button replacement: passo 4, immagine 1 di 1
    • Slide out the printboard by pushing it back and forth in the clicking connection with the shell.

  5. Best Budget- Hand-held blender - high/low button replacement: passo 5, immagine 1 di 2 Best Budget- Hand-held blender - high/low button replacement: passo 5, immagine 2 di 2
    Attrezzo utilizzato in questo passaggio:
    Desoldering Pump
    $3.99
    Compra
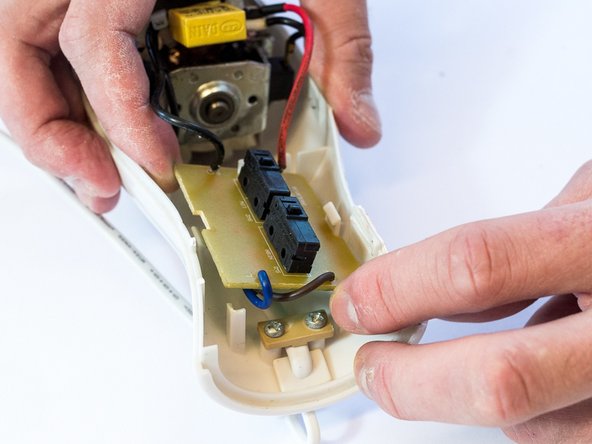
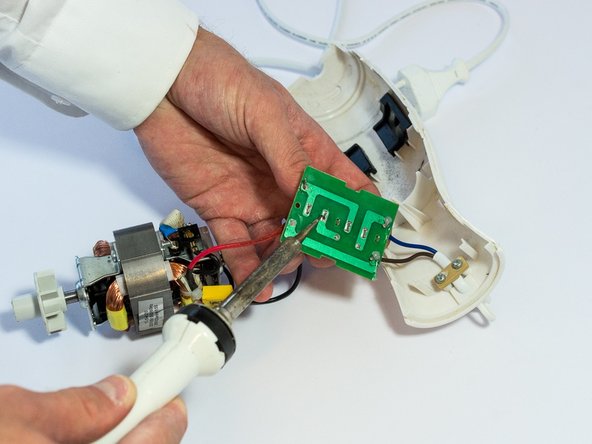
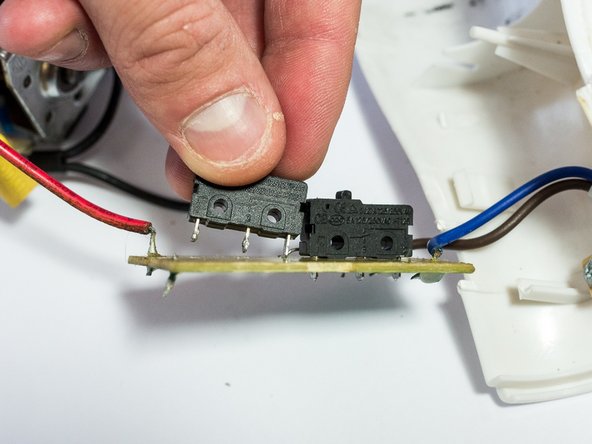
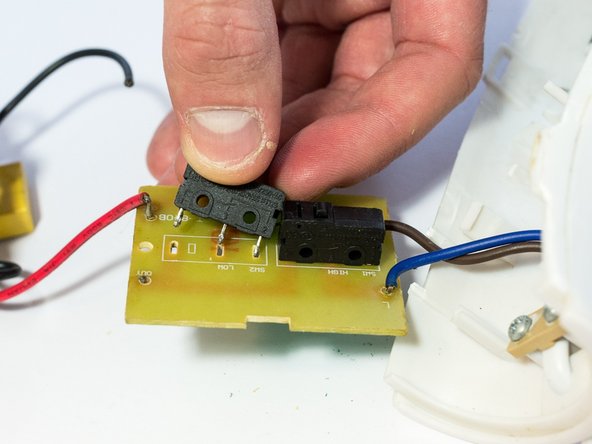
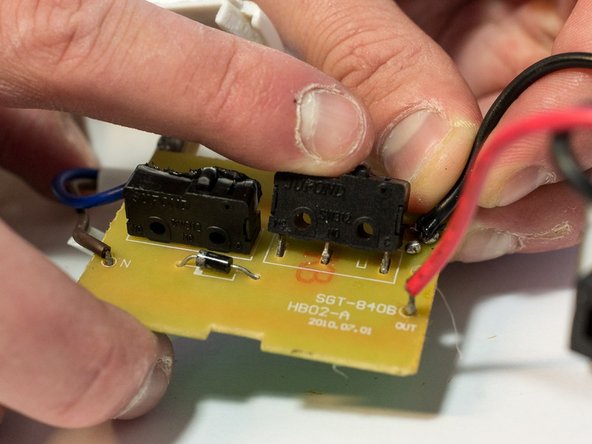
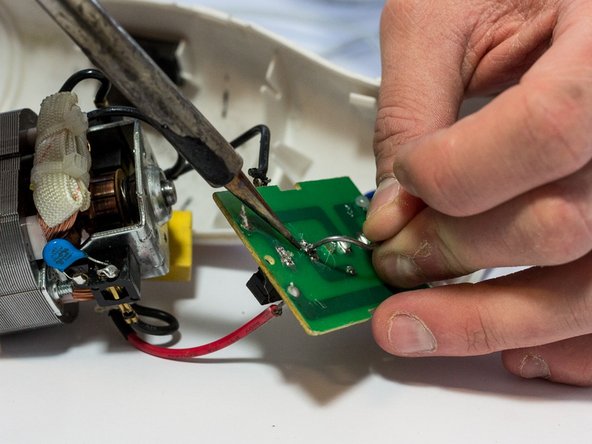
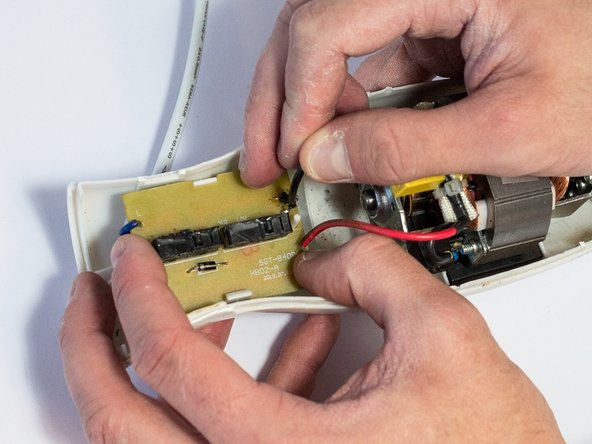
    • Loosen the two soldering connections between the metal connectivity ends of the switch and the printboard by heating it with a soldering iron from the soldering station (2), at a temperature of around 380 degrees Celsius. Use a desoldering pump (4) to suck the soldering tin away. Gently pull the switch away till it disconnects.

    • Take a look at this guide: Come saldare e dissaldare componenti elettrici

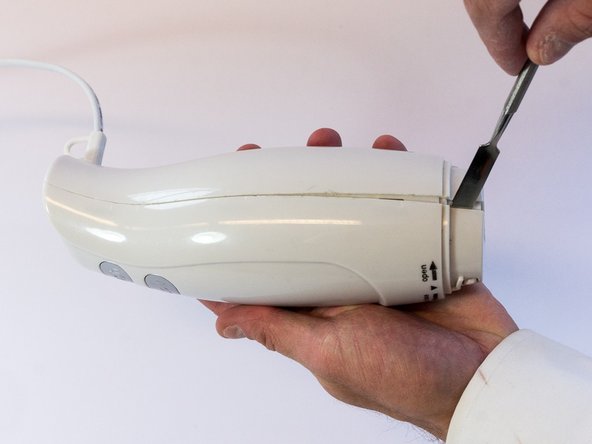
    • Watch out: the soldering iron is hot and may melt other parts in the product if you aren't careful.

  6. Best Budget- Hand-held blender - high/low button replacement: passo 6, immagine 1 di 1
    • Take the replacement switch (5).

  7. Best Budget- Hand-held blender - high/low button replacement: passo 7, immagine 1 di 2 Best Budget- Hand-held blender - high/low button replacement: passo 7, immagine 2 di 2
    • Place the new switch in the empty holes of the printboard and use a soldering iron (2) and soldering wire (3) to reconnect the parts with the printboard. Make sure the connection is strong enough.

    • Make sure the new switch is placed with the button in the right direction.

  8. Best Budget- Hand-held blender - high/low button replacement: passo 8, immagine 1 di 1
    • Put the printboard back into the clicking connection with the shell. Make sure the motor is at the right location as well.

  9. Best Budget- Hand-held blender - high/low button replacement: passo 9, immagine 1 di 2 Best Budget- Hand-held blender - high/low button replacement: passo 9, immagine 2 di 2
    • Push the two shells together until you hear a ‘click’ and make sure the two shells are well connected.

  10. Best Budget- Hand-held blender - high/low button replacement: passo 10, immagine 1 di 1
    • Put the lower part of blender back at the two shells by rotating it counterclockwise, as stated on the upper part.

Conclusione

If you followed all the steps, you should be able to use the product again.

Un'altra persona ha completato questa guida.

0 Commenti

Aggiungi Commento

Visualizza Statistiche:

Ultime 24 Ore: 0

Ultimi 7 Giorni: 0

Ultimi 30 Giorni: 1

Tutti i Tempi: 135