Salta al contenuto principale
Unisciti alla Community delle riparazioni - Crea un account
Beboncool Wireless Switch Pro Controller Buttons Replacement

Beboncool Wireless Switch Pro Controller Buttons Replacement

Tayah Appel

Tayah Appel e 3 altri collaboratori

Ultimo aggiornamento il 7 mag 2024

35 - 45 minuti
Moderato

Introduzione

Vai al passo 1

This guide describes how to remove broken or damaged buttons for the BEBONCOOL Wireless Switch Pro Controller.

The Beboncool Gamepad has many buttons that all operate in the same manner. A broken or malfunctioning button is rather easy to identify when not getting the correct response or no response at all when pressing the button in a game. Replacing the button will likely fix the issue.

Cosa ti serve

Strumenti

Mostra di più…

  1. Beboncool Wireless Switch Pro Controller Buttons Replacement, Motherboard: passo 1, immagine 1 di 1
    • Use a Phillips #0 screwdriver to remove the seven 5 mm screws from the back of the controller.

  2. Beboncool Wireless Switch Pro Controller Buttons Replacement: passo 2, immagine 1 di 2 Beboncool Wireless Switch Pro Controller Buttons Replacement: passo 2, immagine 2 di 2
    • Gently separate the top and bottom halves of the controller.

  3. Beboncool Wireless Switch Pro Controller Buttons Replacement: passo 3, immagine 1 di 2 Beboncool Wireless Switch Pro Controller Buttons Replacement: passo 3, immagine 2 di 2
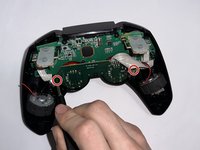
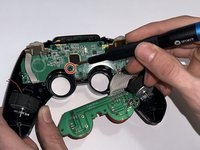
    • Use a Phillips #0 screwdriver to remove the two 5 mm screws holding the joystick motherboard in place.

  4. Beboncool Wireless Switch Pro Controller Buttons Replacement: passo 4, immagine 1 di 1
    • Carefully move the bumper buttons out of the way.

  5. Beboncool Wireless Switch Pro Controller Buttons Replacement: passo 5, immagine 1 di 2 Beboncool Wireless Switch Pro Controller Buttons Replacement: passo 5, immagine 2 di 2
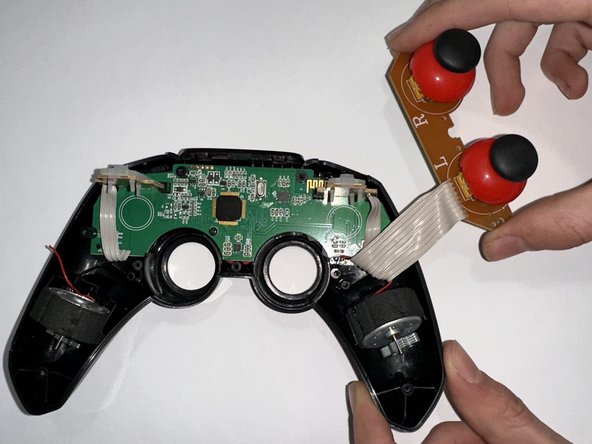
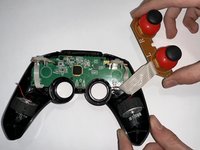
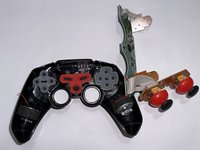
    • Use a Phillips #0 screwdriver to remove the 5 mm screw holding the motherboard in place.

    • Remove the motherboard.

  6. Beboncool Wireless Switch Pro Controller Buttons Replacement, Buttons: passo 6, immagine 1 di 2 Beboncool Wireless Switch Pro Controller Buttons Replacement, Buttons: passo 6, immagine 2 di 2
    Attrezzo utilizzato in questo passaggio:
    Tweezers
    $4.99
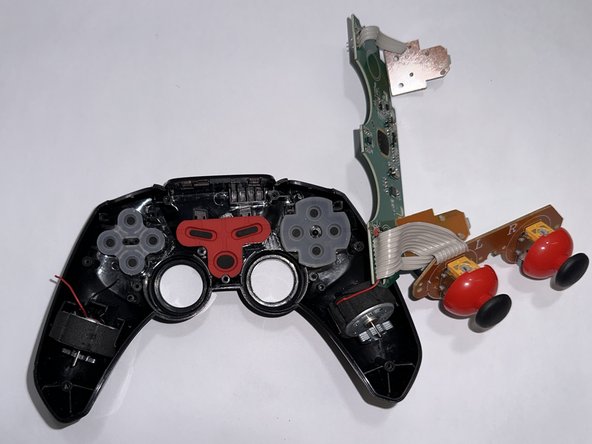
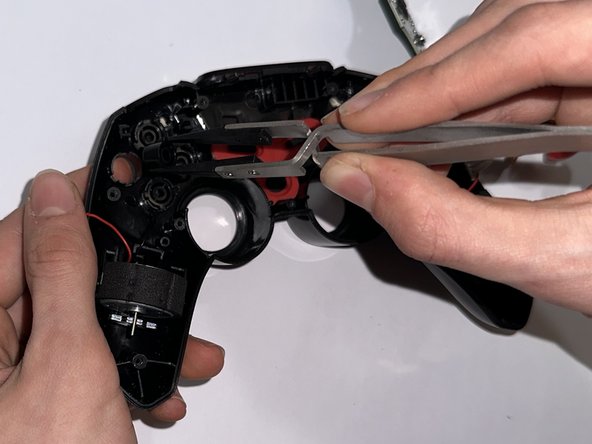
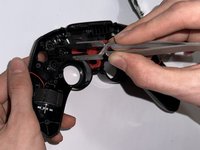
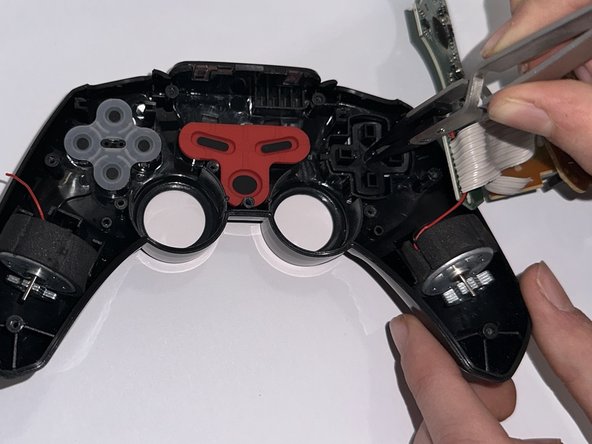
    • To remove the alphabetic buttons, remove the translucent silicone cover.

    • Use tweezers or your fingers to remove the buttons.

    • Pushing a button from below will elevate them enough to easily grab them.

  7. Beboncool Wireless Switch Pro Controller Buttons Replacement: passo 7, immagine 1 di 2 Beboncool Wireless Switch Pro Controller Buttons Replacement: passo 7, immagine 2 di 2
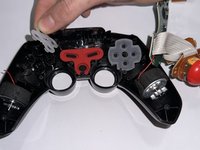
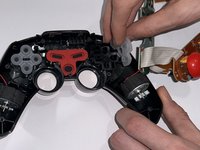
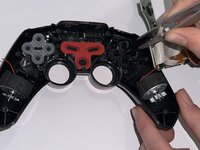
    • To remove the directional buttons, first remove the translucent silicone cover. Then, use tweezers or your fingers to remove the button pad.

    • As with the alphabetic buttons, push on the buttons from below, then grab them.

Conclusione

To reassemble your device, follow these instructions in reverse order.

Tayah Appel

Membro da: 03/27/23

529 Reputazione

5 Guide realizzate

Team

0Commenti sulla guida

Aggiungi Commento

Visualizza Statistiche:

Ultime 24 Ore: 0

Ultimi 7 Giorni: 2

Ultimi 30 Giorni: 6

Tutti i Tempi: 132