Introduzione
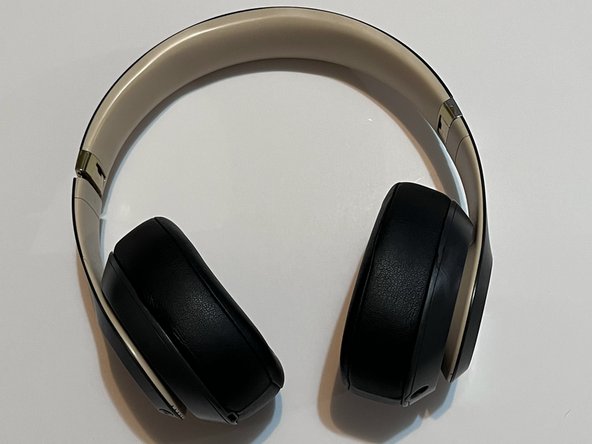
Look at this guide if your Studio 3 Beats headphones are broken from one side or both. After a particular time, a piece of the headband, which keeps the headphones in the proper position, will break. It can be fixed by replacing the headband.
Cosa ti serve
-
-
Slide the headband down to reveal the the screws
-
Unscrew both screws from each side of the Headphones.
-
-
- locate screws and unscrew
- remove cushion, foam, and broken headband
- remove any broken plastic inside the clasps
- get the new headband and place it on the headphones; make sure the letter B is on the left and the S on the right of the headphones
- place foam and cushion with the headband. It will make a snapping noise if done correctly
- screw in the screws
Annulla: non ho completato questa guida.
Altre 3 persone hanno completato questa guida.


