Salta al contenuto principale

Basic cleaning for the A1048 Keyboard

  1. Basic cleaning for the A1048 Keyboard, Starting info: passo 1, immagine 1 di 1
    • Start with your dirty keyboard, most likely found from a 2003-2007 white iMac.

    • This may void any warranty the keyboard may have. Proceed with caution.

  2. Basic cleaning for the A1048 Keyboard, Keycap removal: passo 2, immagine 1 di 2 Basic cleaning for the A1048 Keyboard, Keycap removal: passo 2, immagine 2 di 2
    • Pull off keycaps

    • Repeat until there is none left

    • Be sure to keep metal braces where they are in the keys, as otherwise the keys will be unstable after restoration.

  3. Basic cleaning for the A1048 Keyboard, Base keyboard cleaning: passo 3, immagine 1 di 2 Basic cleaning for the A1048 Keyboard, Base keyboard cleaning: passo 3, immagine 2 di 2
    • Use a vacuum cleaner and q-tip to remove dust/debris hidden underneath the keyboard.

  4. Basic cleaning for the A1048 Keyboard, Keycap cleaning: passo 4, immagine 1 di 3 Basic cleaning for the A1048 Keyboard, Keycap cleaning: passo 4, immagine 2 di 3 Basic cleaning for the A1048 Keyboard, Keycap cleaning: passo 4, immagine 3 di 3
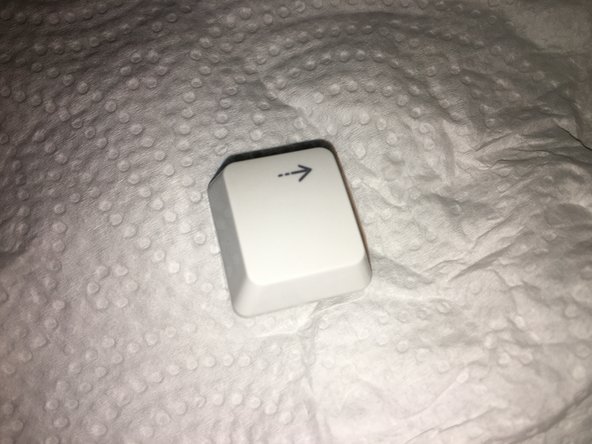
    • Individually clean each key until they reach their former white glory.

    • If your keys are yellowed, you can 'retrobright' them removing any yellow caused by the sun. There are many tutorials online showing you how to do this.

    • It may be easier to fill a bowl with soapy hot water and dump all of the keys in to clean unreachable areas.

    • Dry each keycap ready for installation.

  5. Basic cleaning for the A1048 Keyboard, Replacing the keys: passo 5, immagine 1 di 2 Basic cleaning for the A1048 Keyboard, Replacing the keys: passo 5, immagine 2 di 2
    • Insert each key by pressing down onto its hole on the keyboard.

    • Refer to Step 1’s image if you cannot remember where some of the keys go.

    • Start with shortcut keys (Command, control, function, esc, space, arrow keys etc) and work your way into the letters.

    • Line up the metal braces back with their slots they came out from as shown in image #2.

  6. Basic cleaning for the A1048 Keyboard, Completion!: passo 6, immagine 1 di 1
    • If you followed the steps correctly, you will have a clean keyboard ready for its Mac!

    • This keyboard will work with new Macs if you do not have an official keyboard.

Conclusione

To reassemble your device, follow these instructions in reverse order.

Altre 5 persone hanno completato questa guida.

3 Commenti

If you read some advice recommending to use silicon oil to soft keys, NEVER DO IT!!! Ok, it softs the key, but it is extremely dangerous, because oil can generate malfunctioning if reaches conductive board. If you do it anyway, try to apply it with a brush instead of directly and NEVER inside de hole where the membrane is. Always OUTSIDE sides.

Instead of that, I recommend a small brush and in the bottom part of keys, apply dry wax (yes, the same than surfers use for their boards!) If you apply properly, keys will be quiet and smooth like first day.

flyriviera - Replica

does the official keyboard work with new macs?

Aaditya Mali - Replica

Yes, it works on my MacBook Air M2, but I haven't test the USB port on keyboard yet.

imjeremysome -

Aggiungi Commento

Visualizza Statistiche:

Ultime 24 Ore: 2

Ultimi 7 Giorni: 35

Ultimi 30 Giorni: 115

Tutti i Tempi: 6,013