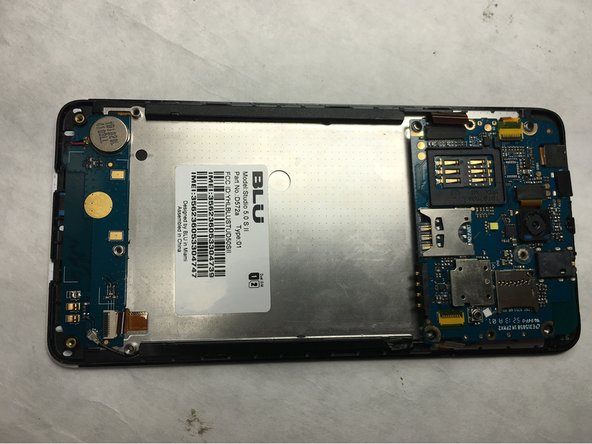
Salta al contenuto principale

BLU Studio 5.0 S II Screen Replacement

Cosa ti serve

  1. BLU Studio 5.0 S II Screen Replacement, Remove back cover: passo 1, immagine 1 di 1
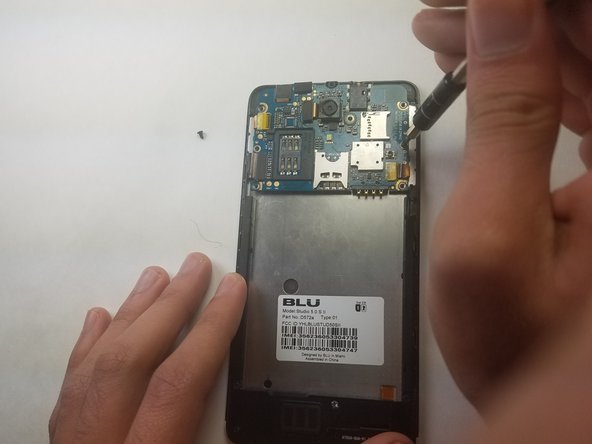
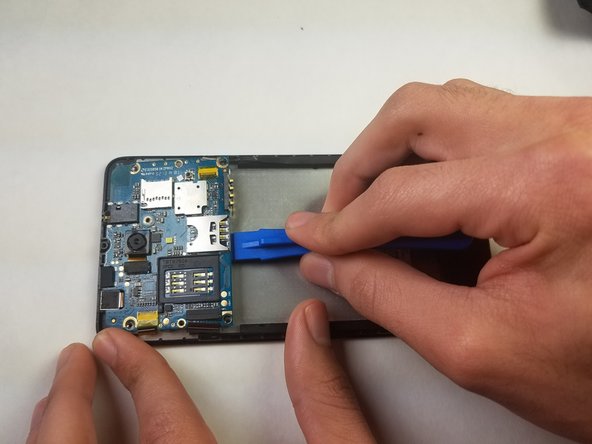
    • Remove the back cover of the phone with the plastic opening tool, or your fingers.

  2. BLU Studio 5.0 S II Screen Replacement, Remove battery: passo 2, immagine 1 di 1
    • Remove the battery from the phone with the plastic opening tool, or your fingers.

  3. BLU Studio 5.0 S II Screen Replacement, Motherboard: passo 3, immagine 1 di 2 BLU Studio 5.0 S II Screen Replacement, Motherboard: passo 3, immagine 2 di 2
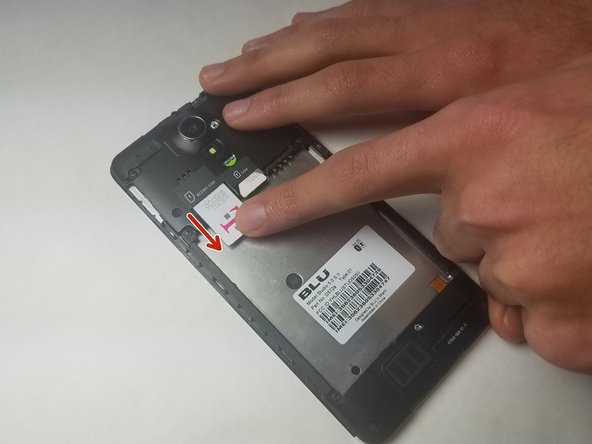
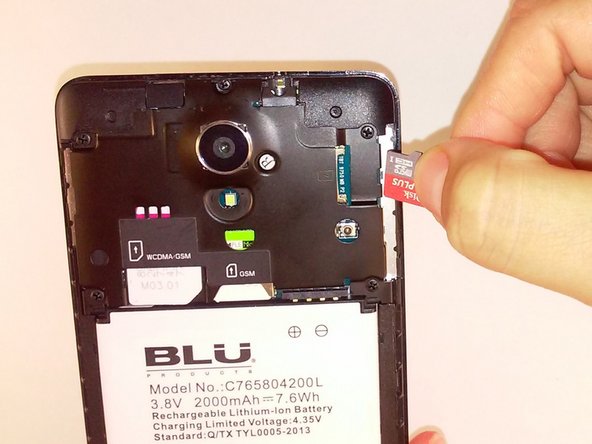
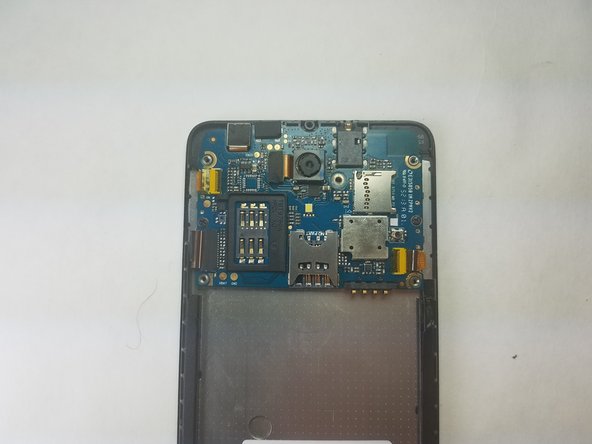
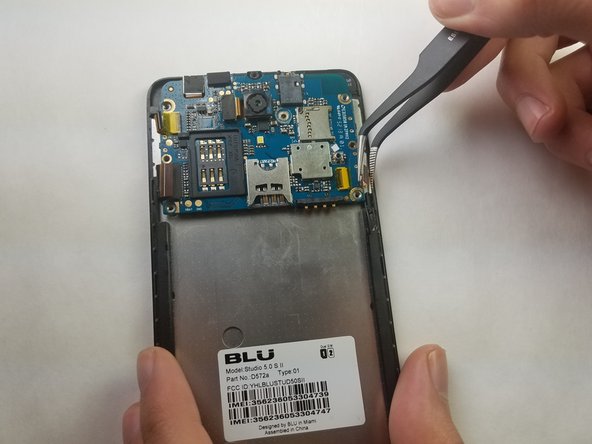
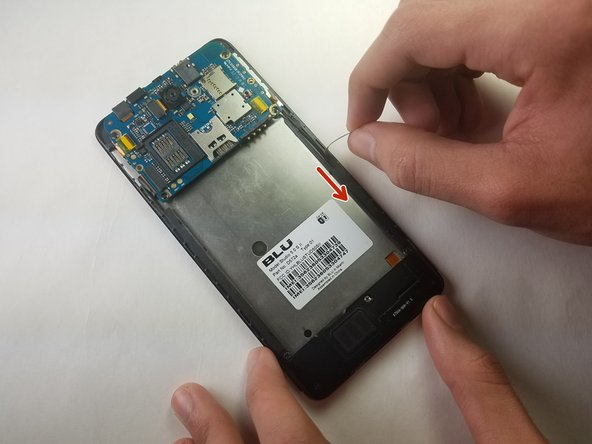
    • Remove the microSD and SIM card. Gently tug on the microSD and SIM card to slide them out of their insert.

  4. BLU Studio 5.0 S II Screen Replacement: passo 4, immagine 1 di 2 BLU Studio 5.0 S II Screen Replacement: passo 4, immagine 2 di 2
    • Locate the 5 black 3.5mm screws and the 1 3.5mm silver screw on the top back plate.

    • Remove the 6 3.5mm screws by using a Phillips #00 screwdriver.

  5. BLU Studio 5.0 S II Screen Replacement: passo 5, immagine 1 di 2 BLU Studio 5.0 S II Screen Replacement: passo 5, immagine 2 di 2
    • Remove the inner top back black plate.

  6. BLU Studio 5.0 S II Screen Replacement: passo 6, immagine 1 di 2 BLU Studio 5.0 S II Screen Replacement: passo 6, immagine 2 di 2
    • Locate the 2 black 3.5mm screws on the motherboard.

    • Remove the black 3.5 mm screws using a Phillips #00 screwdriver.

  7. BLU Studio 5.0 S II Screen Replacement: passo 7, immagine 1 di 3 BLU Studio 5.0 S II Screen Replacement: passo 7, immagine 2 di 3 BLU Studio 5.0 S II Screen Replacement: passo 7, immagine 3 di 3
    • Locate the 2 orange ribbons on opposite sides.

    • Carefully remove the two ribbon cables using tweezers.

    • Gently rock the cable back and forth equally from both sides to not damage the pins.

  8. BLU Studio 5.0 S II Screen Replacement: passo 8, immagine 1 di 2 BLU Studio 5.0 S II Screen Replacement: passo 8, immagine 2 di 2
    • Gently rock the plastic opening tool back and forth until the motherboard releases from the phone.

    • Adhesion, identified with red circles, bonds the motherboard to the chassis. This may require extra effort to lift off from back of phone.

  9. BLU Studio 5.0 S II Screen Replacement: passo 9, immagine 1 di 2 BLU Studio 5.0 S II Screen Replacement: passo 9, immagine 2 di 2
    • Follow the wire from the motherboard.

    • Remove the black lining covering the wire.

  10. BLU Studio 5.0 S II Screen Replacement: passo 10, immagine 1 di 2 BLU Studio 5.0 S II Screen Replacement: passo 10, immagine 2 di 2
    • Locate the 5 black screws on inner black lower plate.

    • Remove the black 3.5 mm screws using a Phillips #00 screwdriver.

  11. BLU Studio 5.0 S II Screen Replacement: passo 11, immagine 1 di 2 BLU Studio 5.0 S II Screen Replacement: passo 11, immagine 2 di 2
    • Remove the bottom inner back plate.

  12. BLU Studio 5.0 S II Screen Replacement: passo 12, immagine 1 di 2 BLU Studio 5.0 S II Screen Replacement: passo 12, immagine 2 di 2
    • Holding the cable with the removal tool, gently pull in the direction of the cable to remove the connector from its socket.

    • Gently rock the cable back and forth equally from both sides to not damage the pins.

  13. BLU Studio 5.0 S II Screen Replacement: passo 13, immagine 1 di 1
    • Remove the whole motherboard.

    • The Motherboard contains the headphone jack and the power button.

  14. BLU Studio 5.0 S II Screen Replacement, Screen: passo 14, immagine 1 di 2 BLU Studio 5.0 S II Screen Replacement, Screen: passo 14, immagine 2 di 2
    • Peel off the bottom back with finger or supdger.

    • CAUTION: Adhesive is attached to the bottom circuitboard. May require extra effort to remove.

Conclusione

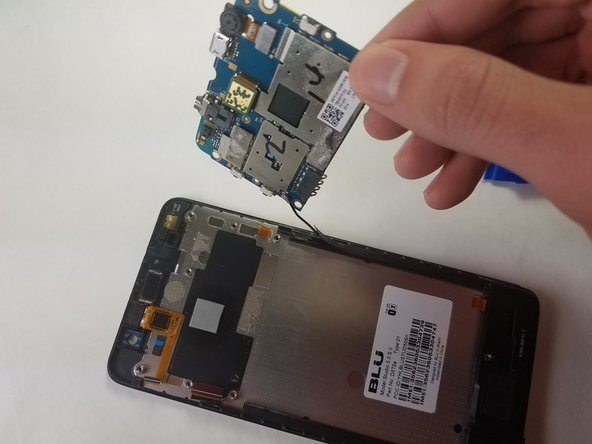
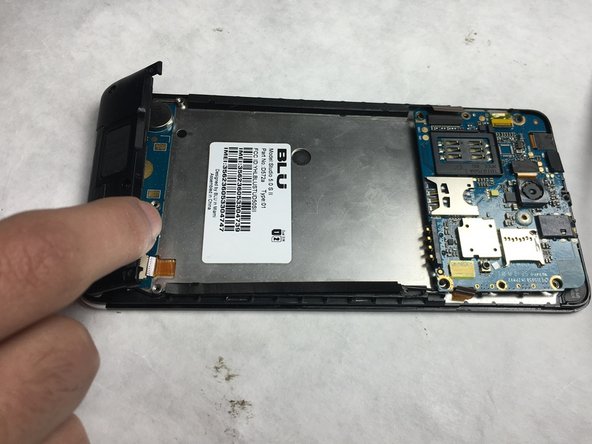
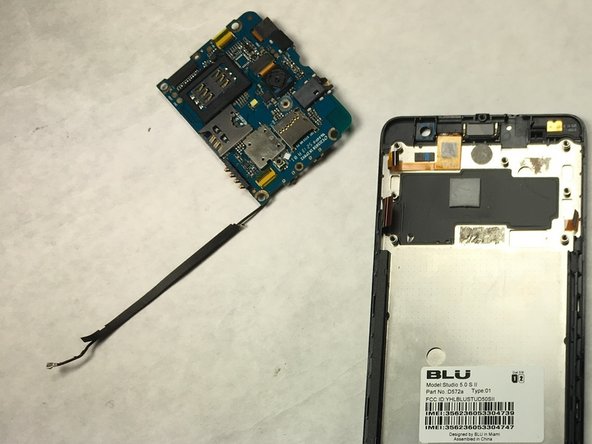
To reassemble your device, follow these instructions in reverse order with the screen replacement.

Altre 2 persone hanno completato questa guida.

Team

IUPUI, Team S2-G3, Harley Spring 2017 Membro di IUPUI, Team S2-G3, Harley Spring 2017

IUPUI-HARLEY-S17S2G3

4 Membri

3 Guide realizzate

0 Commenti

Aggiungi Commento

Visualizza Statistiche:

Ultime 24 Ore: 0

Ultimi 7 Giorni: 0

Ultimi 30 Giorni: 2

Tutti i Tempi: 773