Salta al contenuto principale

BLU Life XL Motherboard Replacement

Cosa ti serve

  1. BLU Life XL Motherboard Replacement, Volume Control Buttons: passo 1, immagine 1 di 3 BLU Life XL Motherboard Replacement, Volume Control Buttons: passo 1, immagine 2 di 3 BLU Life XL Motherboard Replacement, Volume Control Buttons: passo 1, immagine 3 di 3
    • Turn the device off by holding down the power button for up to 5 seconds and then tapping the "Power off" button on the screen.

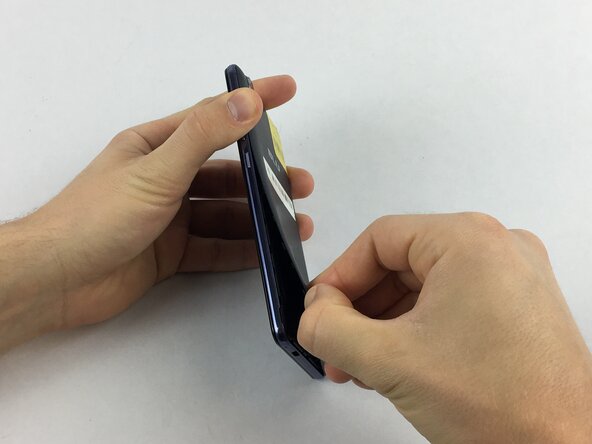
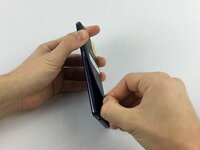
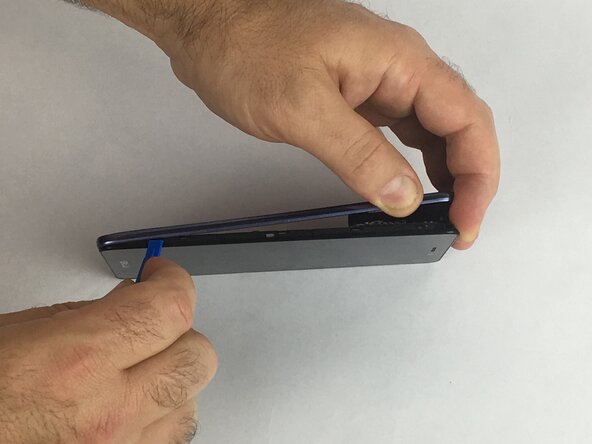
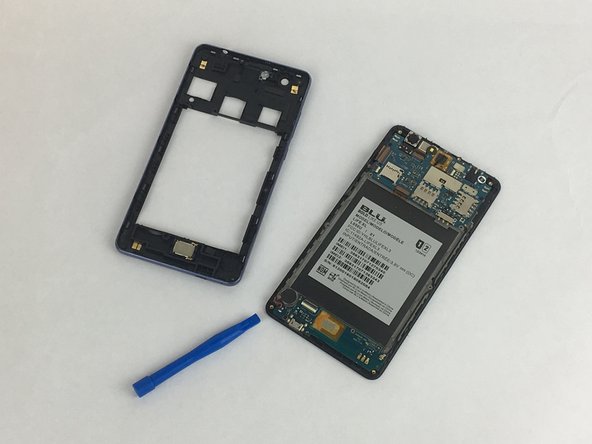
    • Remove the rear cover using your hands at the lip on the device back cover. No tools required.

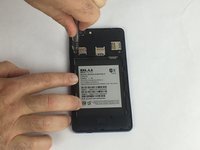
    • Remove the battery by lifting the lower edge of the battery up first.

  2. BLU Life XL Motherboard Replacement: passo 2, immagine 1 di 2 BLU Life XL Motherboard Replacement: passo 2, immagine 2 di 2
    • Remove the 12x3mm screws from the rear plate using the Phillips#000 screwdriver.

  3. BLU Life XL Motherboard Replacement: passo 3, immagine 1 di 2 BLU Life XL Motherboard Replacement: passo 3, immagine 2 di 2
    • Firmly press the prying tool into the gap between the front glass and rear plate. This gap is located on all sides of the phone.

    • Run the prying tool around the entire phone separating the rear plate from the frame.

  4. BLU Life XL Motherboard Replacement: passo 4, immagine 1 di 3 BLU Life XL Motherboard Replacement: passo 4, immagine 2 di 3 BLU Life XL Motherboard Replacement: passo 4, immagine 3 di 3
    • Gently remove the tape covering the volume control buttons. The tape is located near the top left of the cavity for the battery.

    • Replace the component and reapply the tape over the buttons.

  5. BLU Life XL Motherboard Replacement, Motherboard: passo 5, immagine 1 di 2 BLU Life XL Motherboard Replacement, Motherboard: passo 5, immagine 2 di 2
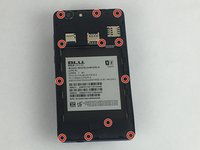
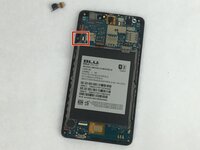
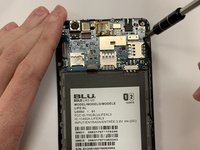
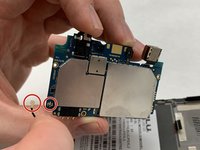
    • Remove the two 12x3mm screws using the Phillips #000 screwdriver.

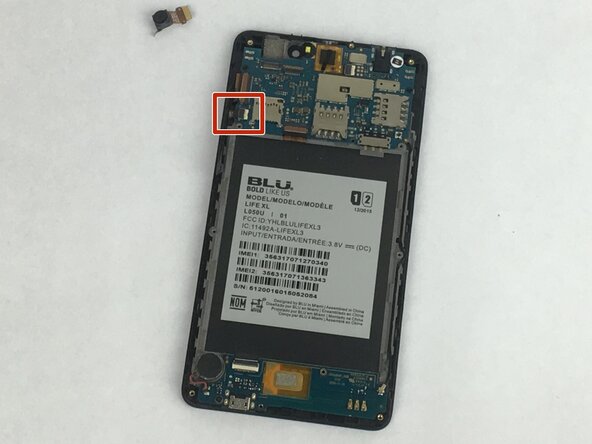
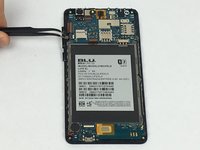
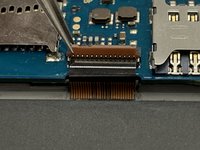
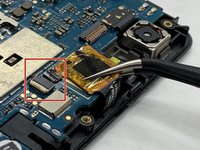
    • Remove the ribbon cables.

  6. BLU Life XL Motherboard Replacement: passo 6, immagine 1 di 3 BLU Life XL Motherboard Replacement: passo 6, immagine 2 di 3 BLU Life XL Motherboard Replacement: passo 6, immagine 3 di 3
    • The ribbon cables are attached by zero insertion force (ZIF) connectors. To disconnect the cable, flip up the small locking flap and pull the cable out.

  7. BLU Life XL Motherboard Replacement: passo 7, immagine 1 di 3 BLU Life XL Motherboard Replacement: passo 7, immagine 2 di 3 BLU Life XL Motherboard Replacement: passo 7, immagine 3 di 3
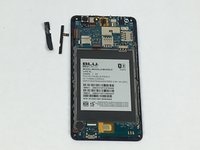
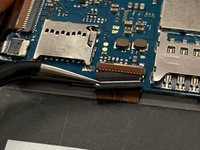
    • Remove the white ZIF connector then remove the cable connecting the digitizer to the motherboard by gently pulling.

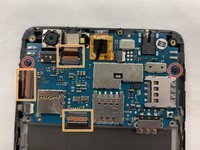
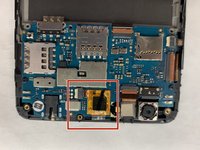
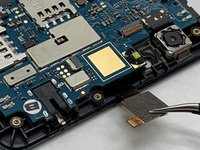
    • An adhesive pad attaches this component to the motherboard. To remove it, use a pair of tweezers to gently pry it upwards.

  8. BLU Life XL Motherboard Replacement: passo 8, immagine 1 di 3 BLU Life XL Motherboard Replacement: passo 8, immagine 2 di 3 BLU Life XL Motherboard Replacement: passo 8, immagine 3 di 3
    • The motherboard should now be free from its mount in the phone, but it is still connected to the PBC data cable. To remove the cable from the motherboard, gently pry upward.

    • The motherboard is now free and can be replaced.

Conclusione

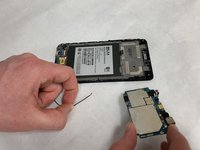
To reassemble your device, follow these instructions in reverse order.

Un'altra persona ha completato questa guida.

Matthew Hook

Membro da: 03/25/19

439 Reputazione

4 Guide realizzate

Team

IUPUI, Team S1-G6, Hovde Fall 2019 Membro di IUPUI, Team S1-G6, Hovde Fall 2019

IUPUI-HOVDE-F19S1G6

4 Membri

6 Guide realizzate

Un commento

how i identified the components in this motherboard

victor ismael piñero hernandez - Replica

Aggiungi Commento

Visualizza Statistiche:

Ultime 24 Ore: 1

Ultimi 7 Giorni: 4

Ultimi 30 Giorni: 14

Tutti i Tempi: 468