Salta al contenuto principale

Questa versione può contenere modifiche errate. Passa all'ultima istantanea verificata.

Cosa ti serve

  1. Questo passaggio è privo di traduzione. Aiuta a tradurlo

    : passo 1, immagine 1 di 2 : passo 1, immagine 2 di 2
    • Remove four screw covers using the spudger.

    • Because the bottom two screw covers are attached with an adhesive, you will not be able to replace them when you reassemble the phone.

  2. Questo passaggio è privo di traduzione. Aiuta a tradurlo

    : passo 2, immagine 1 di 2 : passo 2, immagine 2 di 2
    • Remove the four Phillips #00 screws.

    • Tweezers may be useful for removing loosened screws.

  3. Questo passaggio è privo di traduzione. Aiuta a tradurlo

    : passo 3, immagine 1 di 3 : passo 3, immagine 2 di 3 : passo 3, immagine 3 di 3
    • The small electronic components inside the phone are fragile; take care not to damage them when completing this step.

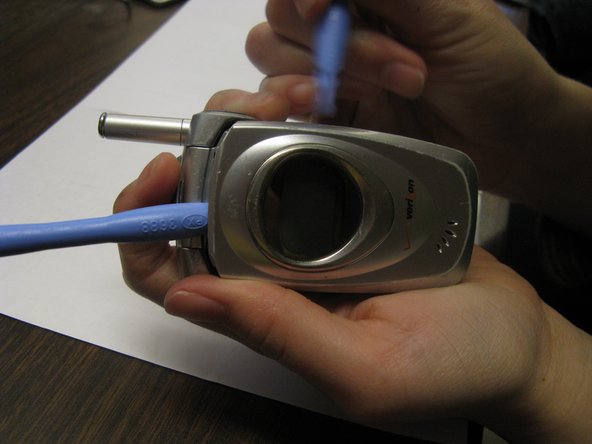
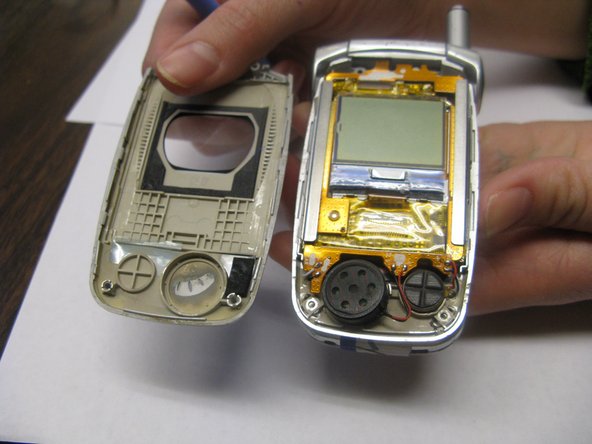
    • Wedge one of the plastic opening tools under the phone cover near the hinge.

    • Insert the second plastic opening tool under the phone cover and slide it around the perimeter.

    • Detach the phone cover from the phone's base.

  4. Questo passaggio è privo di traduzione. Aiuta a tradurlo

    : passo 4, immagine 1 di 3 : passo 4, immagine 2 di 3 : passo 4, immagine 3 di 3
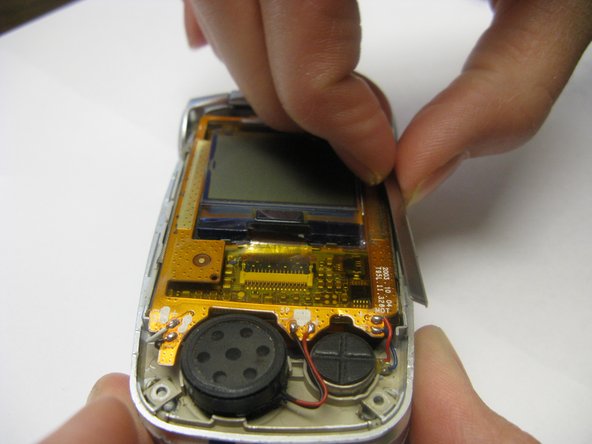
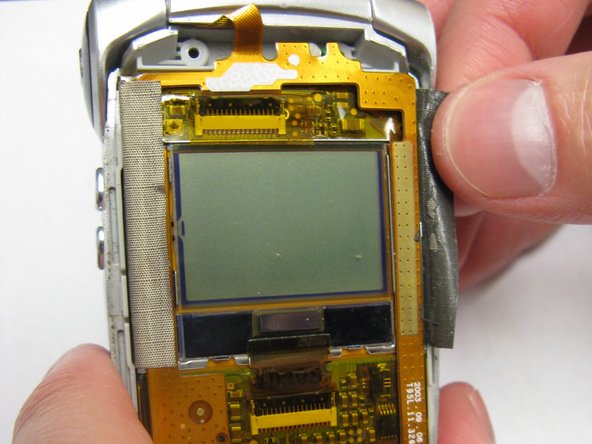
    • Slide out the two metal braces located along the sides of the LCD screen.

    • Carefully peel back the tape from both sides of the copper frame.

  5. Questo passaggio è privo di traduzione. Aiuta a tradurlo

    : passo 5, immagine 1 di 2 : passo 5, immagine 2 di 2
    • Do not detach or tear any wires when completing this step.

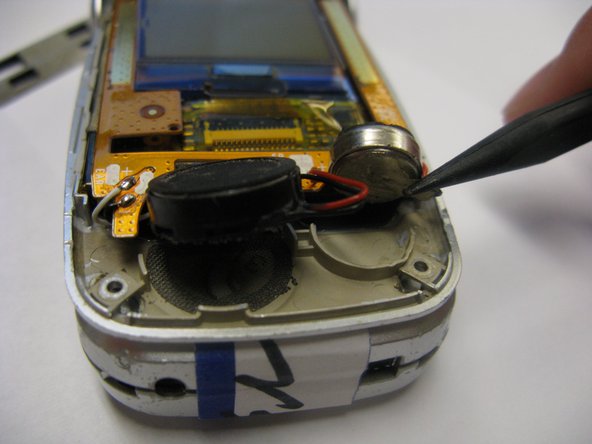
    • Using the spudger, carefully separate the speaker and microphone from the inside surface of the phone.

    • The smaller black disc is glued down, so you may need to use some force to detach it. Both disks will still remain attached via wires.

  6. Questo passaggio è privo di traduzione. Aiuta a tradurlo

    : passo 6, immagine 1 di 2 : passo 6, immagine 2 di 2
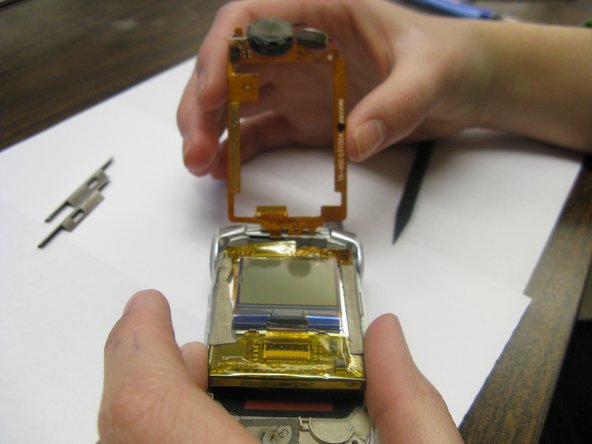
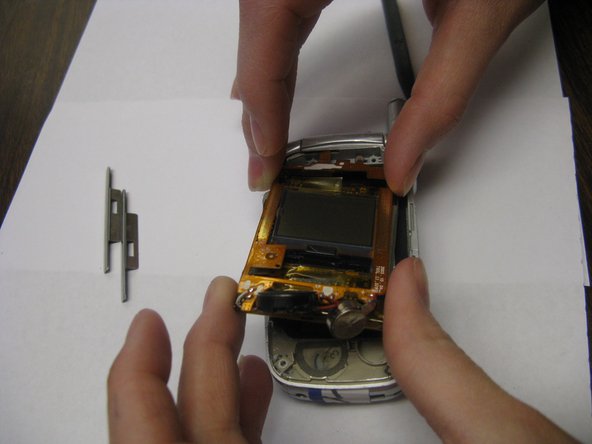
    • The copper frame is attached to the phone at the hinge. Do not tear the frame.

    • Gently lift the copper frame surrounding the LCD screen.

  7. Questo passaggio è privo di traduzione. Aiuta a tradurlo

    : passo 7, immagine 1 di 2 : passo 7, immagine 2 di 2
    • With the copper screen lifted up, gently pull out the ribbon connector and lift out the LCD screen.

Linea Traguardo

Aaron Shaw

Membro da: 04/15/10

159 Reputazione

6 Guide realizzate

Team

Cal Poly, Team 28-31, Regan Spring 2010 Membro di Cal Poly, Team 28-31, Regan Spring 2010

CPSU-REGAN-S10S28G31

4 Membri

12 Guide realizzate

0 Commenti

Aggiungi Commento

Visualizza Statistiche:

Ultime 24 Ore: 0

Ultimi 7 Giorni: 9

Ultimi 30 Giorni: 10

Tutti i Tempi: 4,116