Introduzione
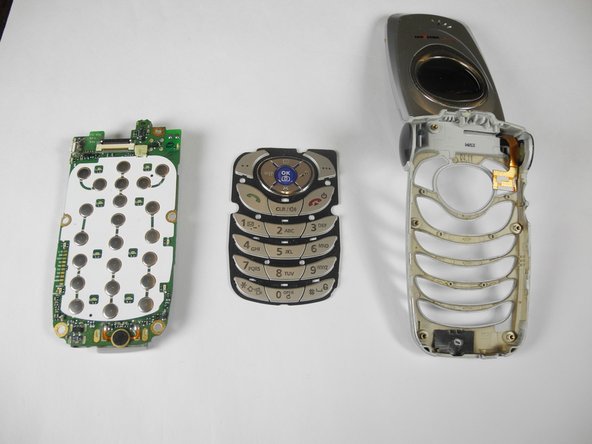
If the camera on your Audiovox CDM-8900 is not working correctly or showing a black screen when trying to use the camera, then you might need a camera replacement.
There is no need to purchase a new phone. Just replace the camera!
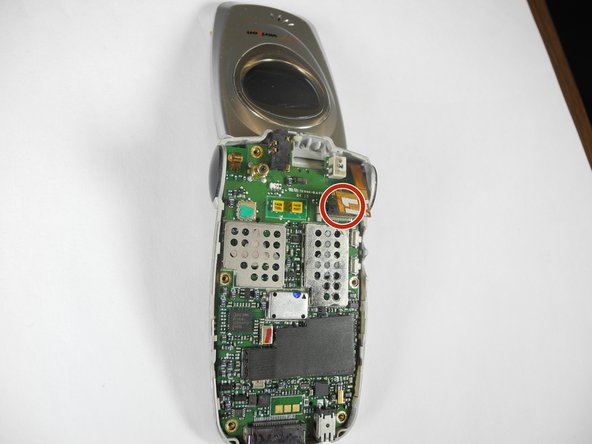
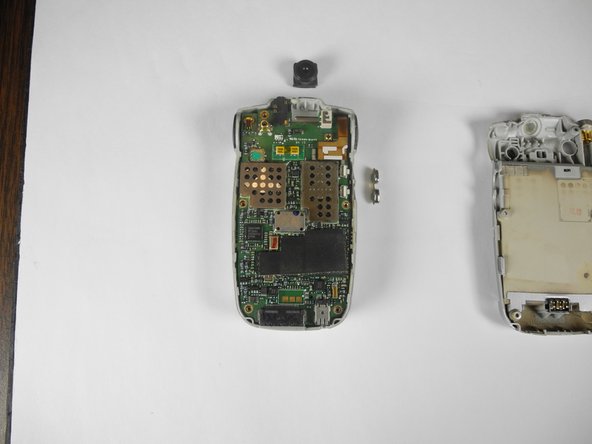
Step 6 requires you to take the motherboard and simply add the new camera carefully and verify that the camera is oriented correctly when reinserting.
Remember to carefully place everything back to its original place.
Cosa ti serve
-
-
Hold the phone in one hand, slide the latch up, and pull the battery up to remove it.
-
-
-
-
Remove the small rubber insert from the top of the phone to access the top screw.
-
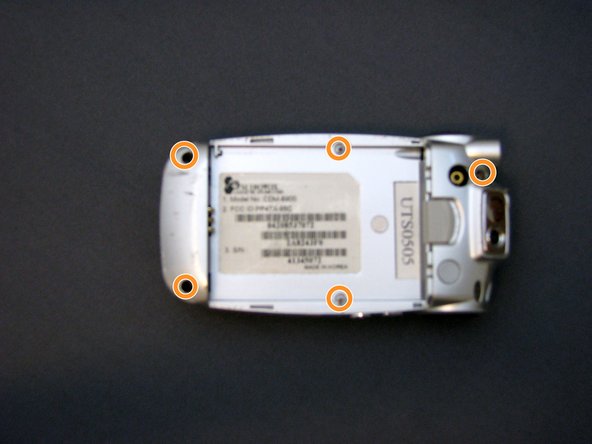
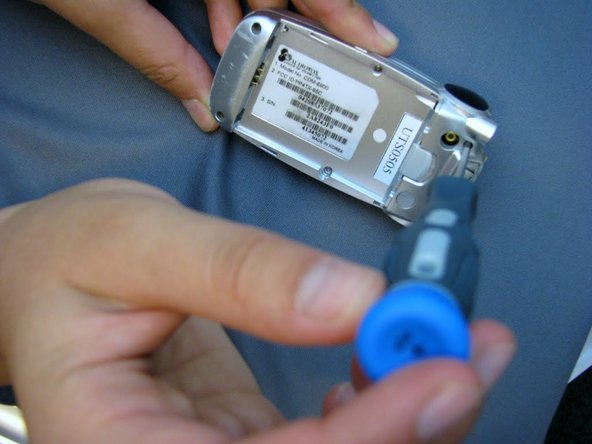
Unscrew all five screws on the back of the cell phone with a Phillips #00 screwdriver.
-


To reassemble your device, follow these instructions in reverse order.
To reassemble your device, follow these instructions in reverse order.
Team

Cal Poly, Team 28-31, Regan Spring 2010 Membro di Cal Poly, Team 28-31, Regan Spring 2010
CPSU-REGAN-S10S28G31
4 Membri
12 Guide realizzate