Salta al contenuto principale
Unisciti alla Community delle riparazioni - Crea un account
Atmega328P Microcontroller Replacement for Arduino Board

Atmega328P Microcontroller Replacement for Arduino Board

Youssef Qteshat

Youssef Qteshat e 2 altri collaboratori

Ultimo aggiornamento il 3 ott 2024

5 - 10 minuti
Facile

Introduzione

Vai al passo 1

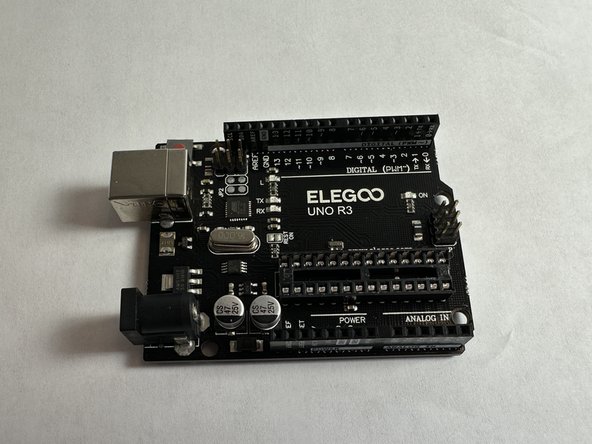
This is a guide on how to replace a ATMega328P microcontroller (Code: X000048) on an Arduino UNO R3 Board (Model: EL-CB-001, Code: A000066). This guide does not require any specialized skills or knowledge.

The ATMega328P processes the instructions in C from the Arduino IDE. If damaged, the code cannot be executed. Fortunately, replacing the microcontroller is a simple and uncomplicated process. Before starting the repair, please unplug the the Arduino board from the USB.

Cosa ti serve

Ricambi

Strumenti

  • Spudger
    Spudger

Mostra di più…

  1. Atmega328P Microcontroller Replacement for Arduino Board, Atmega328P Microcontroller: passo 1, immagine 1 di 1
    • Place the Arduino UNO R3 board on a flat clean surface.

  2. Atmega328P Microcontroller Replacement for Arduino Board: passo 2, immagine 1 di 2 Atmega328P Microcontroller Replacement for Arduino Board: passo 2, immagine 2 di 2
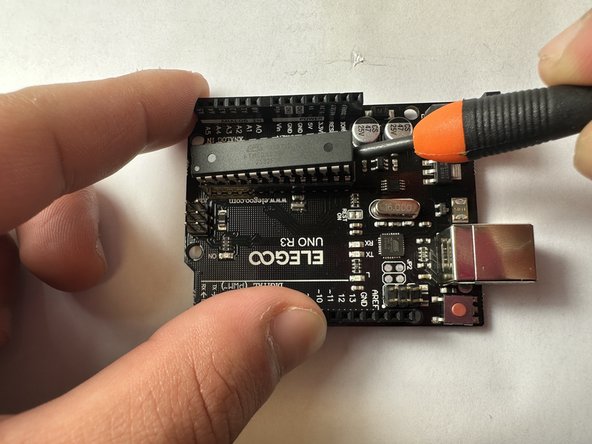
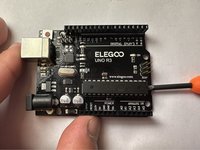
    • On the right side of board, position a nylon spudger in between the microcontroller and the dip socket, and gently lift upwards to pry it out.

    • The bottom of the microcontroller can be scratched if not done carefully. Do not use a metal tool for this step.

  3. Atmega328P Microcontroller Replacement for Arduino Board: passo 3, immagine 1 di 2 Atmega328P Microcontroller Replacement for Arduino Board: passo 3, immagine 2 di 2
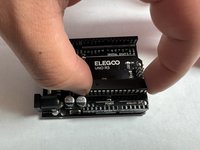
    • Repeat the same process on the other side.

    • Lift both sides evenly to prevent any damage to the pins.

  4. Atmega328P Microcontroller Replacement for Arduino Board: passo 4, immagine 1 di 3 Atmega328P Microcontroller Replacement for Arduino Board: passo 4, immagine 2 di 3 Atmega328P Microcontroller Replacement for Arduino Board: passo 4, immagine 3 di 3
    • Repeat steps 2 and 3 until the microcontroller is loose enough to remove out of the socket.

  5. Atmega328P Microcontroller Replacement for Arduino Board: passo 5, immagine 1 di 1
    • Remove replacement microcontroller out of packaging.

  6. Atmega328P Microcontroller Replacement for Arduino Board: passo 6, immagine 1 di 1
    • If needed, straighten the pins of the replacement microcontroller and place it directly over the dip socket.

    • Make sure the notch on the side of the microcontroller is facing the right, matching the white lines on the board.

  7. Atmega328P Microcontroller Replacement for Arduino Board: passo 7, immagine 1 di 2 Atmega328P Microcontroller Replacement for Arduino Board: passo 7, immagine 2 di 2
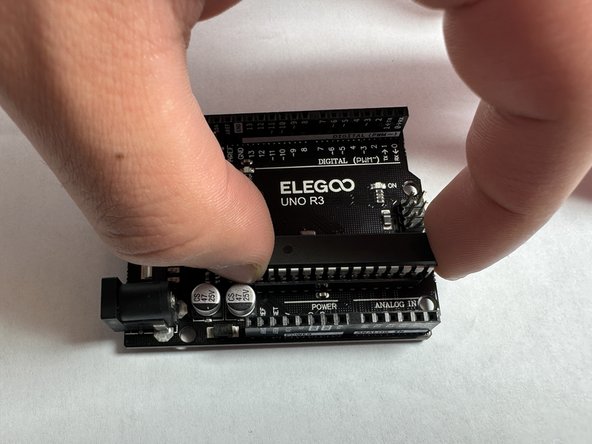
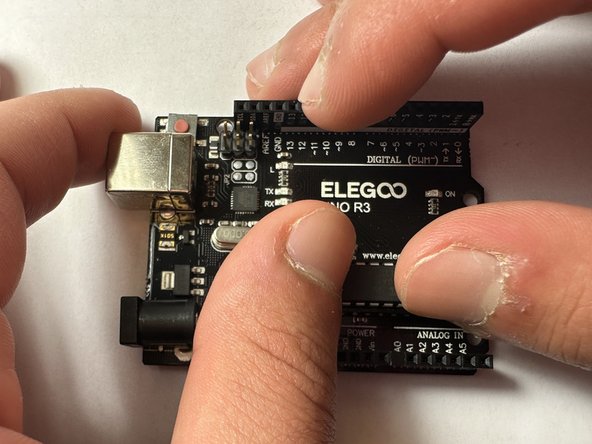
    • Gently press the microcontroller into the dip socket

Conclusione

To reassemble your device, follow these instructions in reverse order.

Altre 2 persone hanno completato questa guida.

Team

UC Davis, Team 5-5, Morris Winter 2023 Membro di UC Davis, Team 5-5, Morris Winter 2023

UCD-MORRIS-W23S5G5

2 Membri

2 Guide realizzate

0Commenti sulla guida

Aggiungi Commento

Visualizza Statistiche:

Ultime 24 Ore: 0

Ultimi 7 Giorni: 6

Ultimi 30 Giorni: 22

Tutti i Tempi: 692