Salta al contenuto principale

Atari 5200 Controller Side Buttons Replacement

Cosa ti serve

  1. Atari 5200 Controller Side Buttons Replacement, Controller Side Buttons: passo 1, immagine 1 di 3 Atari 5200 Controller Side Buttons Replacement, Controller Side Buttons: passo 1, immagine 2 di 3 Atari 5200 Controller Side Buttons Replacement, Controller Side Buttons: passo 1, immagine 3 di 3
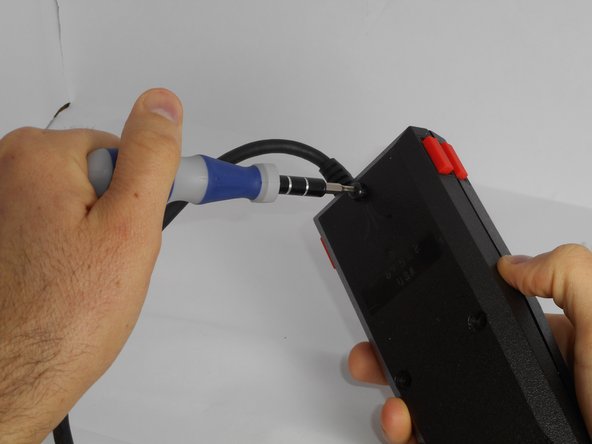
    • Turn the controller over, exposing the three screws on the back. Use a 6mm screwdriver to remove these screws.

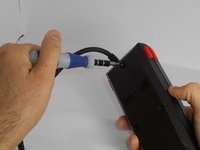
    • Carefully slide and pull the two parts of the controller shell apart, exposing the innards.

  2. Atari 5200 Controller Side Buttons Replacement, A Little Off the Sides: passo 2, immagine 1 di 2 Atari 5200 Controller Side Buttons Replacement, A Little Off the Sides: passo 2, immagine 2 di 2
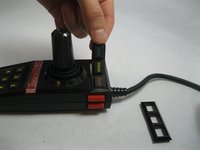
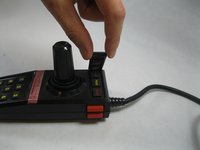
    • Now that the top of the controller is exposed, the orange, side buttons can easily slide out.

    • Realign the buttons over the sensors/clean the sensor contacts.

    • Be careful when reassembling your buttons. Make sure the black buttons are aligned properly over the silver sensors on the flex board

    • Also, be careful to properly align the bottom of the joystick with the pots (white levers)

  3. Atari 5200 Controller Side Buttons Replacement, Reassembly Part 1: passo 3, immagine 1 di 2 Atari 5200 Controller Side Buttons Replacement, Reassembly Part 1: passo 3, immagine 2 di 2
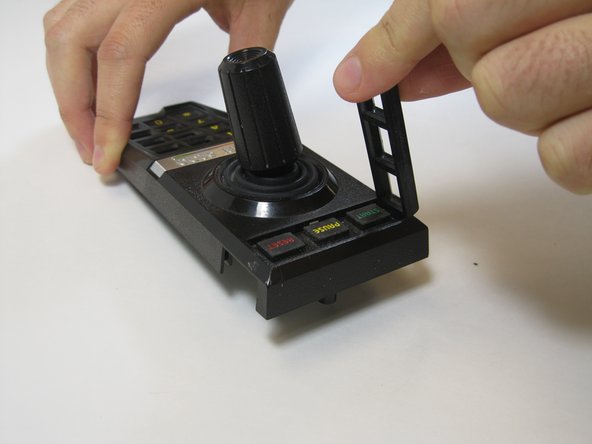
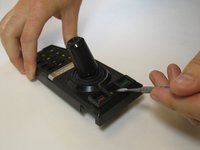
    • Use a spudger to remove the top frame.
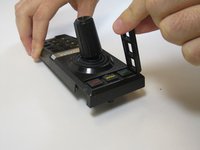
    • Take off the plate.

    • Remove the rubber buttons.

  4. Atari 5200 Controller Side Buttons Replacement, Reassembly Part 2: passo 4, immagine 1 di 2 Atari 5200 Controller Side Buttons Replacement, Reassembly Part 2: passo 4, immagine 2 di 2
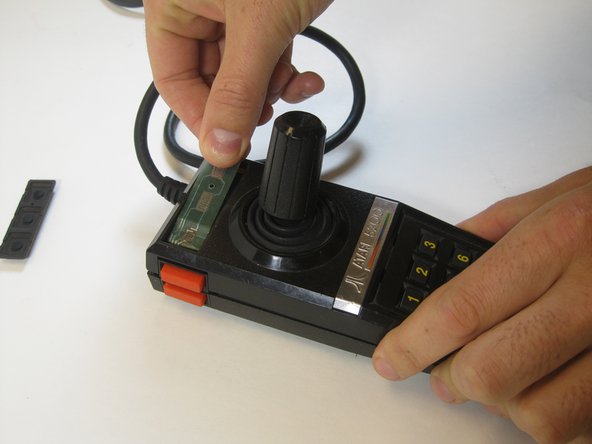
    • Pull the circuit strip through the new space.

    • Realign the top and bottom of the controller.

  5. Atari 5200 Controller Side Buttons Replacement, Reassembly Part 3: passo 5, immagine 1 di 3 Atari 5200 Controller Side Buttons Replacement, Reassembly Part 3: passo 5, immagine 2 di 3 Atari 5200 Controller Side Buttons Replacement, Reassembly Part 3: passo 5, immagine 3 di 3
    • Return the buttons to the top of the controller.

    • Snap the frame back into place.

    • Screw the screws.

Conclusione

To reassemble your device, follow these instructions in reverse order.

Un'altra persona ha completato questa guida.

Alan Abelson

Membro da: 09/26/14

233 Reputazione

5 Guide realizzate

Team

USF Tampa, Team 13-1, Staggers Fall 2014 Membro di USF Tampa, Team 13-1, Staggers Fall 2014

USFT-STAGGERS-F14S13G1

5 Membri

17 Guide realizzate

0 Commenti

Aggiungi Commento

Visualizza Statistiche:

Ultime 24 Ore: 0

Ultimi 7 Giorni: 0

Ultimi 30 Giorni: 10

Tutti i Tempi: 1,019