Salta al contenuto principale
Unisciti alla Community delle riparazioni - Crea un account
Atari 5200 Controller Side Buttons Replacement

Atari 5200 Controller Side Buttons Replacement

Alan Abelson

Alan Abelson e 5 altri collaboratori

Ultimo aggiornamento il 19 lug 2021

15 - 45 minuti
Moderato
Attrezzi Non Corretti
Introduzione Migliore

Cosa ti serve

Strumenti

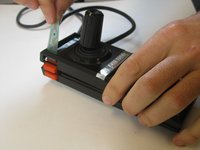
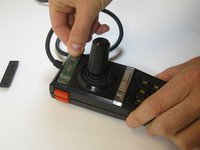
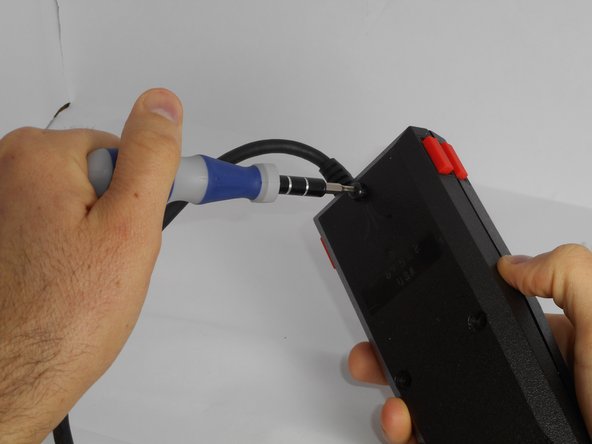
  1. Atari 5200 Controller Side Buttons Replacement, Controller Side Buttons: passo 1, immagine 1 di 3 Atari 5200 Controller Side Buttons Replacement, Controller Side Buttons: passo 1, immagine 2 di 3 Atari 5200 Controller Side Buttons Replacement, Controller Side Buttons: passo 1, immagine 3 di 3
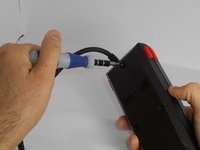
    • Turn the controller over, exposing the three screws on the back. Use a 6mm screwdriver to remove these screws.

    • Carefully slide and pull the two parts of the controller shell apart, exposing the innards.

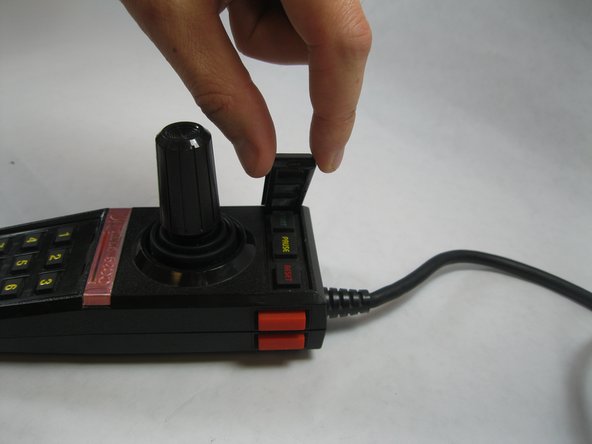
  2. Atari 5200 Controller Side Buttons Replacement, A Little Off the Sides: passo 2, immagine 1 di 2 Atari 5200 Controller Side Buttons Replacement, A Little Off the Sides: passo 2, immagine 2 di 2
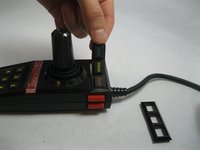
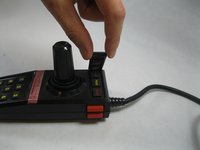
    • Now that the top of the controller is exposed, the orange, side buttons can easily slide out.

    • Realign the buttons over the sensors/clean the sensor contacts.

    • Be careful when reassembling your buttons. Make sure the black buttons are aligned properly over the silver sensors on the flex board

    • Also, be careful to properly align the bottom of the joystick with the pots (white levers)

  3. Atari 5200 Controller Side Buttons Replacement, Reassembly Part 1: passo 3, immagine 1 di 2 Atari 5200 Controller Side Buttons Replacement, Reassembly Part 1: passo 3, immagine 2 di 2
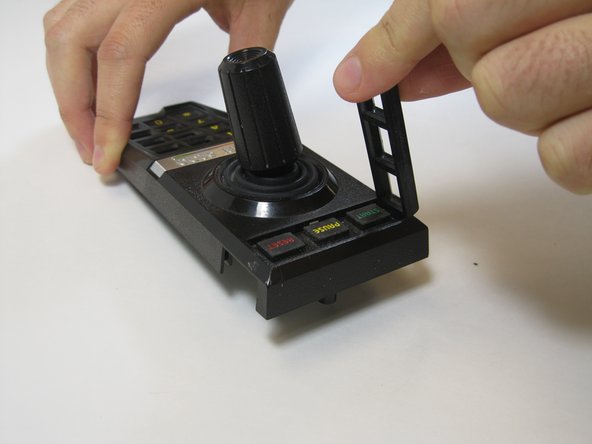
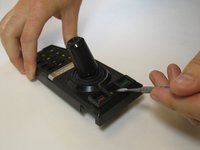
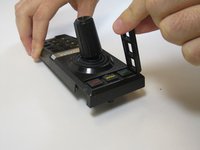
    • Use a spudger to remove the top frame.

    • Take off the plate.

    • Remove the rubber buttons.

  4. Atari 5200 Controller Side Buttons Replacement, Reassembly Part 2: passo 4, immagine 1 di 2 Atari 5200 Controller Side Buttons Replacement, Reassembly Part 2: passo 4, immagine 2 di 2
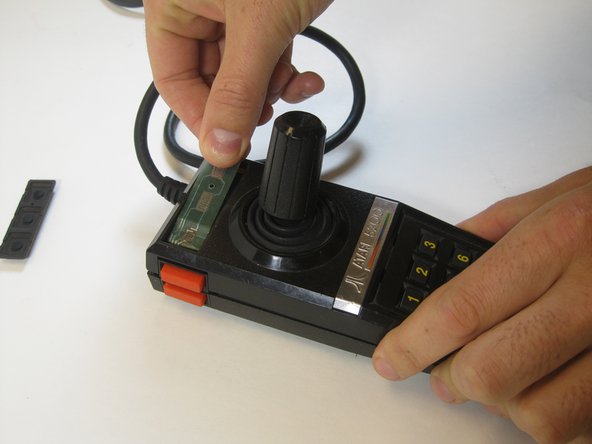
    • Pull the circuit strip through the new space.

    • Realign the top and bottom of the controller.

  5. Atari 5200 Controller Side Buttons Replacement, Reassembly Part 3: passo 5, immagine 1 di 3 Atari 5200 Controller Side Buttons Replacement, Reassembly Part 3: passo 5, immagine 2 di 3 Atari 5200 Controller Side Buttons Replacement, Reassembly Part 3: passo 5, immagine 3 di 3
    • Return the buttons to the top of the controller.

    • Snap the frame back into place.

    • Screw the screws.

Conclusione

To reassemble your device, follow these instructions in reverse order.

Un'altra persona ha completato questa guida.

Preparati per le riparazioni future

Acquista tutti

Alan Abelson

Membro da: 09/26/14

233 Reputazione

5 Guide realizzate

Team

USF Tampa, Team 13-1, Staggers Fall 2014 Membro di USF Tampa, Team 13-1, Staggers Fall 2014

USFT-STAGGERS-F14S13G1

5 Membri

17 Guide realizzate

0Commenti sulla guida

Aggiungi Commento

Visualizza Statistiche:

Ultime 24 Ore: 0

Ultimi 7 Giorni: 1

Ultimi 30 Giorni: 4

Tutti i Tempi: 1,161