Questa versione può contenere modifiche errate. Passa all'ultima istantanea verificata.
Cosa ti serve
-
Questo passaggio è privo di traduzione. Aiuta a tradurlo
-
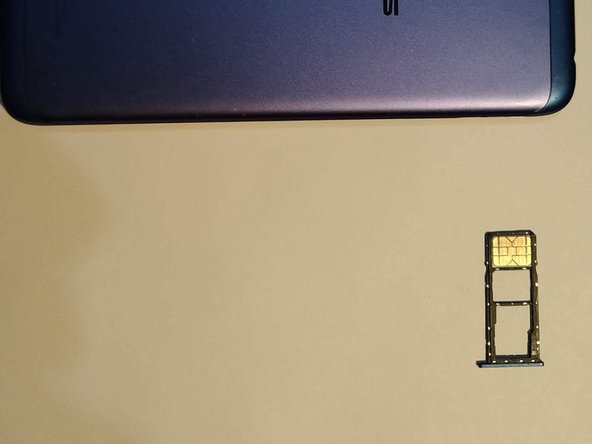
Remove the SIM card tray.
-
Pry open the back cover. Start at the SIM card slot where it's most flexible.
-
Work your way around the back cover using a plastic pick until it detaches from the phone.
-
-
Questo passaggio è privo di traduzione. Aiuta a tradurlo
-
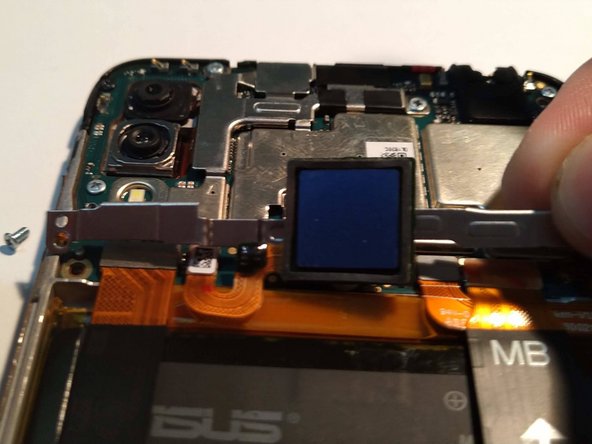
Lift up the fingerprint sensor.
-
Use your screwdriver to remove the three screws that secure the bracket underneath the fingerprint sensor.
-
-
Questo passaggio è privo di traduzione. Aiuta a tradurlo
-
Remove the seven screws securing in the speaker plastic and pry it up.
-
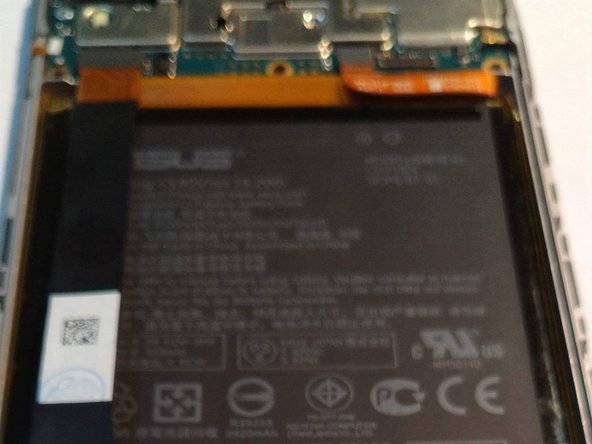
Disconnect the antenna cable and the interconnect cable that runs across the battery.
-
Remove the rest of the screws holding in the daughterboard and remove it as shown.
-
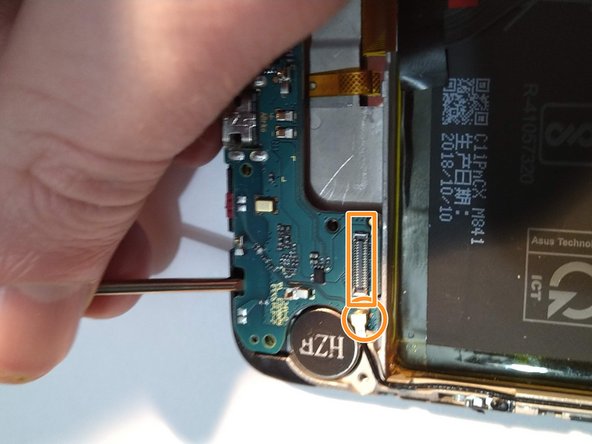
Remove the connectors underneath the top bracket.
-
-
-
Questo passaggio è privo di traduzione. Aiuta a tradurlo
-
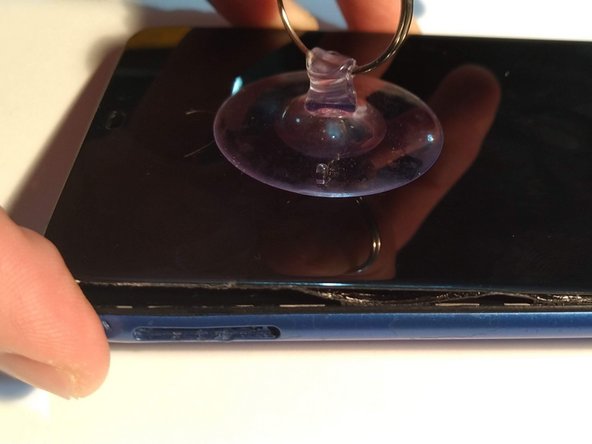
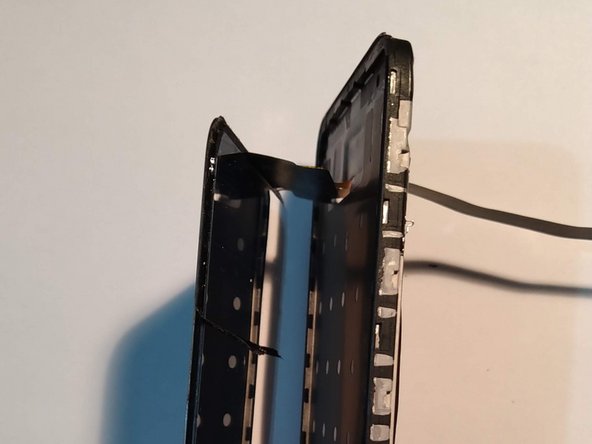
Use suction cups to pull back on broken screen.
-
The screen is held in by tape. Be gentle and patient, it can be detached. If needed, you can reinstall the back cover for more leverage.
-
-
Questo passaggio è privo di traduzione. Aiuta a tradurlo
-
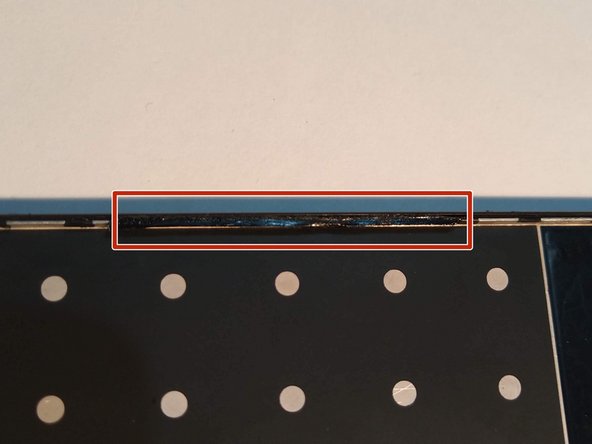
Remove any old adhesive residue from the front of the phone and set the old screen aside.
-
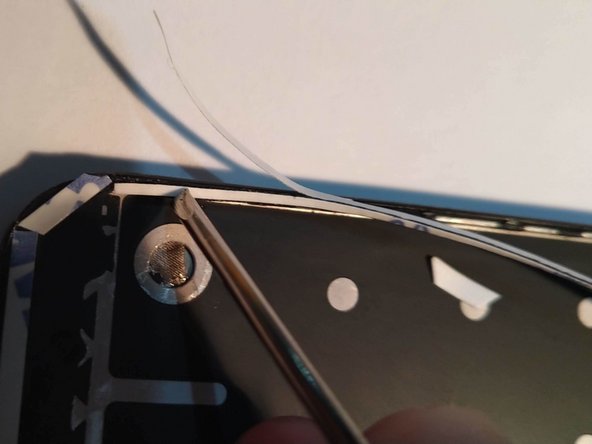
Reapply 3M 9448A tape to the lips on the inside edge of the phone. Cover as much surface area as possible.
-
Remove the front backing and you're ready to install the new screen.
-
-
Questo passaggio è privo di traduzione. Aiuta a tradurlo
-
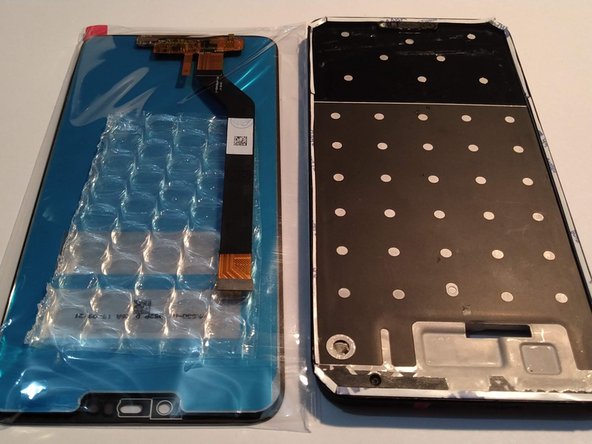
Remove all packaging from the new screen.
-
Thread the ribbon cable through the slot in the phone.
-
Carefully line up and apply the new screen to the tape, using light pressure to ensure the screen adheres correctly.
-
Flip the phone over.
-
-
Questo passaggio è privo di traduzione. Aiuta a tradurlo
-
Ground the screen to the body of the phone.
-
Re-insert the charging circuit board.
-
Reconnect the ribbon that goes across the battery.
-
-
Questo passaggio è privo di traduzione. Aiuta a tradurlo
-
Snap the bottom plastic speaker piece back into place and screw it in.
-
Reinsert the top cross-bracket and fingerprint sensor. Screw it in place.
-
Reinstall the back cover and SIM card tray.
-
-
Questo passaggio è privo di traduzione. Aiuta a tradurlo
-
Enjoy the sound of peeling the plastic off your new screen!
-
Congratulations, you're done!
-


Annulla: non ho completato questa guida.
Altre 5 persone hanno completato questa guida.