Salta al contenuto principale

Questa guida ha delle modifiche più recenti. Passa all'ultima versione non verificata.

Asus Zenfone Max M2 Screen Replacement

Cosa ti serve

  1. Asus Zenfone Max M2 Screen Replacement, Break Screen: passo 1, immagine 1 di 2 Asus Zenfone Max M2 Screen Replacement, Break Screen: passo 1, immagine 2 di 2
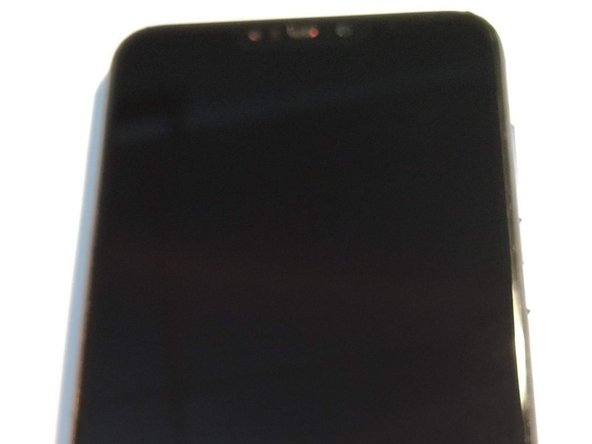
    • Break a the Asus Zenfone Max M2 smartphone screen or receive a broken smartphone screen from a friend

    • For me, this was accomplished by dropping my phone 4 feet onto a hard surface.

    • Then, order a new screen
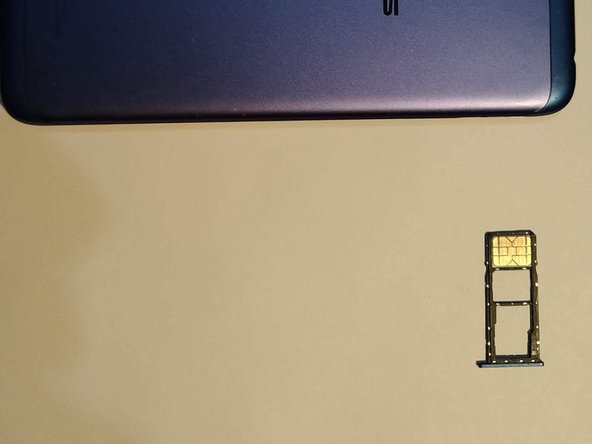
  2. Asus Zenfone Max M2 Screen Replacement, Remove Back Cover: passo 2, immagine 1 di 3 Asus Zenfone Max M2 Screen Replacement, Remove Back Cover: passo 2, immagine 2 di 3 Asus Zenfone Max M2 Screen Replacement, Remove Back Cover: passo 2, immagine 3 di 3
    • Remove SIM card

    • Pry open back cover. (It helps to start at the SIM card slot where it's most flexible.)

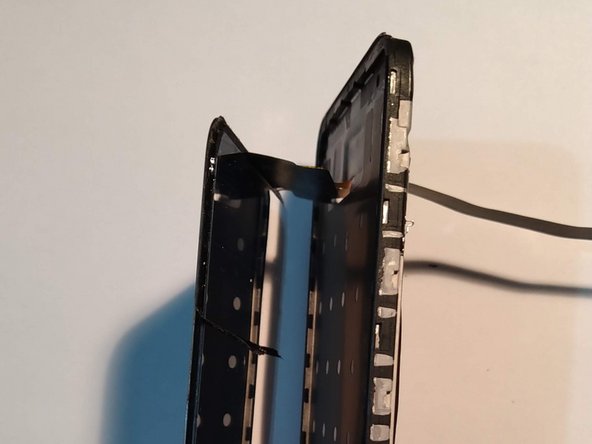
    • Work your way around the back cover until back cover is off.

  3. Asus Zenfone Max M2 Screen Replacement, Remove Screws for top cross-bracket: passo 3, immagine 1 di 3 Asus Zenfone Max M2 Screen Replacement, Remove Screws for top cross-bracket: passo 3, immagine 2 di 3 Asus Zenfone Max M2 Screen Replacement, Remove Screws for top cross-bracket: passo 3, immagine 3 di 3
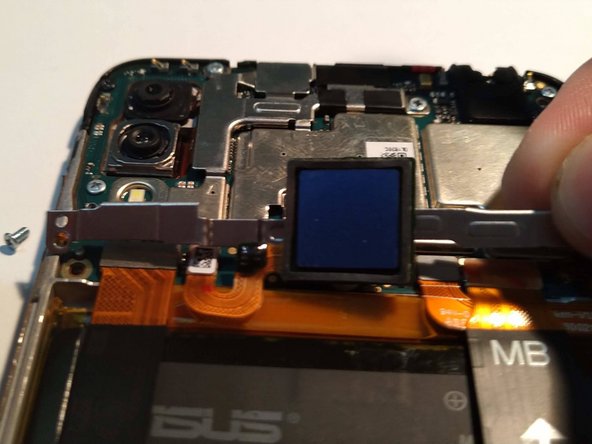
    • Lift up fingerprint sensor. (Some adhesive tape below it).

    • Remove bracket on top with three screws using screwdriver.

  4. Asus Zenfone Max M2 Screen Replacement, Remove hardware below battery: passo 4, immagine 1 di 3 Asus Zenfone Max M2 Screen Replacement, Remove hardware below battery: passo 4, immagine 2 di 3 Asus Zenfone Max M2 Screen Replacement, Remove hardware below battery: passo 4, immagine 3 di 3
    • Remove bottom screws and pry speaker plastic up.

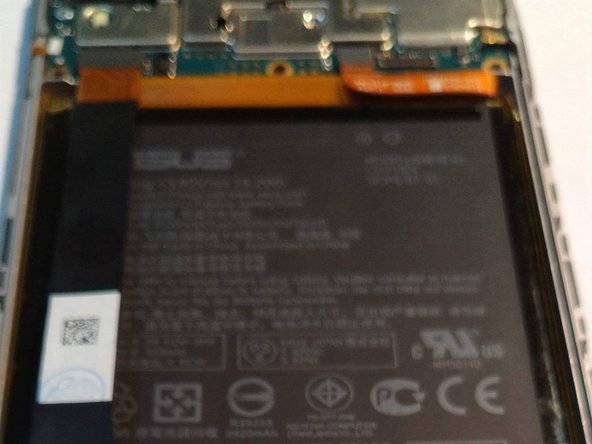
    • Remove the connectors including the grounding connector and connector across the battery.

    • Remove any more screws and remove the circuit board as shown.

    • Remove the connectors underneath the top bracket.

  5. Asus Zenfone Max M2 Screen Replacement, Remove broken screen: passo 5, immagine 1 di 3 Asus Zenfone Max M2 Screen Replacement, Remove broken screen: passo 5, immagine 2 di 3 Asus Zenfone Max M2 Screen Replacement, Remove broken screen: passo 5, immagine 3 di 3
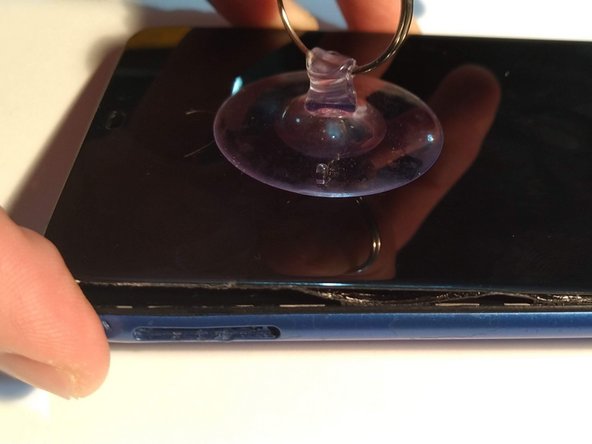
    • Use suction cups to pull back on broken screen.

    • The screen is held in by tape. Be gentle, and it can be unzipped. If needed, reinstall the back cover for more leverage.

    • <Optional> Test to see that the new screen works. Reconnect the connectors and see that screen works when phone is plugged to prevent the installation of a defective screen.

  6. Asus Zenfone Max M2 Screen Replacement, Install 3M 9448A tape: passo 6, immagine 1 di 3 Asus Zenfone Max M2 Screen Replacement, Install 3M 9448A tape: passo 6, immagine 2 di 3 Asus Zenfone Max M2 Screen Replacement, Install 3M 9448A tape: passo 6, immagine 3 di 3
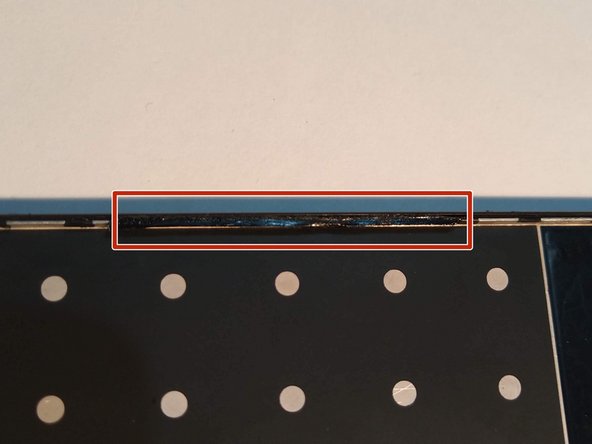
    • Remove any old adhesive residue from the front of the phone. And set the old screen aside.

    • Reapply 3M 9448A tape to the lips on the edge of the phone with as much surface area as possible. See photo. (Split back backing out as applying and use tools).

    • Do not touch the tape with your fingers to prevent oil from getting on it, so it has maximum effectiveness. Use pliers if needed.

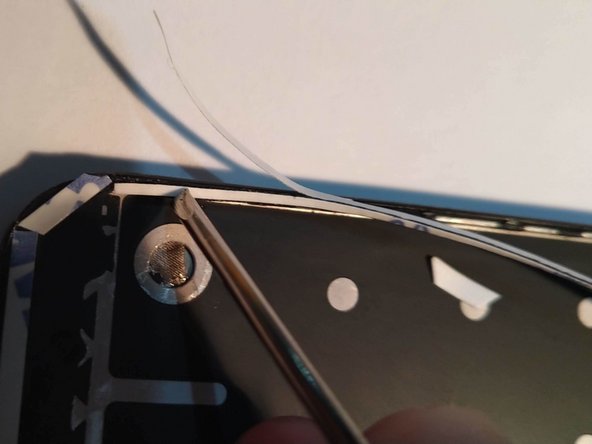
    • Remove the front backing to be ready to install the new screen.

  7. Asus Zenfone Max M2 Screen Replacement, Attach new screen: passo 7, immagine 1 di 3 Asus Zenfone Max M2 Screen Replacement, Attach new screen: passo 7, immagine 2 di 3 Asus Zenfone Max M2 Screen Replacement, Attach new screen: passo 7, immagine 3 di 3
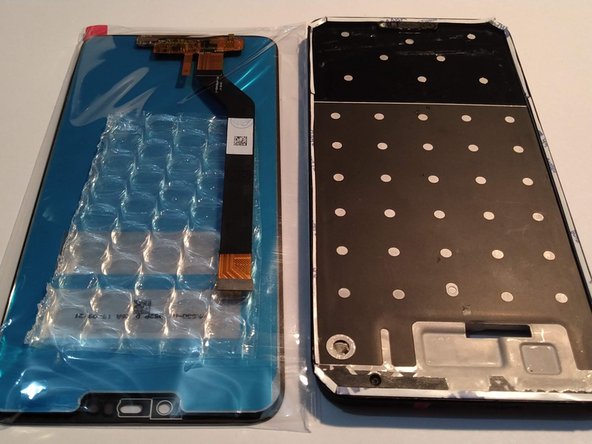
    • Remove all packaging from the new screen.

    • Thread ribbon cable through the slot in the phone.

    • Carefully line up and apply the new screen to the tape.

    • Flip phone over.

  8. Asus Zenfone Max M2 Screen Replacement, Connect the new screen: passo 8, immagine 1 di 3 Asus Zenfone Max M2 Screen Replacement, Connect the new screen: passo 8, immagine 2 di 3 Asus Zenfone Max M2 Screen Replacement, Connect the new screen: passo 8, immagine 3 di 3
    • Ground the screen to the body of the phone.

    • Re-insert the charging circuit board.

    • Connect the new phone screen like a little lego.

    • Reconnect the ribbon that goes across the battery.

  9. Asus Zenfone Max M2 Screen Replacement, Reassemble: passo 9, immagine 1 di 3 Asus Zenfone Max M2 Screen Replacement, Reassemble: passo 9, immagine 2 di 3 Asus Zenfone Max M2 Screen Replacement, Reassemble: passo 9, immagine 3 di 3
    • Snap the bottom plastic speaker piece back into place and screw it in.

    • Reinsert the top cross-bracket and fingerprint sensor. Screw it in place.

    • Insert the back cover.

    • Reinstall the back cover and SIM card

  10. Asus Zenfone Max M2 Screen Replacement, Enjoy your new screen!: passo 10, immagine 1 di 3 Asus Zenfone Max M2 Screen Replacement, Enjoy your new screen!: passo 10, immagine 2 di 3 Asus Zenfone Max M2 Screen Replacement, Enjoy your new screen!: passo 10, immagine 3 di 3
    • Enjoy the sound of peeling the plastic off your new screen!

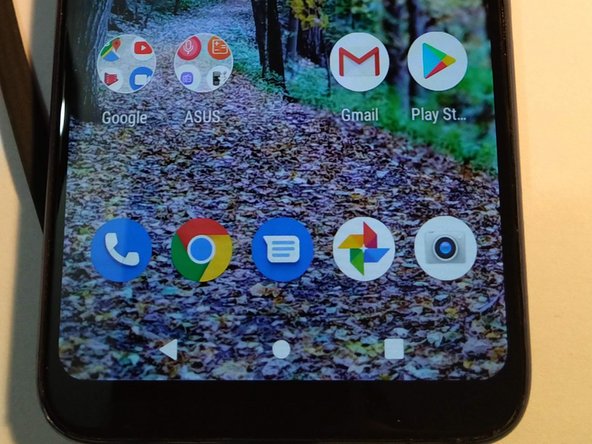
    • Turn on your phone and notice the improved screen.

    • There are no more steps to this guide.

    • I can only put in square picture that do not fit the aspect ratio of the full screen...

Conclusione

To reassemble your device, follow these instructions in reverse order.

Altre 5 persone hanno completato questa guida.

jfar

Membro da: 05/11/19

385 Reputazione

2 Guide realizzate

0 Commenti

Aggiungi Commento

Visualizza Statistiche:

Ultime 24 Ore: 2

Ultimi 7 Giorni: 6

Ultimi 30 Giorni: 37

Tutti i Tempi: 3,014