Salta al contenuto principale

Asus Zenfone 3 Max Screen Replacement

Cosa ti serve

  1. Asus Zenfone 3 Max Screen Replacement, SIM card: passo 1, immagine 1 di 1
    • Locate the SIM card slot on the upper left side of your Asus Zenfone Max 3.

  2. Asus Zenfone 3 Max Screen Replacement: passo 2, immagine 1 di 1
    • Use the iFixit 150mm Flex Extension with the Hex 0.7 bit or the SIM card eject tool.

    • Stick the tool into the hole on the SIM card slot and open the slot with it.

  3. Asus Zenfone 3 Max Screen Replacement: passo 3, immagine 1 di 1
    • Pull out the old SIM card all the way so it is no longer in the phone.

  4. Asus Zenfone 3 Max Screen Replacement, Back cover: passo 4, immagine 1 di 2 Asus Zenfone 3 Max Screen Replacement, Back cover: passo 4, immagine 2 di 2
    • Using an iFixit opening tool, gently wedge the tool between the phone and the back casing.

    • Move the opening tool up and down to pry the back off of the device.

  5. Asus Zenfone 3 Max Screen Replacement: passo 5, immagine 1 di 1
    • Once the original cover has been removed, apply the new cover to the back of the phone with careful pressure.

  6. Asus Zenfone 3 Max Screen Replacement, Battery: passo 6, immagine 1 di 3 Asus Zenfone 3 Max Screen Replacement, Battery: passo 6, immagine 2 di 3 Asus Zenfone 3 Max Screen Replacement, Battery: passo 6, immagine 3 di 3
    • Gently disconnect the gold connection cable indicated by the red circle in the corresponding picture.

    • Pull back on the black adhesive tab that is adhered to the top of the battery. Tab removal is marked in the corresponding picture with a orange circle.

    • Once the gold connection cable and black adhesive tab are no longer connected to the battery, the battery can be removed.

  7. Asus Zenfone 3 Max Screen Replacement: passo 7, immagine 1 di 3 Asus Zenfone 3 Max Screen Replacement: passo 7, immagine 2 di 3 Asus Zenfone 3 Max Screen Replacement: passo 7, immagine 3 di 3
    • Next, remove the battery by gently pulling on the blue removal tab located at the bottom of the device battery.

    • Completely remove existing device battery.

  8. Asus Zenfone 3 Max Screen Replacement, Motherboard: passo 8, immagine 1 di 2 Asus Zenfone 3 Max Screen Replacement, Motherboard: passo 8, immagine 2 di 2
    • Remove the two 2.5mm Phillips #0 screws located in the upper corners of the device indicated with red circles.

    • After both screws have been removed, detach the white plastic internal panel completely from the device.

  9. Asus Zenfone 3 Max Screen Replacement: passo 9, immagine 1 di 3 Asus Zenfone 3 Max Screen Replacement: passo 9, immagine 2 di 3 Asus Zenfone 3 Max Screen Replacement: passo 9, immagine 3 di 3
    • Next, remove the four 2.5mm Phillips #0 screws surrounding the motherboard component.

    • Following the removal of all four screws, carefully detach the two device cables at the bottom of the motherboard component using the nylon spudger.

    • Next, disconnect the remaining component cable using the same technique described in the previous step.

    • Metal spudgers should not be used on internal components, they are not ESD safe.

  10. Asus Zenfone 3 Max Screen Replacement: passo 10, immagine 1 di 2 Asus Zenfone 3 Max Screen Replacement: passo 10, immagine 2 di 2
    • Carefully grip the motherboard and gently lift and remove it from the internal device casing.

  11. Asus Zenfone 3 Max Screen Replacement, Screen: passo 11, immagine 1 di 1
  12. Asus Zenfone 3 Max Screen Replacement: passo 12, immagine 1 di 3 Asus Zenfone 3 Max Screen Replacement: passo 12, immagine 2 di 3 Asus Zenfone 3 Max Screen Replacement: passo 12, immagine 3 di 3
    • Remove the four 2.5mm Phillips #0 screws at the bottom near the speaker and take the small black plastic cover off.

    • Starting at the bottom, disconnect the antenna (long black wire).

    • Disconnect the tan component.

  13. Asus Zenfone 3 Max Screen Replacement: passo 13, immagine 1 di 2 Asus Zenfone 3 Max Screen Replacement: passo 13, immagine 2 di 2
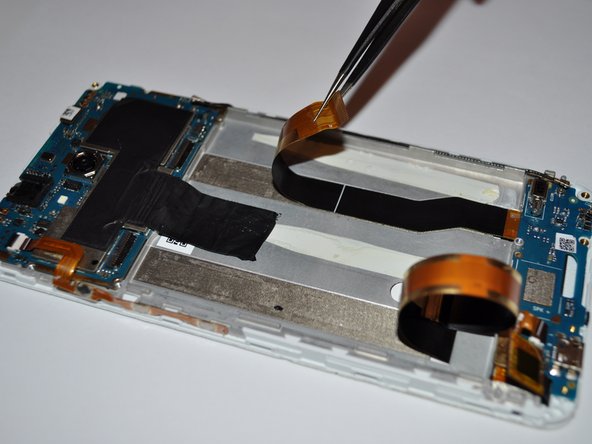
    • Starting from the top of the phone, disconnect the black screen flex cable (the one that is rectangular). Peel it all the way back.

    • Again starting from the top of the phone, disconnect the charging port flex cable (the other black cable) and microphone button. Peel it all the way back.

  14. Asus Zenfone 3 Max Screen Replacement: passo 14, immagine 1 di 3 Asus Zenfone 3 Max Screen Replacement: passo 14, immagine 2 di 3 Asus Zenfone 3 Max Screen Replacement: passo 14, immagine 3 di 3
    • Remove the four 2.5mm Phillips #0 screws that hold the motherboard and remove the motherboard. Follow our motherboard replacement guide.

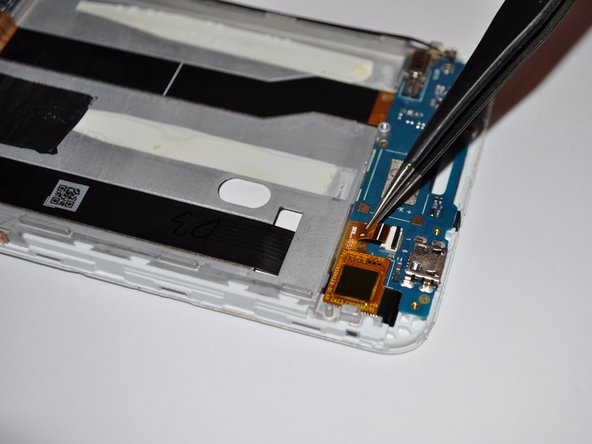
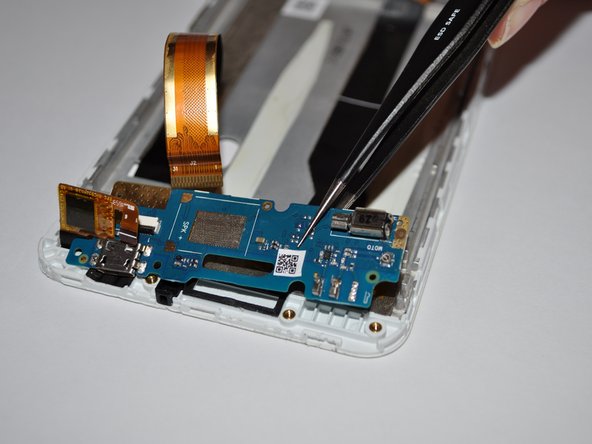
    • Remove the (blue) daughterboard. The charging port flex cable will come with it.

    • Be careful when removing the daughterboard. It is thin and adhered very solidly to the screen.

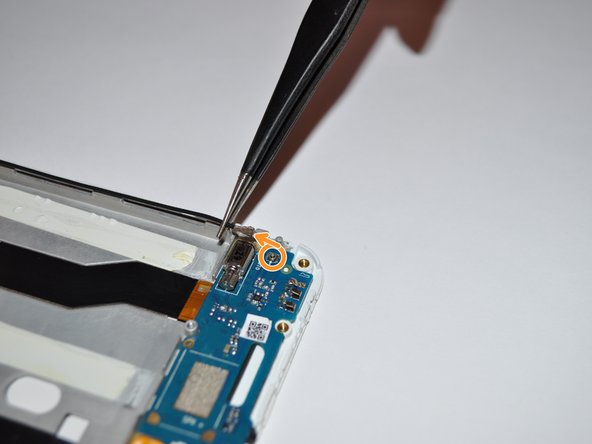
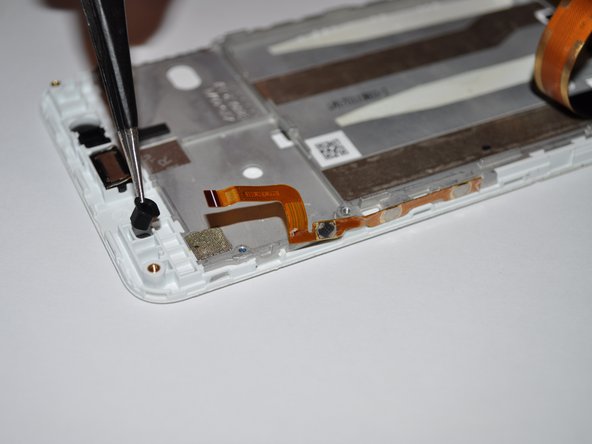
    • Move the rubber piece (denoted with orange circles) from the old port to your new LCD assembly.

Conclusione

To reassemble your device, follow these instructions in reverse order.

Un'altra persona ha completato questa guida.

chesterclydefelipe

Membro da: 03/17/19

139 Reputazione

1 Guida realizzata

0 Commenti

Aggiungi Commento

Visualizza Statistiche:

Ultime 24 Ore: 0

Ultimi 7 Giorni: 0

Ultimi 30 Giorni: 1

Tutti i Tempi: 194