Questa versione può contenere modifiche errate. Passa all'ultima istantanea verificata.
Cosa ti serve
-
Questo passaggio è privo di traduzione. Aiuta a tradurlo
-
Using a T4 Torx screwdriver, unscrew the ten screws lining the bottom cover. Then, proceed to remove the bottom cover by sliding it out parallel toward the back of the computer.
-
There are two length of screws. Eight screws are 3mm and two are 5mm. The two 5mm screws always go into the two center holes along the back edge.
-
-
Questo passaggio è privo di traduzione. Aiuta a tradurlo
-
Using an iFixit opening tool and your other hand, gently lift the connector up from the tape wrapped around the connector wires and pry the connector from the motherboard.
-
-
Questo passaggio è privo di traduzione. Aiuta a tradurlo
-
Remove the battery by unscrewing the five 3mm screws using a Phillips #1 screwdriver.
-
-
Questo passaggio è privo di traduzione. Aiuta a tradurlo
-
Lift the battery directly up and remove it from the device.
-
-
-
Questo passaggio è privo di traduzione. Aiuta a tradurlo
-
Remove the tape wrapped around the LCD connector by pulling it towards the screen hinges of the computer.
-
Disconnect the LCD connector by sliding it out of its socket.
-
-
Questo passaggio è privo di traduzione. Aiuta a tradurlo
-
Using a Phillis #1 screwdriver, remove the four 3 mm screws at the screen hinges to allow the screen to pull off of the device.
-
-
Questo passaggio è privo di traduzione. Aiuta a tradurlo
-
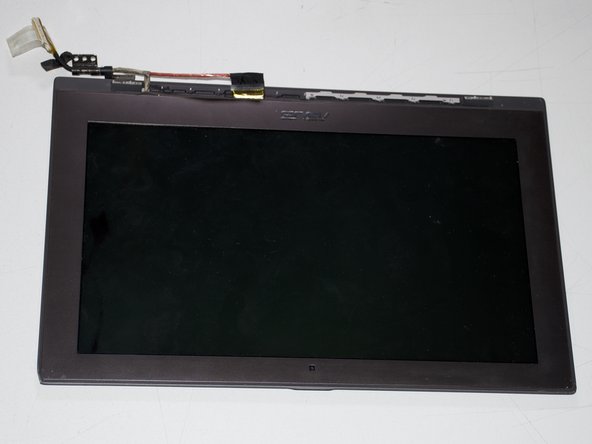
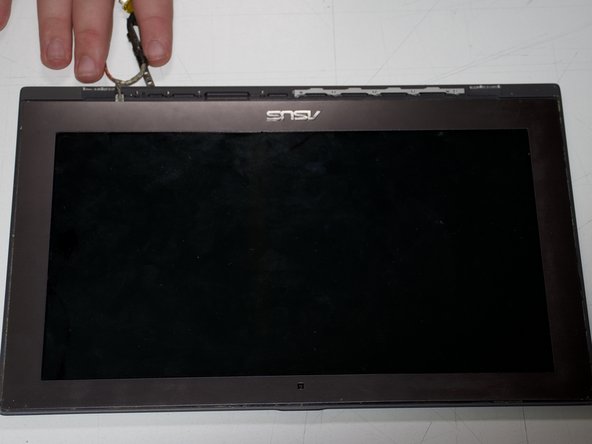
Remove the plastic vent from screen by using an iFixit opening tool to pry the vent from the screen edge.
-
-
Questo passaggio è privo di traduzione. Aiuta a tradurlo
-
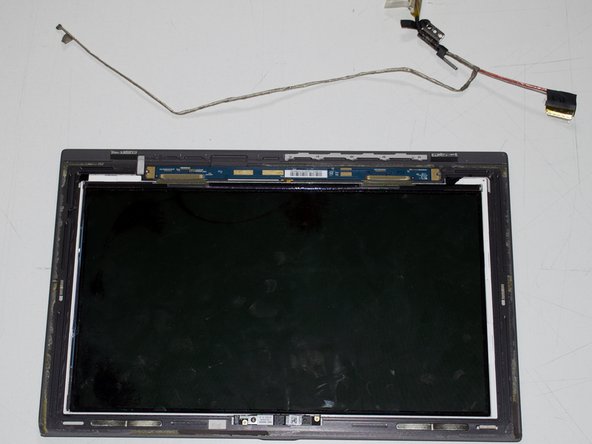
Remove the nine 3 mm screws along the base of the screen using a Phillips #1 screwdriver.
-
Remove four 5 mm screws along the two internal hinges using a Phillips #1 screwdriver.
-
-
Questo passaggio è privo di traduzione. Aiuta a tradurlo
-
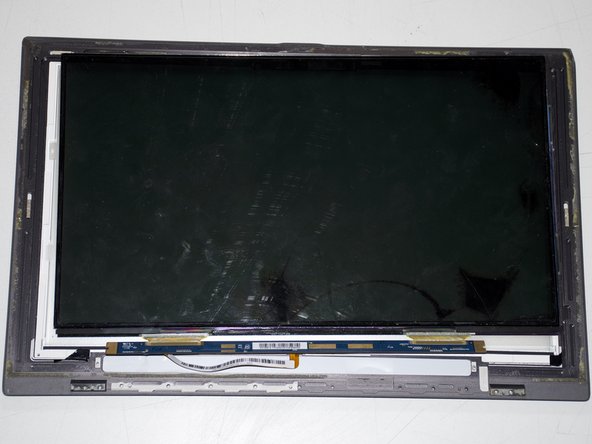
Remove the rubber o-ring (the thin rubber strip that lines the bezel edge) by peeling it off.
-
Heat the bezel using any heating tool such as a hair dryer, etc.
-
-
Questo passaggio è privo di traduzione. Aiuta a tradurlo
-
Disconnect the LCD connector from the screen housing by pulling the connector.
-
-
Questo passaggio è privo di traduzione. Aiuta a tradurlo
-
Unscrew the two 2 mmm screws that line the screen control board using a Phillips #1 screwdriver.
-
-
Questo passaggio è privo di traduzione. Aiuta a tradurlo
-
Remove the cable connecting the screen housing to the control board by pulling the cable.
-


Annulla: non ho completato questa guida.
Un'altra persona ha completato questa guida.
Team

Cal Poly, Team S22-G1, Maness Spring 2018 Membro di Cal Poly, Team S22-G1, Maness Spring 2018
CPSU-MANESS-S18S22G1
3 Membri
5 Guide realizzate