Introduzione
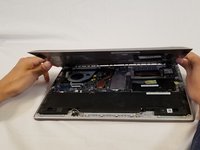
This guide will show you how to replace a dented or damaged bottom panel on an Asus ZenBook UX303U laptop.
Cosa ti serve
-
-
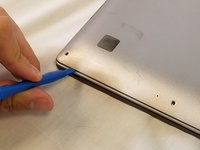
Remove the two round rubber feet at the hinge-edge of the laptop.
 Chiedi a FixBot
-
-


To reassemble your device, follow these instructions in reverse order.
Annulla: non ho completato questa guida.
Altre 3 persone hanno completato questa guida.

Team

USF Tampa, Team S3-G5, Nance Spring 2018 Membro di USF Tampa, Team S3-G5, Nance Spring 2018
USFT-NANCE-S18S3G5
3 Membri
9 guide realizzate
1Commento della guida
Some models may utilize Phillips #00 screws, but mine (and many others based on what I’ve now read) utilize Torx T5 screws around the edges of the panel.
