Introduzione
This guide will show you how to replace the WLAN card of the Asus Zen AiO. After removing the front screen, the WLAN card replacement is very easy and straightforward.
Cosa ti serve
-
-
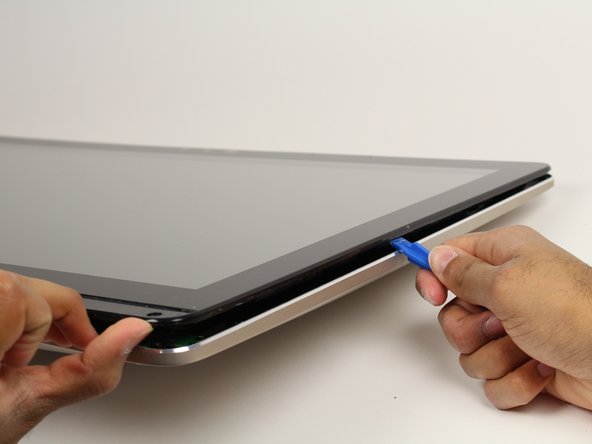
Use the plastic opening tool to pry off the black plastic strip at the bottom of the screen by wiggling the tool between the strip and the screen.
-
Run the opening tool slowly along the base of the screen, peeling the black strip back, until the opposite end of the screen is reached.
-
-
-
Place the computer on its back, facing up.
-
Wedge the plastic opening tool in between the screen and the bezel of the aluminum computer casing.
-
Move the tool along the entire edge of the screen with an up-and-down prying motion to loosen the screen from the casing. Do not lift the entire screen away from the computer yet.
-
-
-
-
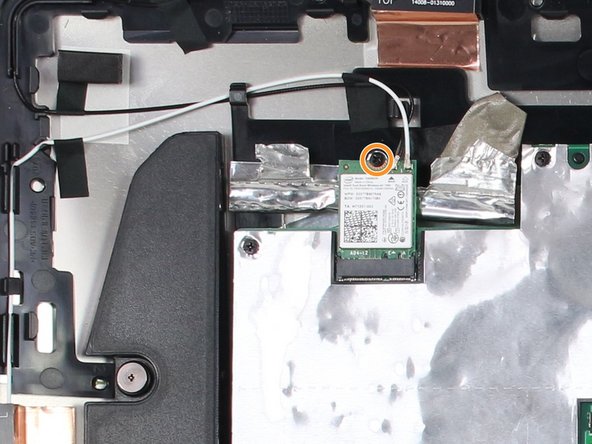
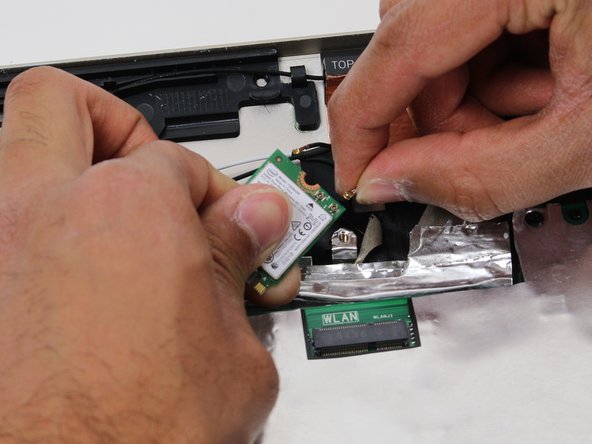
Locate the WLAN card in the upper left hand corner of the computer.
-
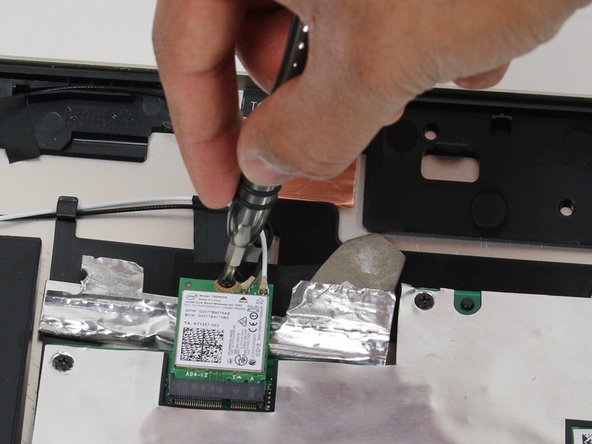
Use a Phillips #1 screwdriver to remove the 3.2 mm screw on the top of the WLAN card.
-


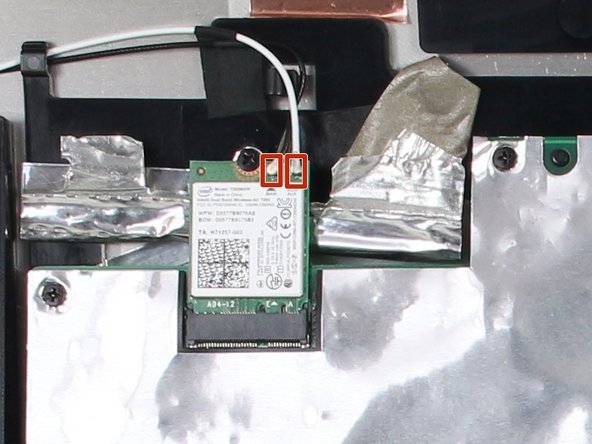
To reassemble your device, follow these instructions in reverse order.
To reassemble your device, follow these instructions in reverse order.
Team

Cal Poly, Team S4-G1, Livingston Fall 2017 Membro di Cal Poly, Team S4-G1, Livingston Fall 2017
CPSU-LIVINGSTON-F17S4G1
5 Membri
25 Guide realizzate