Introduzione
As the primary component used to enter text on any computing device, the keyboard is one of the most important parts of your ASUS VivoBook S200e-RHI3T73. If you notice any physical damage, excessive dust and debris, or unresponsiveness from your device’s keyboard, it might be time to replace it.
Before using this guide, I suggest you inspect the keyboard of your ASUS VivoBook S200e-RHI3T73 to acknowledge any easy-to-remove debris. If it seems like build up could be the problem, try blowing the keyboard out with compressed air. If that is not the solution, follow this guide to replace your ASUS VivoBook keyboard.
Be sure to unplug and power off your device completely before going on to complete this guide.
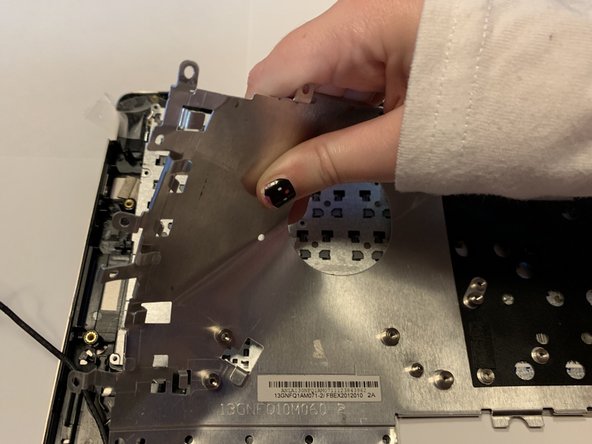
The metal panel as well as the actual keyboard, in steps 5 and 6 are extremely easy to bend! Be sure to use caution and gentle hands when removing these pieces as physical damage (like bending) can decrease the chances of your device returning to its original, functioning state.
Cosa ti serve
-
-
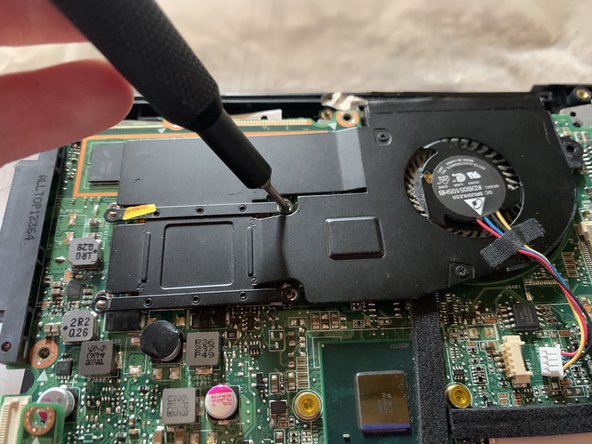
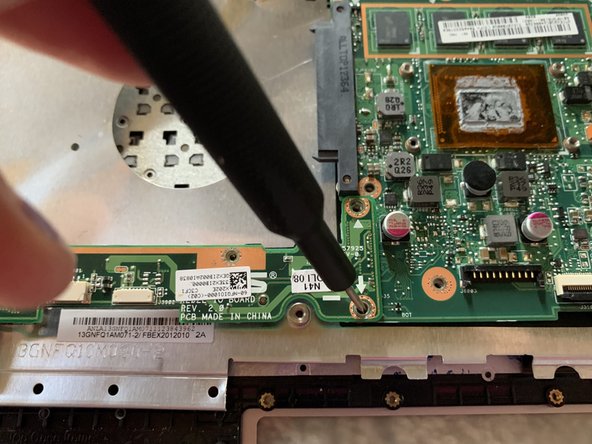
Use a Phillips #0 screwdriver to remove the nine 50mm screws and lift the panel.
-
-


To reassemble your device, follow these instructions in reverse order.
To reassemble your device, follow these instructions in reverse order.
Annulla: non ho completato questa guida.
Un'altra persona ha completato questa guida.

Team

University of North Alabama, Team S1-G4, Winner Fall 2019 Membro di University of North Alabama, Team S1-G4, Winner Fall 2019
UNA-WINNER-F19S1G4
3 Membri
3 Guide realizzate