Salta al contenuto principale

Asus UL80J Key Replacement

Cosa ti serve

  1. Asus UL80J Key Replacement, Battery: passo 1, immagine 1 di 1
    • Place laptop face down with battery facing up.

  2. Asus UL80J Key Replacement: passo 2, immagine 1 di 1
    • Slide unlock button to the right.

  3. Asus UL80J Key Replacement: passo 3, immagine 1 di 3 Asus UL80J Key Replacement: passo 3, immagine 2 di 3 Asus UL80J Key Replacement: passo 3, immagine 3 di 3
    • Slide the button marked with an arrow to the left. The battery should now unclick. Slide the battery away from the laptop to remove it.

  4. Asus UL80J Key Replacement, Keyboard: passo 4, immagine 1 di 1
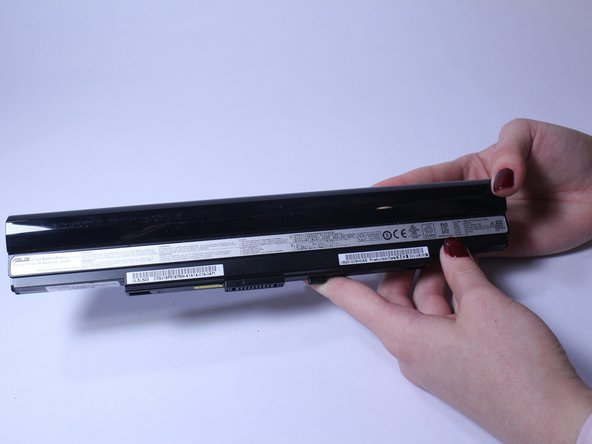
    • Insert a plastic opening tool or a flat-head screwdriver between the laptop body and the keyboard.

  5. Asus UL80J Key Replacement: passo 5, immagine 1 di 1
    Attrezzo utilizzato in questo passaggio:
    Plastic Cards
    $2.99
    Compra
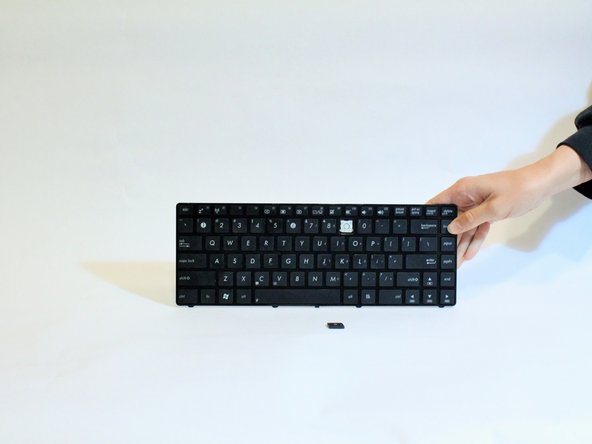
    • Gently pry the keyboard up. This will allow you to unclip the keyboard.

    • Use an old plastic card or a similar flat object to prevent the keyboard from clipping back in while carefully working along the keyboard perimeter.

    • Unclipping sounds are normal.

    • Keep unclipping the keyboard along the perimeter. Once the keyboard is unclipped, be careful and do not take it out right away, as there is still a ribbon that connects the keyboard with the rest of the computer located on the bottom.

  6. Asus UL80J Key Replacement: passo 7, immagine 1 di 1
    • Slowly lift the keyboard and use flash light if needed to locate the ribbon cable on the bottom. Lift the ZIF connector tab before pulling the ribbon cable out.

    • Remove the tape from the ribbon cable if needed and remove the keyboard.

  7. Asus UL80J Key Replacement, Key: passo 8, immagine 1 di 2 Asus UL80J Key Replacement, Key: passo 8, immagine 2 di 2
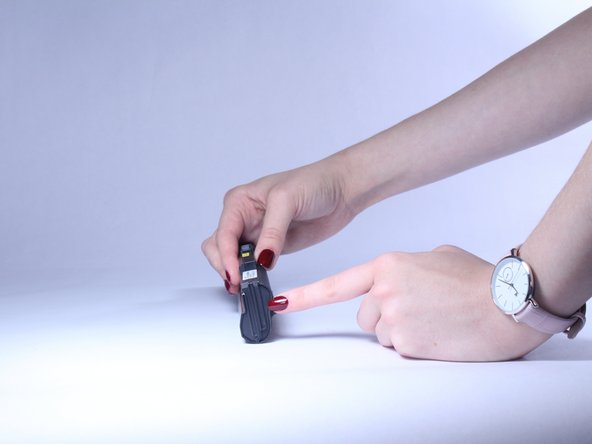
    • Gently insert the plastic opening tool between the key cap and the hinge. Slowly push the screwdriver up. The key should pop up easily.

    • Clean the surface underneath the key with a soft brush or condensed air.

    • Insert the new key in place of the old key. Ensure the clipping sound occurs.

Conclusione

To reassemble your device, follow these instructions in reverse order.

Team

USF Tampa, Team S2-G4, Lacy Spring 2017 Membro di USF Tampa, Team S2-G4, Lacy Spring 2017

USFT-LACY-S17S2G4

3 Membri

7 Guide realizzate

0 Commenti

Aggiungi Commento

Visualizza Statistiche:

Ultime 24 Ore: 0

Ultimi 7 Giorni: 2

Ultimi 30 Giorni: 2

Tutti i Tempi: 259