Salta al contenuto principale
Unisciti alla Community delle riparazioni - Crea un account
Asus U47VC-DS51 LCD Screen Replacement

Asus U47VC-DS51 LCD Screen Replacement

Brady Roberson

Brady Roberson e 3 altri collaboratori

Ultimo aggiornamento il May 12, 2017

6 minuti
Moderato

Introduzione

Vai al passo 1

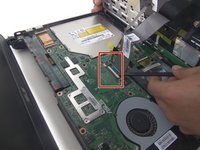
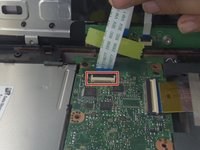
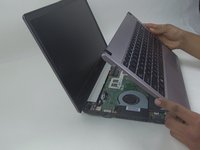
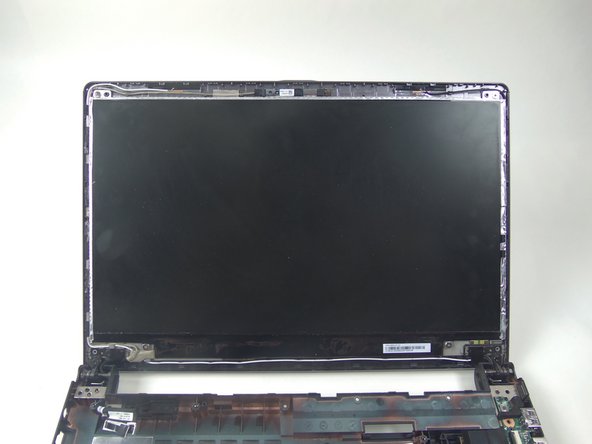
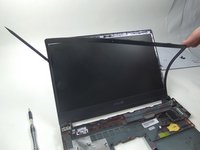
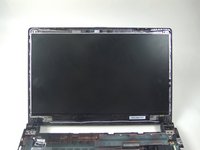
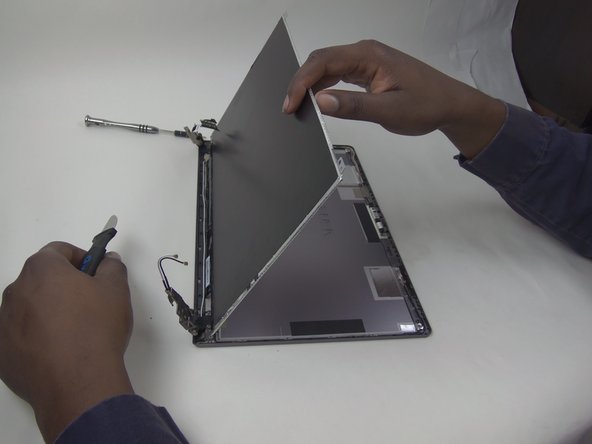
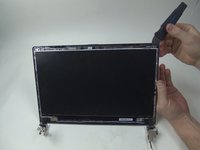
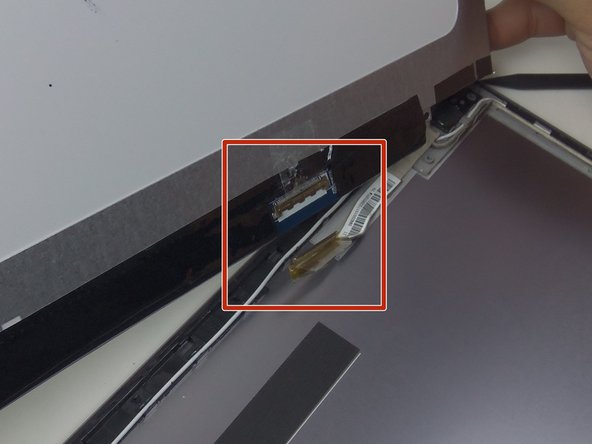
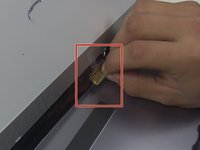
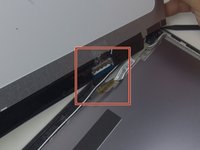
This guide demonstrates how to replace the LED screen. There are ZIF connectors and a face place.

Cosa ti serve

Strumenti

Mostra di più…

  1. Asus U47VC-DS51 LCD Screen Replacement, Keyboard: passo 1, immagine 1 di 2 Asus U47VC-DS51 LCD Screen Replacement, Keyboard: passo 1, immagine 2 di 2
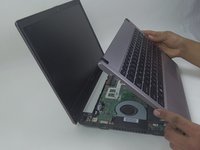
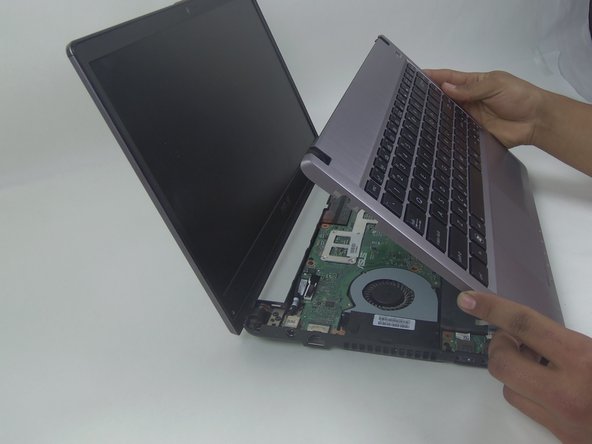
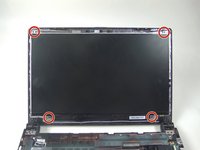
    • Remove 9 screws from bottom of notebook using PH00 bit + 1 under hard drive bay.

    • Remove 3 screws from bottom of notebook using PH00 bit. 1 is same screw spec as the other 9, and 2 are shorter.

  2. Asus U47VC-DS51 LCD Screen Replacement: passo 2, immagine 1 di 2 Asus U47VC-DS51 LCD Screen Replacement: passo 2, immagine 2 di 2
    • Using the black spudger, insert its flat end between the crevice where the color changes from grey to black.

    • The keyboard is very tightly secured.

    • Carefully ease the spudger's end along the crevice, going around the entire frame.

    • The back connectors are short, so be careful when lifting.

  3. Asus U47VC-DS51 LCD Screen Replacement: passo 3, immagine 1 di 2 Asus U47VC-DS51 LCD Screen Replacement: passo 3, immagine 2 di 2
    • Lift the keyboard from the front where it is closest to the screen.

    • Disconnect the large and small ZIF connectors attached to the motherboard by flipping the light-colored part of the switch.

  4. Asus U47VC-DS51 LCD Screen Replacement: passo 4, immagine 1 di 2 Asus U47VC-DS51 LCD Screen Replacement: passo 4, immagine 2 di 2
    • Remove the third and last ZIF connector on the motherboard by flipping up the dark-colored part of the switch.

    • Now, the component should come completely free.

  5. Asus U47VC-DS51 LCD Screen Replacement, LCD Screen: passo 5, immagine 1 di 1
    • Unscrew the two 4mm phillips head #00 screws.

  6. Asus U47VC-DS51 LCD Screen Replacement: passo 6, immagine 1 di 3 Asus U47VC-DS51 LCD Screen Replacement: passo 6, immagine 2 di 3 Asus U47VC-DS51 LCD Screen Replacement: passo 6, immagine 3 di 3
    • Use the black spudger to pry the face plate off.

    • The face plate is attached with adhesive.

    • Gently peel the face plate from the base.

  7. Asus U47VC-DS51 LCD Screen Replacement: passo 7, immagine 1 di 3 Asus U47VC-DS51 LCD Screen Replacement: passo 7, immagine 2 di 3 Asus U47VC-DS51 LCD Screen Replacement: passo 7, immagine 3 di 3
    • Unscrew the four 3mm Phillips head #00 screws holding the screen to the base.

    • When sitting upright, the screen should fall forward from the top.

  8. Asus U47VC-DS51 LCD Screen Replacement: passo 8, immagine 1 di 2 Asus U47VC-DS51 LCD Screen Replacement: passo 8, immagine 2 di 2
    • Unease the yellow connecting tape with the spudger at the bottom of the screen.

    • Pull the connector straight down and it will disconnect fairly easy.

    • The screen should then be free to be removed.

Conclusione

To reassemble your device, follow these instructions in reverse order.

1Commento della guida

Ich weiß nicht warum aber mein Laptop der zeigt mir immer ein blauen Bildschirm an und da steht irgendwas von Software Update bitte helfen sie mir ich will nicht sehr viel Geld ausgeben

Bobenmazue - Replica

Aggiungi Commento

Visualizza Statistiche:

Ultime 24 Ore: 0

Ultimi 7 Giorni: 2

Ultimi 30 Giorni: 3

Tutti i Tempi: 496