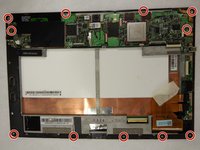
Salta al contenuto principale

Asus TF300T Tablet Display Replacement

Cosa ti serve

  1. Asus TF300T Tablet Display Replacement, Display: passo 1, immagine 1 di 2 Asus TF300T Tablet Display Replacement, Display: passo 1, immagine 2 di 2
    • Disconnect the dock and make sure the power is turned off.

    • Use plastic opening tool to pry screen up and remove from outer casing.

    • Be gentle with the plastic opening tool when you reach the charging port as the thinner plastic could be broken easily.

  2. Asus TF300T Tablet Display Replacement: passo 2, immagine 1 di 3 Asus TF300T Tablet Display Replacement: passo 2, immagine 2 di 3 Asus TF300T Tablet Display Replacement: passo 2, immagine 3 di 3
    • Pull up on the black circuit board protector.

    • Turn off the hard power switch before working with the tablet. Use a tool to slide the switch to the position marked "off".

    • For most of the replacement operation, you do not have to remove the battery once you turned off the switch. Make sure that you do not short anything with the metal tools.

  3. Asus TF300T Tablet Display Replacement: passo 3, immagine 1 di 3 Asus TF300T Tablet Display Replacement: passo 3, immagine 2 di 3 Asus TF300T Tablet Display Replacement: passo 3, immagine 3 di 3
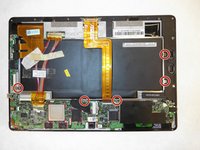
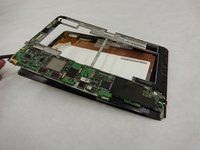
    • Use a Phillips #00 screwdriver to remove the 3mm screws connecting the battery to the motherboard.

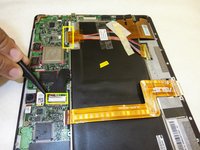
    • Use the same screwdriver to remove two 3mm screws connecting the clips.

    • Use tweezers to remove two wires connected from the battery to the motherboard.

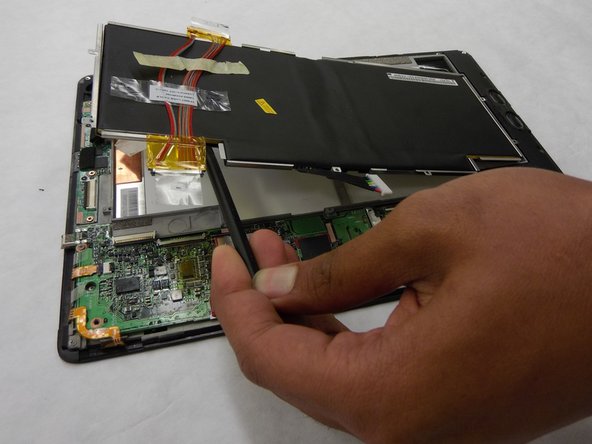
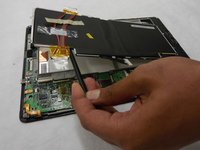
    • Use the spudger to remove the battery from the case.

  4. Asus TF300T Tablet Display Replacement: passo 4, immagine 1 di 2 Asus TF300T Tablet Display Replacement: passo 4, immagine 2 di 2
    • Use a Phillips #00 Screwdriver to remove the 3mm screws that connect the metal board with the screen.

    • Use a hairdryer on high and heat the edges of the screen. Melt the adhesive holding the screen to the casing of the tablet.

    • Take out the display away from the screen.

Conclusione

To reassemble your device, follow these instructions in reverse order.

Team

IUPUI, Team S2-G2, Wilson Summer 2017 Membro di IUPUI, Team S2-G2, Wilson Summer 2017

IUPUI-WILSON-SU17S2G2

3 Membri

8 Guide realizzate

0 Commenti

Aggiungi Commento

Visualizza Statistiche:

Ultime 24 Ore: 0

Ultimi 7 Giorni: 0

Ultimi 30 Giorni: 5

Tutti i Tempi: 910