Introduzione
This guide will show you how to replace a switch on the Asus ROG Spatha. For this fix you will need a replacement switch and a Torx T10 screwdriver. This repair is relatively easy to do and will take you about 10 to 15 minutes. This repair will allow you to reuse your mouse for another rated 50 million clicks, expanding the life of the mouse by quite a long time.
Cosa ti serve
-
-
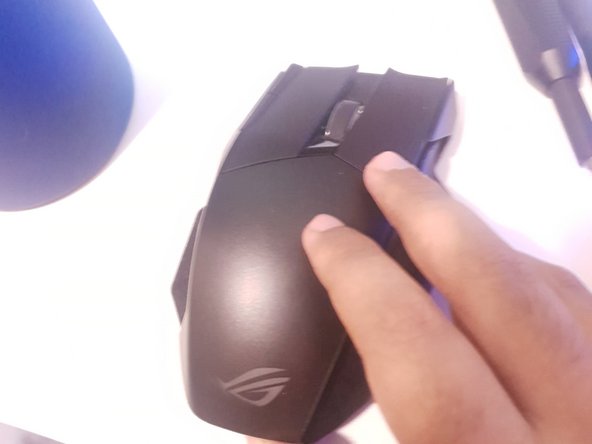
If the green is visible like in the first photo, turn the switch to fully power down the device.
-
-


To reassemble your device, follow these instructions in reverse order.
To reassemble your device, follow these instructions in reverse order.

Team

York University, Team S1-G25, Melo-Thaiss Summer 2021 Membro di York University, Team S1-G25, Melo-Thaiss Summer 2021
YORK-MELO-THAISS-SU21S1G25
1 Membro
7 Guide realizzate