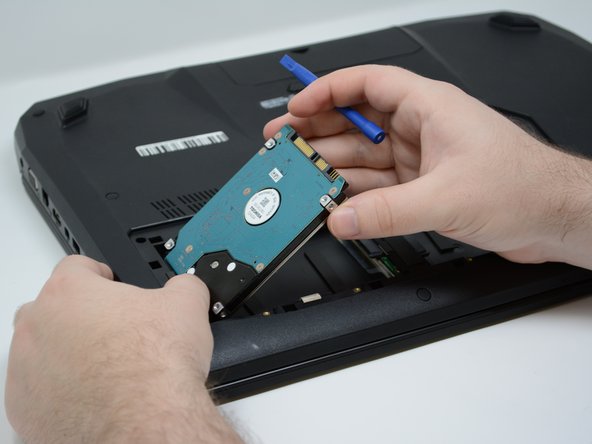
Salta al contenuto principale

Asus ROG G750JM-BS17N23 Hard Drive Replacement

Cosa ti serve

  1. Asus ROG G750JM-BS17N23 Hard Drive Replacement, Back Plate: passo 1, immagine 1 di 1
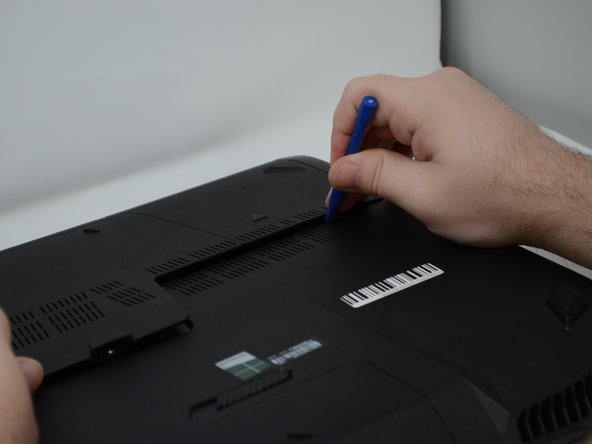
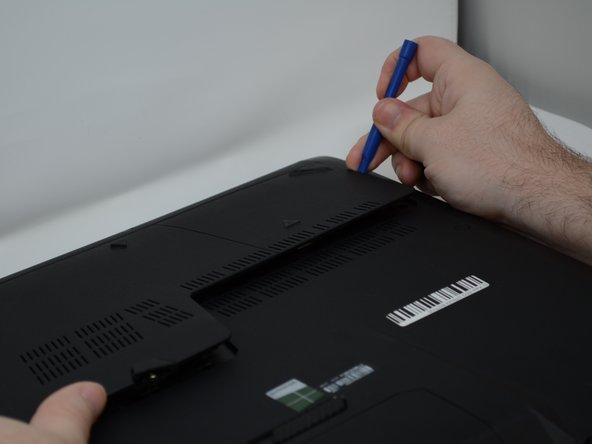
    • With the computer upside down, lift up on the rubber cap on the back plate to access the captive Phillips #2 screw.

  2. Asus ROG G750JM-BS17N23 Hard Drive Replacement: passo 2, immagine 1 di 1
    • Retract the Phillips #2 screw until the cover is loose.

    • The screw will not come all the way out.

  3. Asus ROG G750JM-BS17N23 Hard Drive Replacement: passo 3, immagine 1 di 3 Asus ROG G750JM-BS17N23 Hard Drive Replacement: passo 3, immagine 2 di 3 Asus ROG G750JM-BS17N23 Hard Drive Replacement: passo 3, immagine 3 di 3
    • Pry around the edges of the plate using a plastic opening tool until the plate is removed.

  4. Asus ROG G750JM-BS17N23 Hard Drive Replacement, Hard Drive: passo 4, immagine 1 di 1
    • To access the hard drive, remove the back plate.

  5. Asus ROG G750JM-BS17N23 Hard Drive Replacement: passo 5, immagine 1 di 2 Asus ROG G750JM-BS17N23 Hard Drive Replacement: passo 5, immagine 2 di 2
    • Remove the three 4mm Phillips #2 screws.

  6. Asus ROG G750JM-BS17N23 Hard Drive Replacement: passo 6, immagine 1 di 2 Asus ROG G750JM-BS17N23 Hard Drive Replacement: passo 6, immagine 2 di 2
    • Pull back on the tab on the hard drive shield until it is clear of the screw slots. Next pull the shield out.

  7. Asus ROG G750JM-BS17N23 Hard Drive Replacement: passo 7, immagine 1 di 2 Asus ROG G750JM-BS17N23 Hard Drive Replacement: passo 7, immagine 2 di 2
    • With the hard drive exposed, pull the hard drive away from the connection point and then remove the hard drive.

Conclusione

To reassemble your device, follow these instructions in reverse order.

0 Commenti

Aggiungi Commento

Visualizza Statistiche:

Ultime 24 Ore: 0

Ultimi 7 Giorni: 1

Ultimi 30 Giorni: 5

Tutti i Tempi: 468