Introduzione
Be sure is it not the disk that is faulty before replacing the disk drive. If you are having anyother problems with this device check the troubleshooting page here.
Cosa ti serve
-
-
Start by removing the 10 screws on the back of the laptop with a Phillips head 1 screw driver.
-
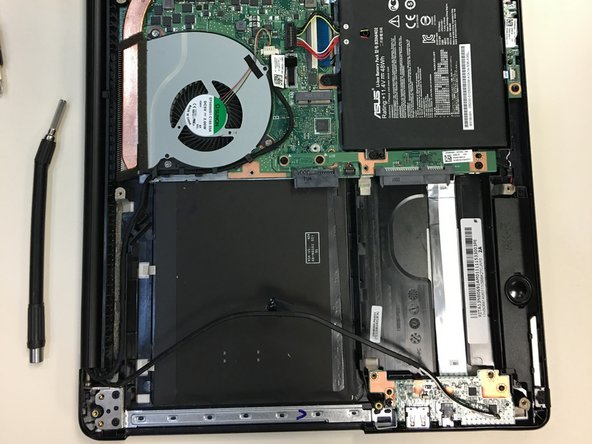
Remove back cover.
-
-


To reassemble your device, follow these instructions in reverse order.
To reassemble your device, follow these instructions in reverse order.
Annulla: non ho completato questa guida.
Un'altra persona ha completato questa guida.
Team

University of North Texas, Team S6-G5, Thomas Fall 2017 Membro di University of North Texas, Team S6-G5, Thomas Fall 2017
UNT-THOMAS-F17S6G5
4 Membri
5 Guide realizzate