Salta al contenuto principale

Asus F6A-X2 Front Bezel Replacement

Cosa ti serve

  1. Asus F6A-X2 Front Bezel Replacement, Front Bezel: passo 1, immagine 1 di 2 Asus F6A-X2 Front Bezel Replacement, Front Bezel: passo 1, immagine 2 di 2
    • Lay the laptop right side up.

    • Rotate laptop 90 degrees towards you, so the empty battery compartment is visible.

  2. Asus F6A-X2 Front Bezel Replacement: passo 2, immagine 1 di 2 Asus F6A-X2 Front Bezel Replacement: passo 2, immagine 2 di 2
    • Insert a finger nail, or the flat end of the spudger, into the slot between the laptop base and the hinge guard on the right side. Gently pull the guard towards you until the guard pops off.

    • Repeat this process for the other guard.

  3. Asus F6A-X2 Front Bezel Replacement: passo 3, immagine 1 di 2 Asus F6A-X2 Front Bezel Replacement: passo 3, immagine 2 di 2
    • Once the hinge guards are removed, lay the laptop flat on its bottom. Then, lift open the laptop screen as if you were about to use it.

    • With a pair of tweezers, peel off the six rubber cushions from the bezel located around the perimeter of the screen.

  4. Asus F6A-X2 Front Bezel Replacement: passo 4, immagine 1 di 2 Asus F6A-X2 Front Bezel Replacement: passo 4, immagine 2 di 2
    • Remove the six 2.0 mm Phillips #1 screws from the perimeter of the bezel.

  5. Asus F6A-X2 Front Bezel Replacement: passo 5, immagine 1 di 2 Asus F6A-X2 Front Bezel Replacement: passo 5, immagine 2 di 2
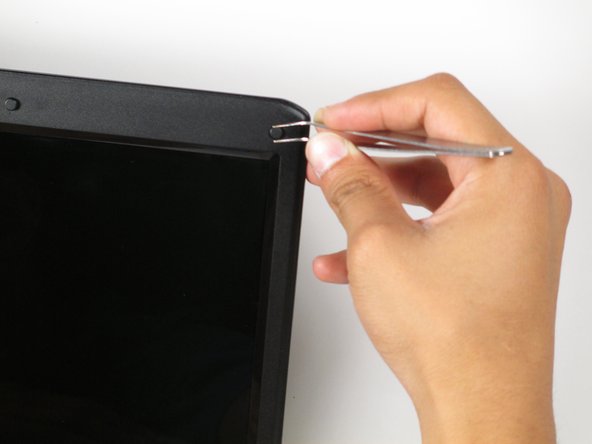
    • Insert a finger nail, or the flat end of a spudger, into the slit between the bezel and the back cover of the laptop.

    • Gently pry the bezel towards you to remove it from the back panel of the laptop.

    • Hearing a cracking noise is normal. The bezel is not damaged in this process.

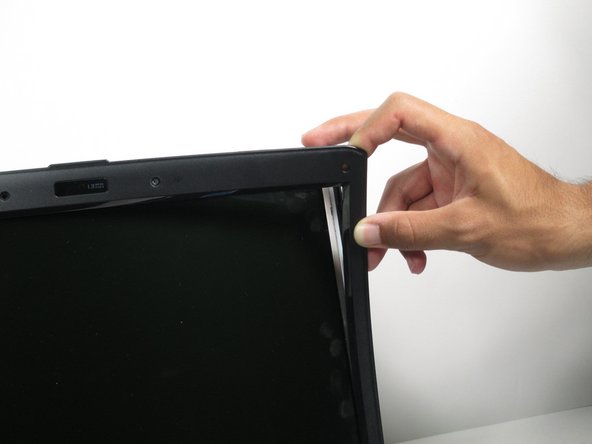
    • Continue to pry around the perimeter of the laptop until the entire bezel has been removed.

Conclusione

To reassemble your device, follow these instructions in reverse order.

Jonathan

Membro da: 04/24/14

1.174 Reputazione

11 Guide realizzate

Team

Cal Poly, Team 10-56, Amido Spring 2014 Membro di Cal Poly, Team 10-56, Amido Spring 2014

CPSU-AMIDO-S14S10G56

4 Membri

12 Guide realizzate

0 Commenti

Aggiungi Commento

Visualizza Statistiche:

Ultime 24 Ore: 0

Ultimi 7 Giorni: 2

Ultimi 30 Giorni: 2

Tutti i Tempi: 442