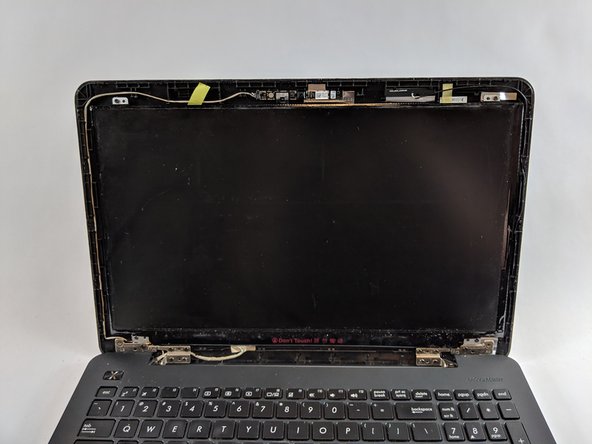
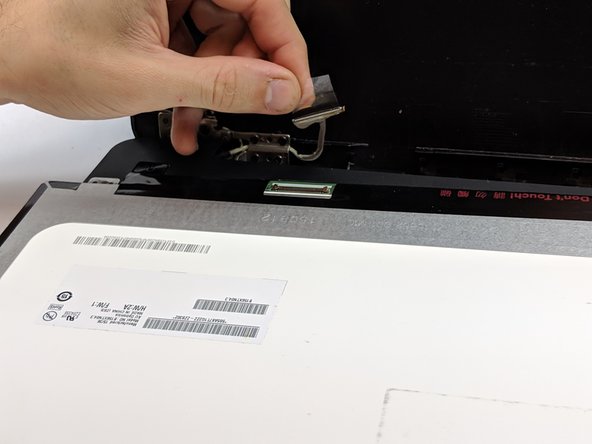
Salta al contenuto principale

Asus F554LA-WS52 Screen Replacement

Cosa ti serve

  1. Asus F554LA-WS52 Screen Replacement, Screen: passo 1, immagine 1 di 2 Asus F554LA-WS52 Screen Replacement, Screen: passo 1, immagine 2 di 2
    • Remove the two plastic screw coverings from the bottom of the screen panel.

  2. Asus F554LA-WS52 Screen Replacement: passo 2, immagine 1 di 2 Asus F554LA-WS52 Screen Replacement: passo 2, immagine 2 di 2
    • Remove the two 4.6mm screws using the Phillips #0 screwdriver.

  3. Asus F554LA-WS52 Screen Replacement: passo 3, immagine 1 di 2 Asus F554LA-WS52 Screen Replacement: passo 3, immagine 2 di 2
    • Using the plastic opening tool, gently pry the notebook's plastic screen covering away from the screen.

  4. Asus F554LA-WS52 Screen Replacement: passo 4, immagine 1 di 2 Asus F554LA-WS52 Screen Replacement: passo 4, immagine 2 di 2
    • Remove the two 4.6mm screws holding screen in place.

  5. Asus F554LA-WS52 Screen Replacement: passo 5, immagine 1 di 3 Asus F554LA-WS52 Screen Replacement: passo 5, immagine 2 di 3 Asus F554LA-WS52 Screen Replacement: passo 5, immagine 3 di 3
    • Carefully, lay screen down on the keyboard.

    • Be cautious as the screen will still be attached.

  6. Asus F554LA-WS52 Screen Replacement: passo 6, immagine 1 di 3 Asus F554LA-WS52 Screen Replacement: passo 6, immagine 2 di 3 Asus F554LA-WS52 Screen Replacement: passo 6, immagine 3 di 3
    • Remove tape that covers the visual pin connectors.

    • Gently disconnect the screen from the pin connectors and replace.

Conclusione

To reassemble your device, follow these instructions in reverse order.

Aaron Ratliff

Membro da: 10/09/18

527 Reputazione

4 Guide realizzate

Team

USF Tampa, Team S1-G2, Leahy Fall 2018 Membro di USF Tampa, Team S1-G2, Leahy Fall 2018

USFT-LEAHY-F18S1G2

4 Membri

6 Guide realizzate

0 Commenti

Aggiungi Commento

Visualizza Statistiche:

Ultime 24 Ore: 2

Ultimi 7 Giorni: 2

Ultimi 30 Giorni: 14

Tutti i Tempi: 388