Salta al contenuto principale

Asus Eee PC 1008ha Screen Replacement

Cosa ti serve

  1. Asus Eee PC 1008ha Screen Replacement, Battery: passo 1, immagine 1 di 1
    • Using the plastic opening tool, carefully pry the top panel from the base.

  2. Asus Eee PC 1008ha Screen Replacement: passo 2, immagine 1 di 3 Asus Eee PC 1008ha Screen Replacement: passo 2, immagine 2 di 3 Asus Eee PC 1008ha Screen Replacement: passo 2, immagine 3 di 3
    • Lift the side of the keyboard.

    • Disconnect the attached ribbon located underneath the keyboard.

    • Place your index finger in the hole on the right side of the keyboard tray and lift the tray.

  3. Asus Eee PC 1008ha Screen Replacement: passo 3, immagine 1 di 2 Asus Eee PC 1008ha Screen Replacement: passo 3, immagine 2 di 2
    • Use your fingers to lift the battery and gently disconnect the wires from the base.

  4. Asus Eee PC 1008ha Screen Replacement, LCD Screen: passo 4, immagine 1 di 2 Asus Eee PC 1008ha Screen Replacement, LCD Screen: passo 4, immagine 2 di 2
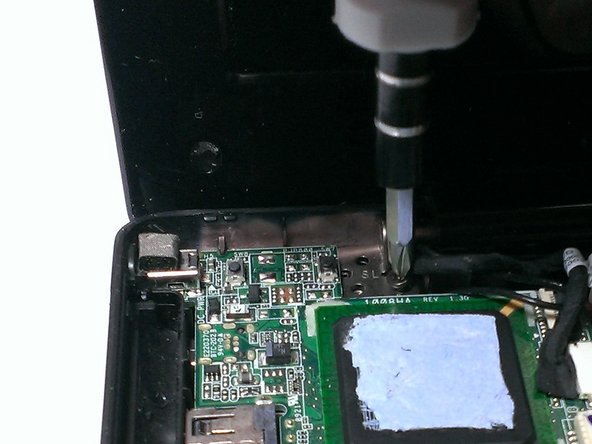
    • Using the Phillips #00 screwdriver, unscrew the 4mm screws from the rightmost circuit board.

    • Carefully pull the circuit board away from side of device base.

  5. Asus Eee PC 1008ha Screen Replacement: passo 5, immagine 1 di 3 Asus Eee PC 1008ha Screen Replacement: passo 5, immagine 2 di 3 Asus Eee PC 1008ha Screen Replacement: passo 5, immagine 3 di 3
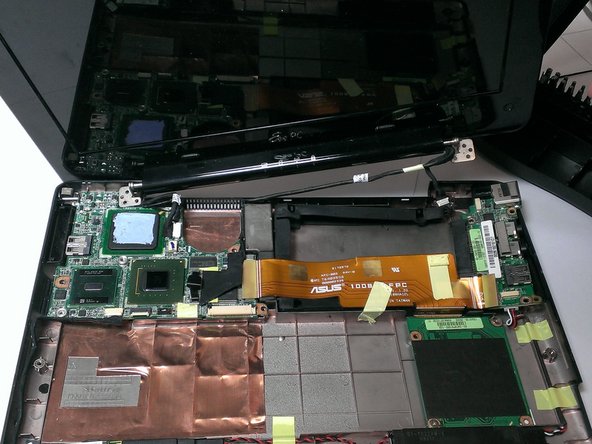
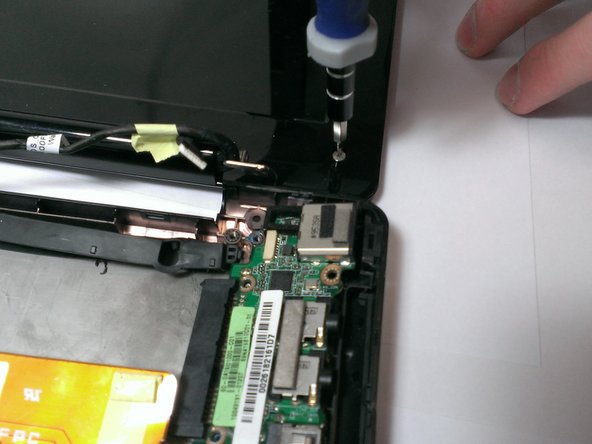
    • Using the Phillips #00 screwdriver, unscrew the 4mm screws attaching screen to base from both sides.

    • Gently lift the screen portion from the base.

  6. Asus Eee PC 1008ha Screen Replacement: passo 6, immagine 1 di 2 Asus Eee PC 1008ha Screen Replacement: passo 6, immagine 2 di 2
    • Using the Plastic Opening Tool, pry the six small chits from the face of the screen portion.

    • Using the Phillips #00 screwdriver, unscrew the two 2mm and four 4mm screws from underneath the chits.

  7. Asus Eee PC 1008ha Screen Replacement: passo 7, immagine 1 di 2 Asus Eee PC 1008ha Screen Replacement: passo 7, immagine 2 di 2
    • Slide the Plastic Opening Tool under the edge of the screen bezel to release the front panel of the screen.

  8. Asus Eee PC 1008ha Screen Replacement: passo 8, immagine 1 di 2 Asus Eee PC 1008ha Screen Replacement: passo 8, immagine 2 di 2
    • Using the Phillips #00 screwdriver, unscrew the 2mm screws from the perimeter of the screen.

    • Use your fingers to hold the screen and carefully lift it from the base.

  9. Asus Eee PC 1008ha Screen Replacement: passo 9, immagine 1 di 2 Asus Eee PC 1008ha Screen Replacement: passo 9, immagine 2 di 2
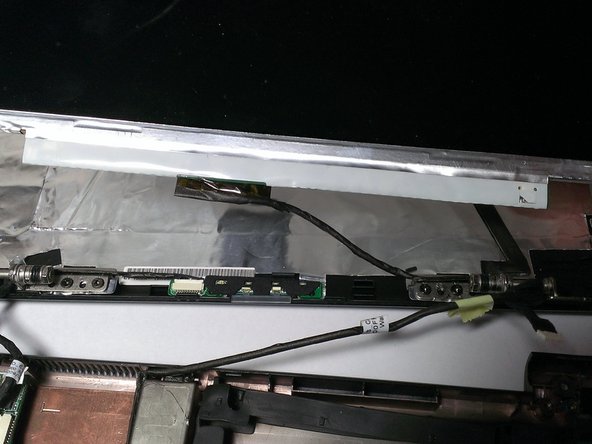
    • Use your fingers to peel back the adhesive tape located on the back of the screen.

    • Disconnect the wire from the screen.

Conclusione

To reassemble your device, follow these instructions in reverse order.

Un'altra persona ha completato questa guida.

Team

Cal Poly, Team 21-52, Johann Spring 2013 Membro di Cal Poly, Team 21-52, Johann Spring 2013

CPSU-JOHANN-S13S21G52

4 Membri

11 Guide realizzate

0 Commenti

Aggiungi Commento

Visualizza Statistiche:

Ultime 24 Ore: 0

Ultimi 7 Giorni: 0

Ultimi 30 Giorni: 0

Tutti i Tempi: 3,059