Introduzione
If your Asus Chromebook C300MA DB01 is not displaying a clear image, use this guide to replace the screen.
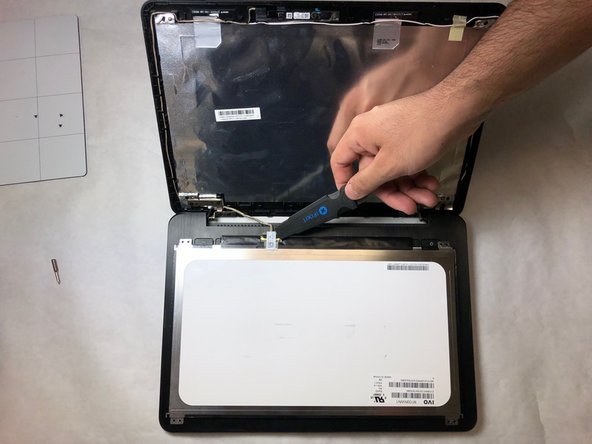
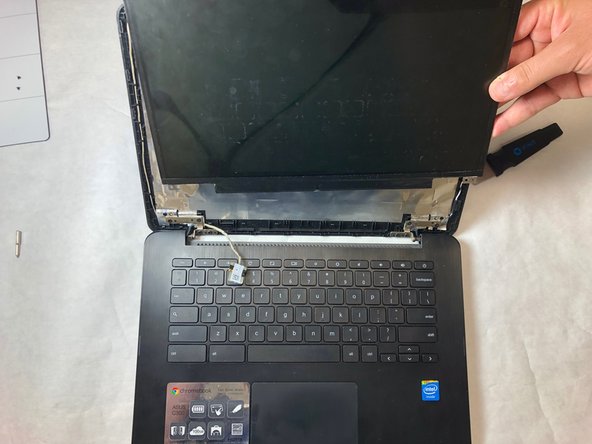
The screen transmits visual imagery through the wires connected to the screen. A faulty connection will transmit distorted images or no images at all.
Cosa ti serve


Quasi finito!
To reassemble your device, follow these instructions in reverse order.
Conclusione
To reassemble your device, follow these instructions in reverse order.
Team

IUPUI, Team S10-G10, Wilson Spring 2019 Membro di IUPUI, Team S10-G10, Wilson Spring 2019
IUPUI-WILSON-S19S10G10
3 Membri
3 Guide realizzate