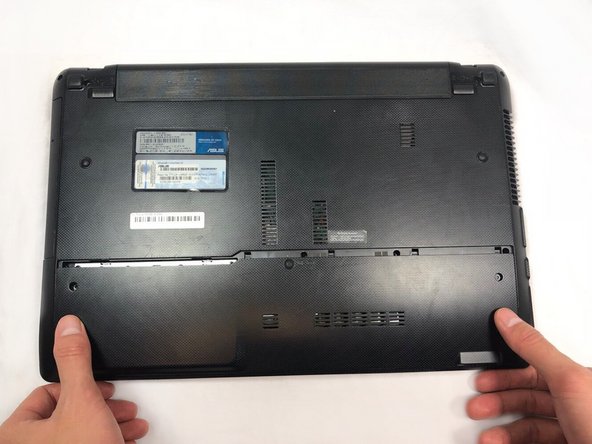
Salta al contenuto principale

Asus A53E-ES92 Hard Drive Replacement

Cosa ti serve

  1. Asus A53E-ES92 Hard Drive Replacement, Hard Drive: passo 1, immagine 1 di 1
    • Turn laptop over to expose the bottom panel

  2. Asus A53E-ES92 Hard Drive Replacement: passo 2, immagine 1 di 2 Asus A53E-ES92 Hard Drive Replacement: passo 2, immagine 2 di 2
    • Use a Phillips #0 screwdriver to remove the two screws circled in picture.

  3. Asus A53E-ES92 Hard Drive Replacement: passo 3, immagine 1 di 3 Asus A53E-ES92 Hard Drive Replacement: passo 3, immagine 2 di 3 Asus A53E-ES92 Hard Drive Replacement: passo 3, immagine 3 di 3
    • Place fingers on panel as shown below.

    • Apply slight force while gently sliding the panel away from the laptop.

    • Remove panel.

  4. Asus A53E-ES92 Hard Drive Replacement: passo 4, immagine 1 di 2 Asus A53E-ES92 Hard Drive Replacement: passo 4, immagine 2 di 2
    • Locate hard drive, circled in red.

  5. Asus A53E-ES92 Hard Drive Replacement: passo 5, immagine 1 di 2 Asus A53E-ES92 Hard Drive Replacement: passo 5, immagine 2 di 2
    • Remove the four screws with a Phillips #0 screwdriver.

  6. Asus A53E-ES92 Hard Drive Replacement: passo 6, immagine 1 di 3 Asus A53E-ES92 Hard Drive Replacement: passo 6, immagine 2 di 3 Asus A53E-ES92 Hard Drive Replacement: passo 6, immagine 3 di 3
    • Apply slight pressure on the hard drive.

    • Slide hard drive to the left to unlock it.

  7. Asus A53E-ES92 Hard Drive Replacement: passo 7, immagine 1 di 1
    • Remove the hard drive from the device.

Conclusione

To reassemble your device, follow these instructions in reverse order.

Robyn Lam

Membro da: 10/22/18

695 Reputazione

4 Guide realizzate

Team

UC Davis, Team S11-G7, Lore Fall 2018 Membro di UC Davis, Team S11-G7, Lore Fall 2018

UCD-LORE-F18S11G7

3 Membri

6 Guide realizzate

0 Commenti

Aggiungi Commento

Visualizza Statistiche:

Ultime 24 Ore: 0

Ultimi 7 Giorni: 8

Ultimi 30 Giorni: 30

Tutti i Tempi: 941