Salta al contenuto principale

Asus A52F Screen Replacement

Cosa ti serve

  1. Asus A52F Screen Replacement, Screen: passo 1, immagine 1 di 2 Asus A52F Screen Replacement, Screen: passo 1, immagine 2 di 2
    • Remove the six rubber pads around the border of the screen using a spudger.

  2. Asus A52F Screen Replacement: passo 2, immagine 1 di 1
    • Remove the six screws using a Phillips #0 screwdriver.

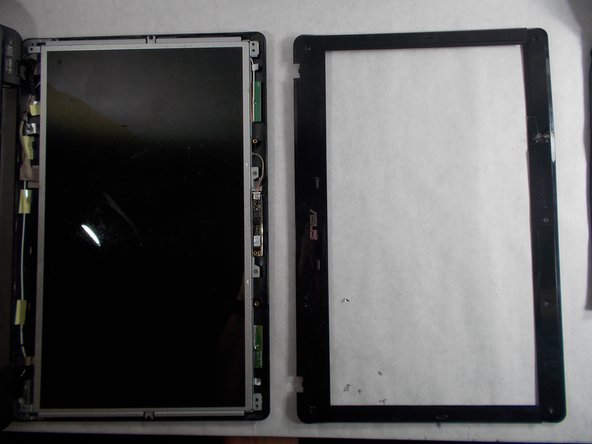
  3. Asus A52F Screen Replacement: passo 3, immagine 1 di 2 Asus A52F Screen Replacement: passo 3, immagine 2 di 2
    • Separate the plastic bezel from the rest of the screen using an opening tool.

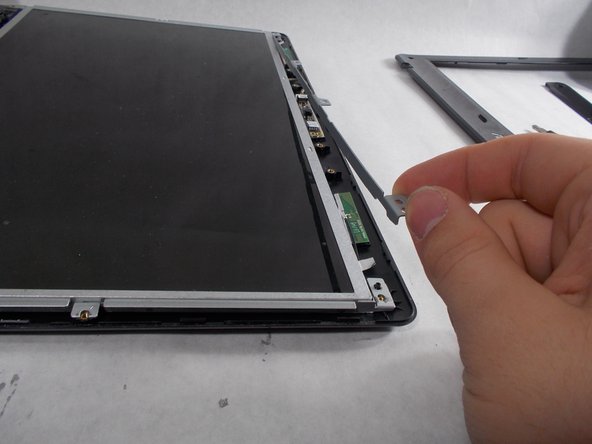
  4. Asus A52F Screen Replacement: passo 4, immagine 1 di 2 Asus A52F Screen Replacement: passo 4, immagine 2 di 2
    • Lift the metal bar on the top of the screen away from the device.

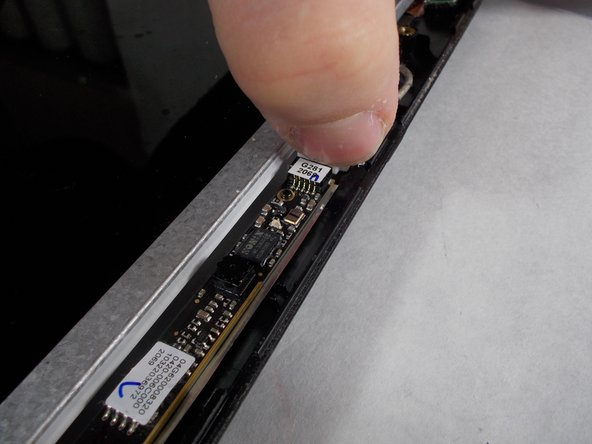
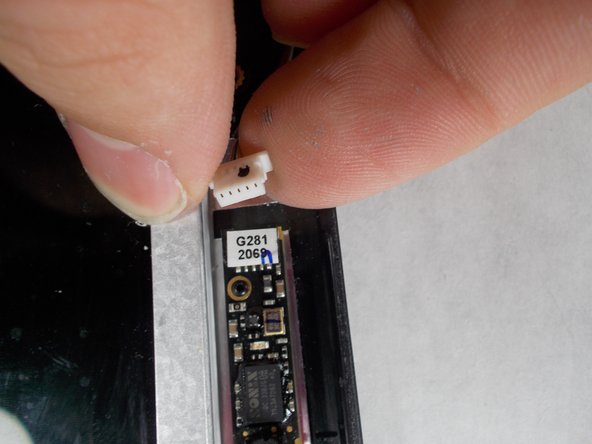
  5. Asus A52F Screen Replacement: passo 5, immagine 1 di 3 Asus A52F Screen Replacement: passo 5, immagine 2 di 3 Asus A52F Screen Replacement: passo 5, immagine 3 di 3
    • Gently detach the wire to the left of the webcam.

  6. Asus A52F Screen Replacement: passo 6, immagine 1 di 2 Asus A52F Screen Replacement: passo 6, immagine 2 di 2
    • Carefully pull the screen toward you and lay it on the keyboard.

    • Peel the webcam wire off the back of the screen.

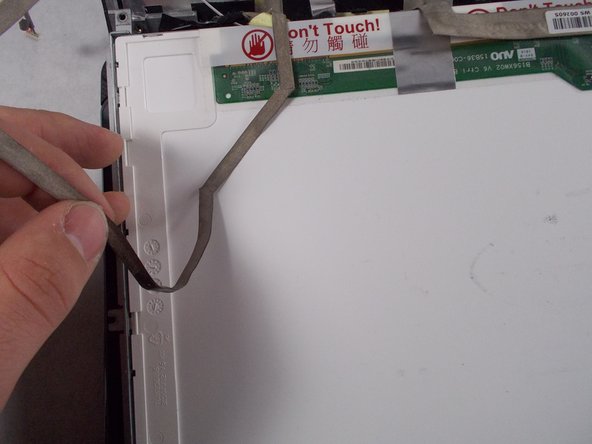
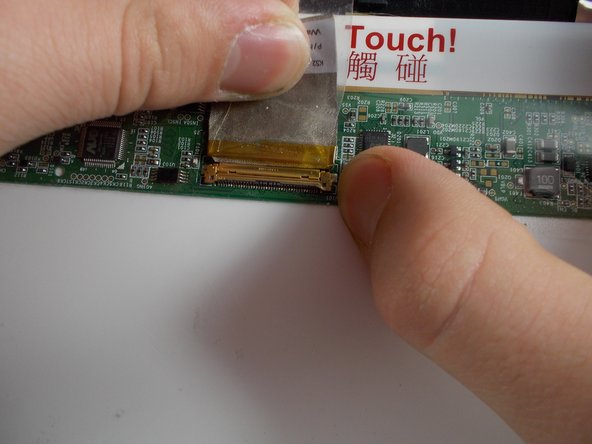
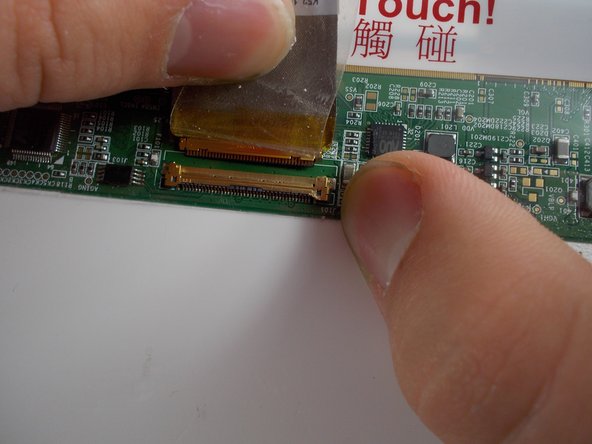
  7. Asus A52F Screen Replacement: passo 7, immagine 1 di 3 Asus A52F Screen Replacement: passo 7, immagine 2 di 3 Asus A52F Screen Replacement: passo 7, immagine 3 di 3
    • Peel back the tape holding the screen cable in its socket.

    • Gently pull the tape and cable away from you to remove the cable from the socket.

    • The screen is now disconnected and can be removed.

Conclusione

To reassemble your device, follow these instructions in reverse order.

Un'altra persona ha completato questa guida.

Morgan Hays

Membro da: 03/08/17

330 Reputazione

2 Guide realizzate

Team

0 Commenti

Aggiungi Commento

Visualizza Statistiche:

Ultime 24 Ore: 0

Ultimi 7 Giorni: 6

Ultimi 30 Giorni: 26

Tutti i Tempi: 1,093